Hello! Been a little bit, but I wanted to show you the results of one of your clearance items that I finally finished.
Thanks for a great kit, hoping to come back for more soon!
-Eric
Hello! Been a little bit, but I wanted to show you the results of one of your clearance items that I finally finished.
Thanks for a great kit, hoping to come back for more soon!
-Eric
My second build. Great craftsmanship and a PERFECT top for what I had planned! You nailed it again! Looks, sounds and plays fantastically! Thanks so much!
-Bobby
-Rex
Kit #6 from you guys keep up the amazing work each and everyone plays like a dream
-CJ
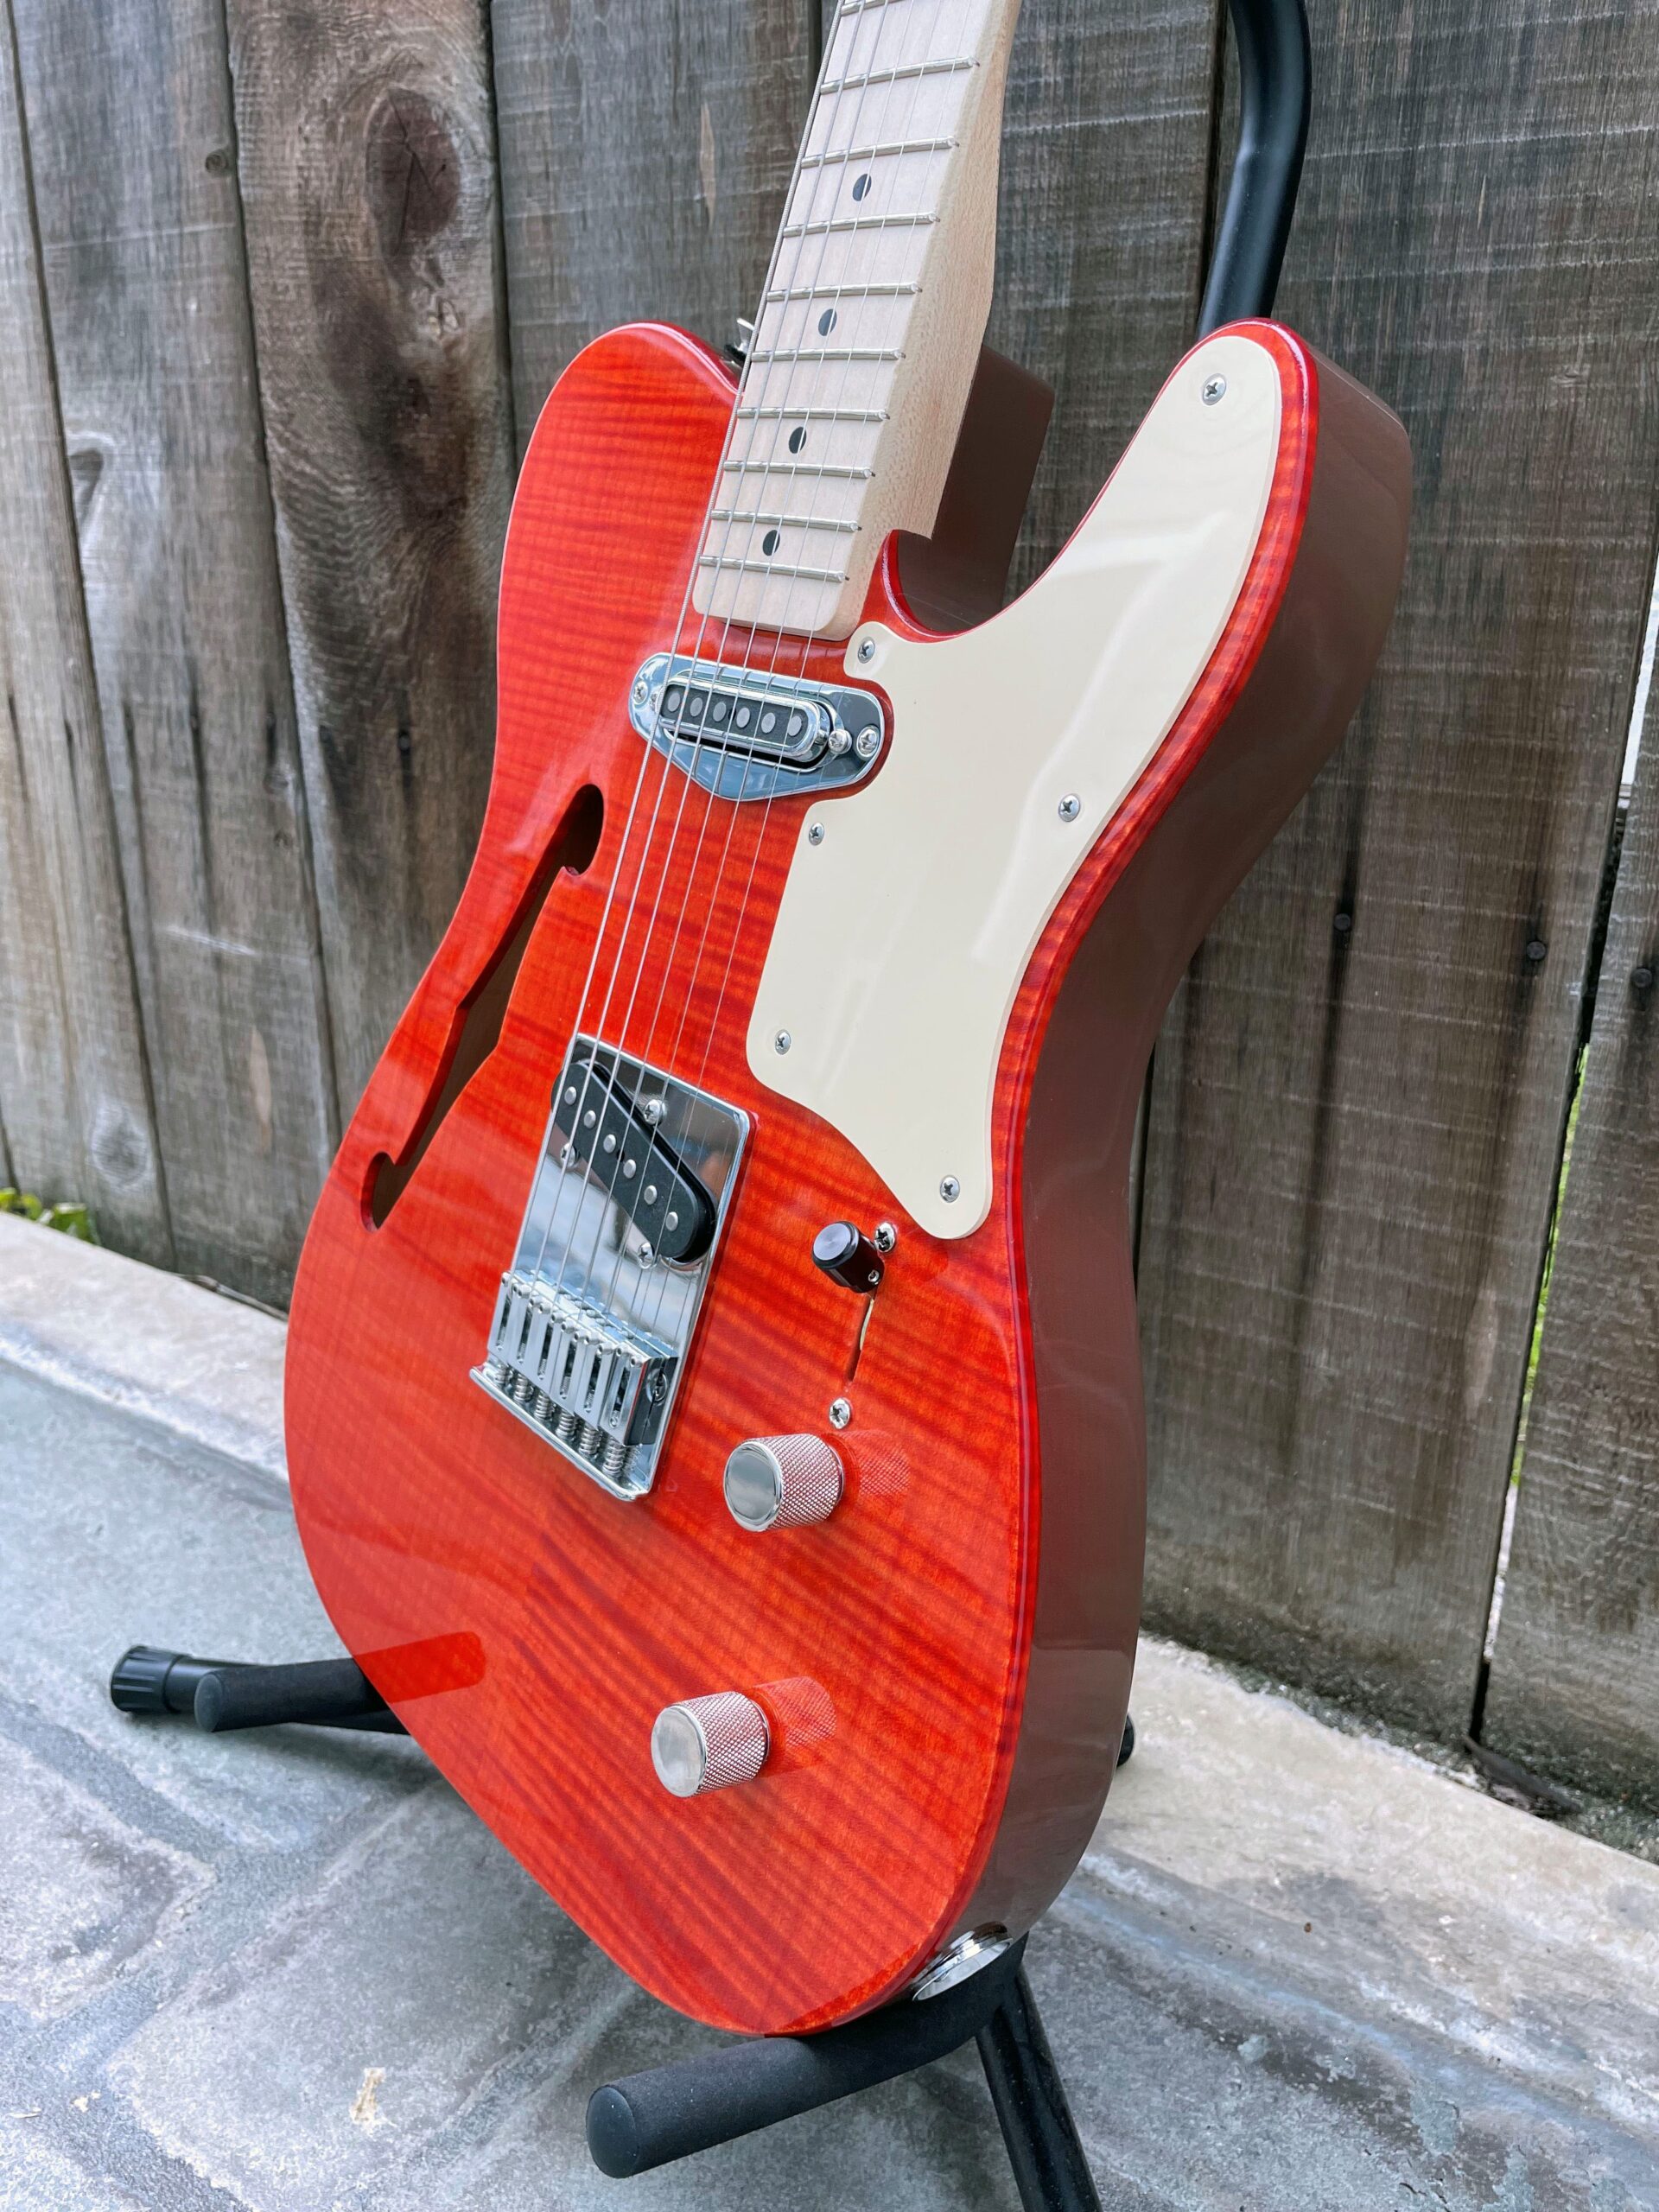
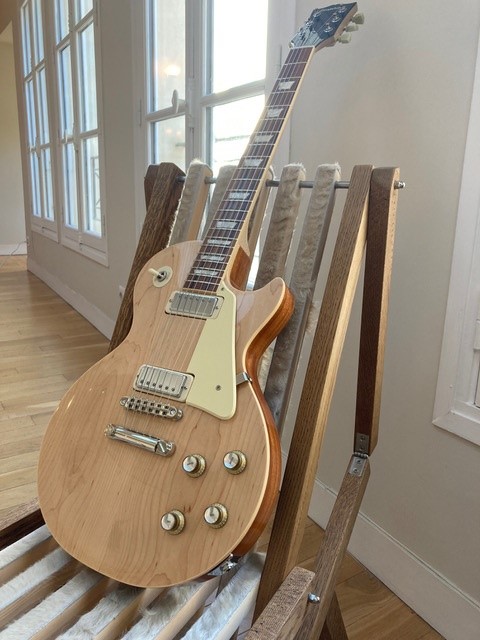
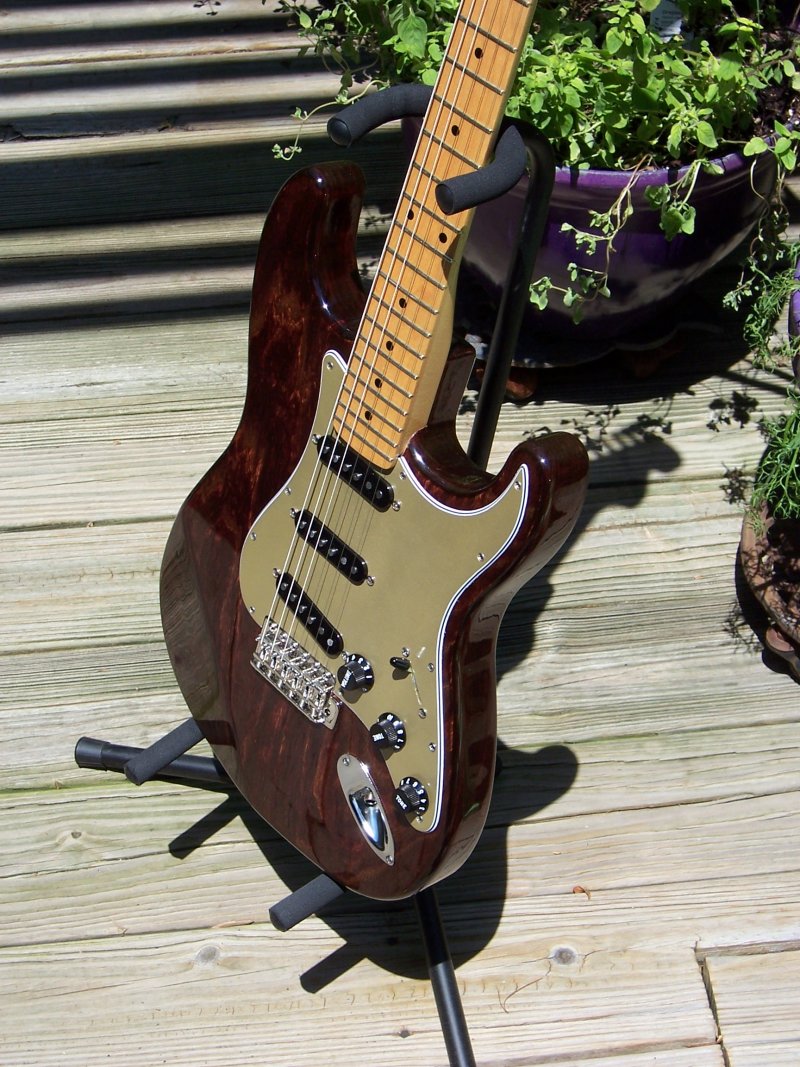
Flame maple top with dye stain.
Semi-opaque, tobacco nitrocellulose lacquer on sides and back.
Clear gloss nitrocellulose lacquer top coat.
Hand-modified Cabronita style pick guard.
Porter Tele Hybrid Plus pickups.
Gotoh bridge.
Hipshot open-back tuning machines.
-Michael
-Rob
– Frank
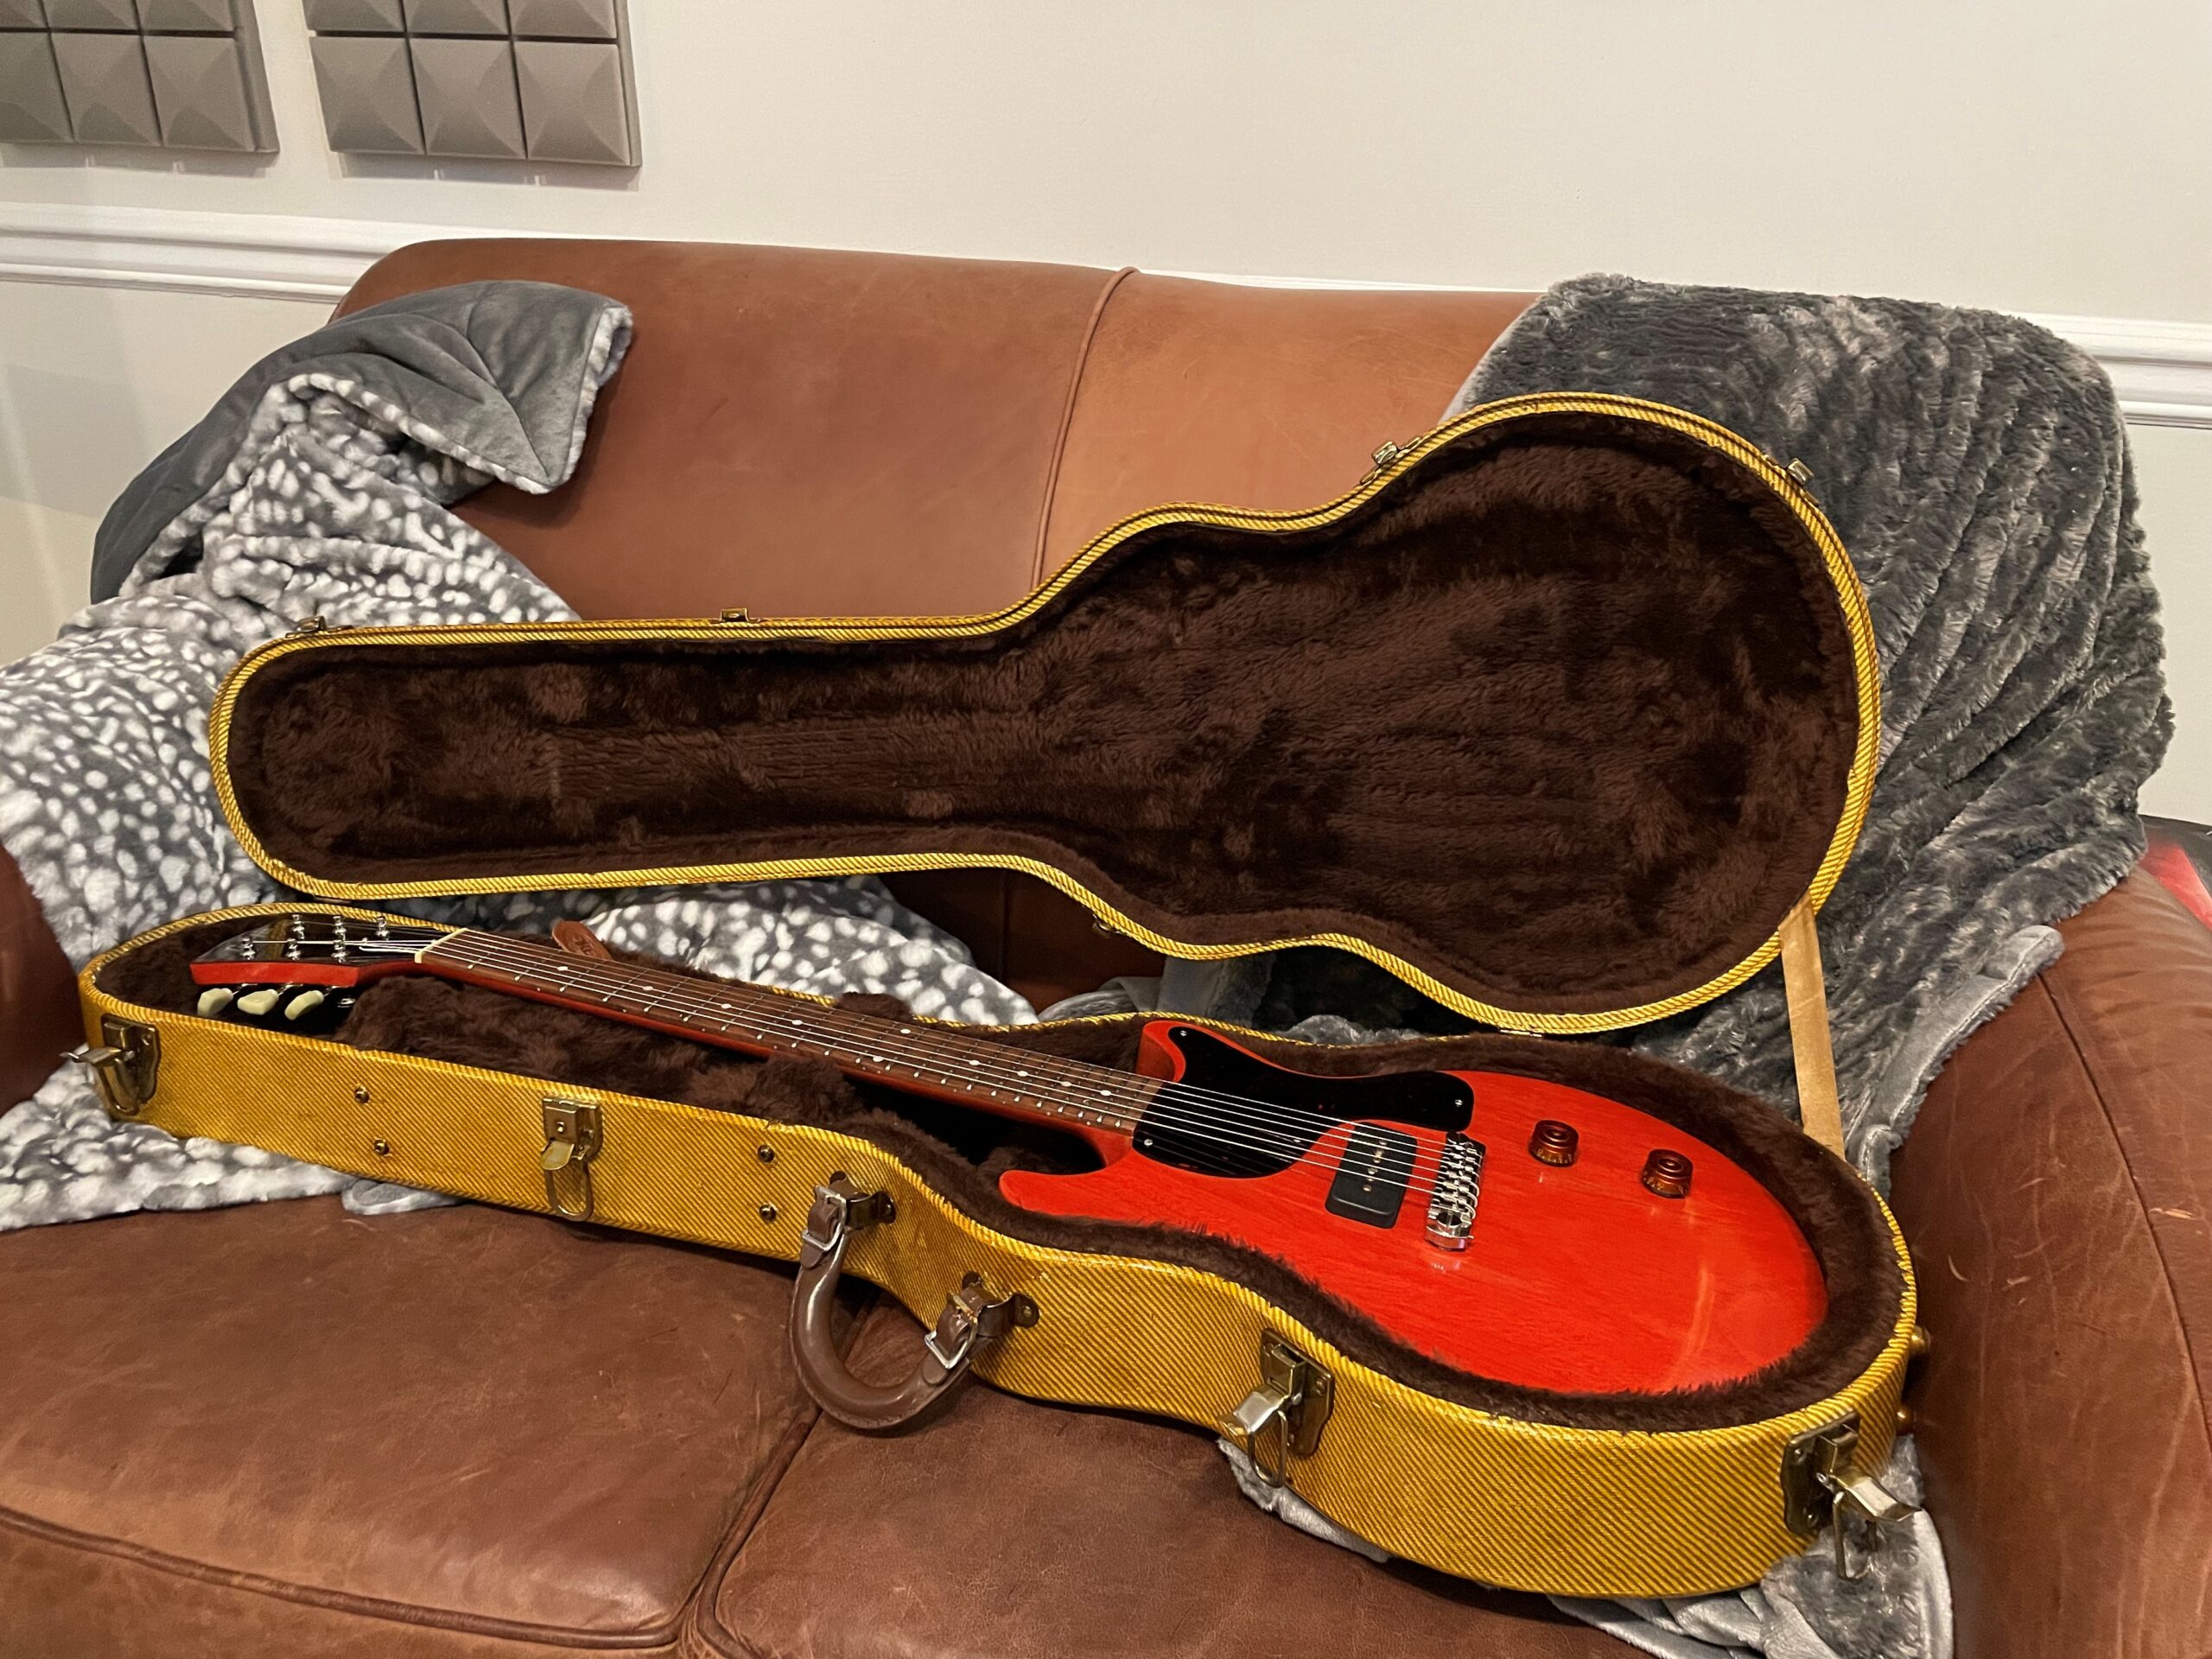
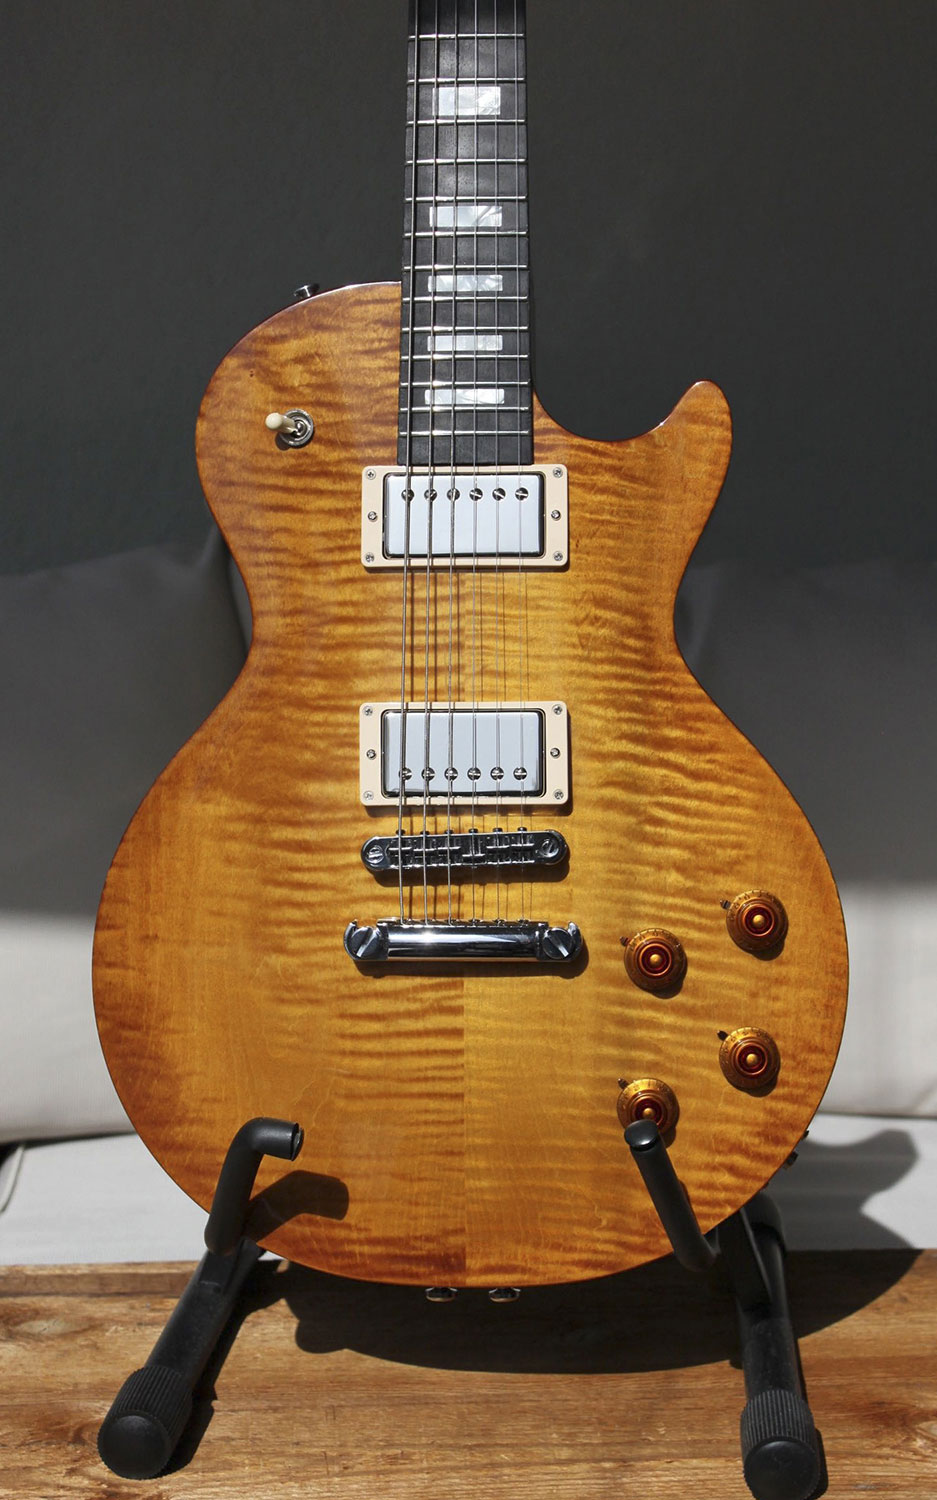
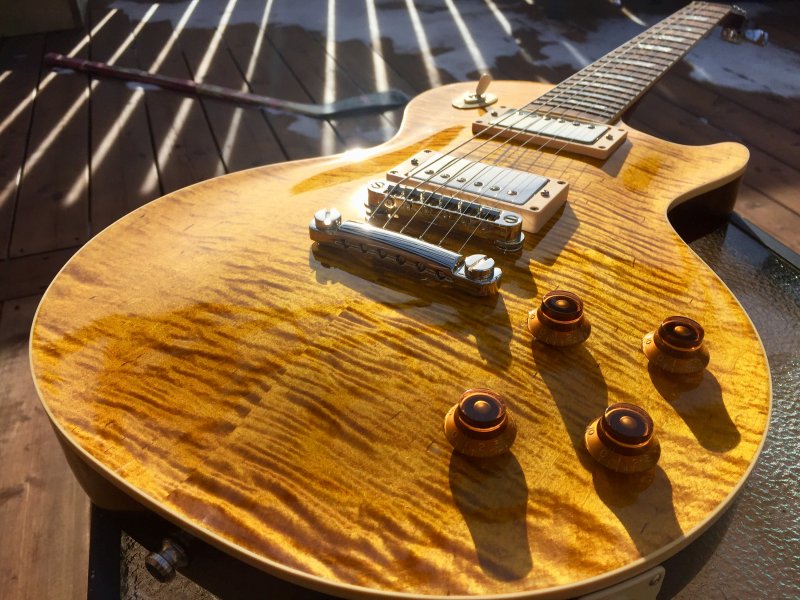
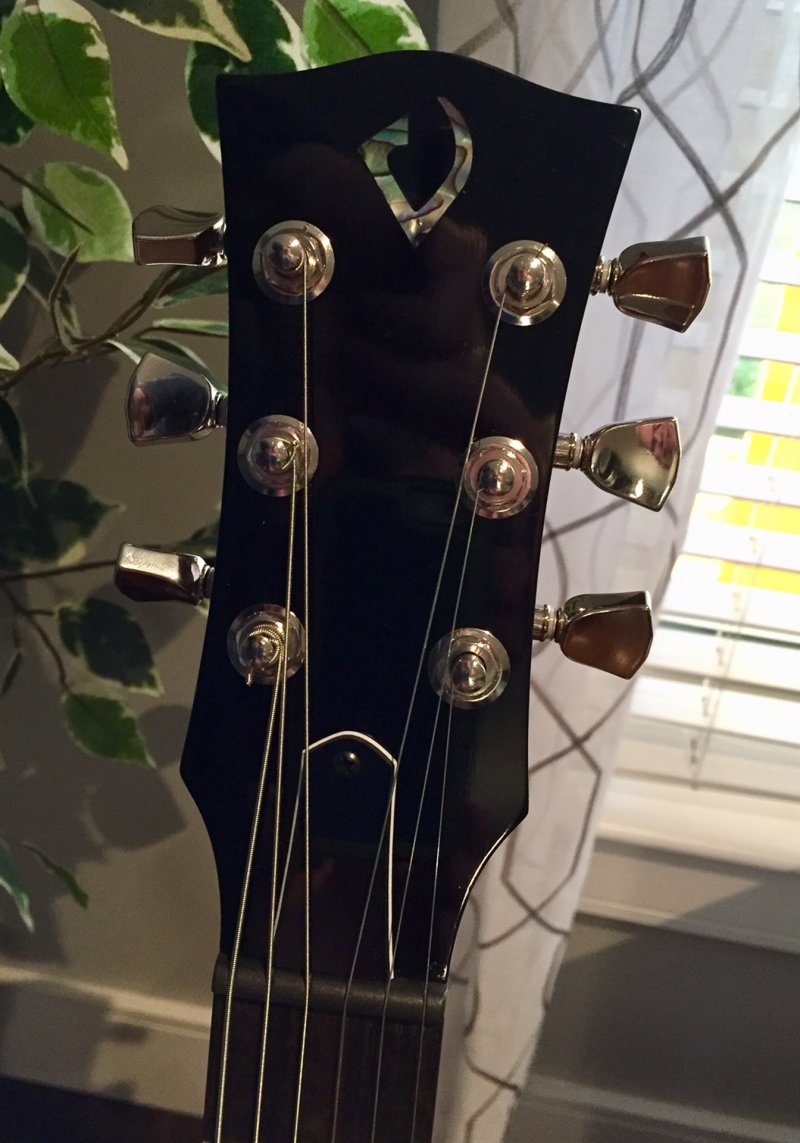
BKP Holy Diver pickups
Transtint Amber dye; natural “binding”
Stainless frets
1 pc black limba back
2 pc premium flamed western maple top
Flamed maple neck (satin) stained to match
Luminlay inlays
Finished with tru oil
Hope to order another kit soon. You guys do incredible work. Thank u so much.
-Bobby
Here’s my Deluxe. It’s a tribute to my first real guitar that I owned. Unfortunately I don’t have the original anymore, so I built this as a replacement. I’m really happy with it. The craftsmanship from PGK is outstanding! Thanks!
– David, Paris, France
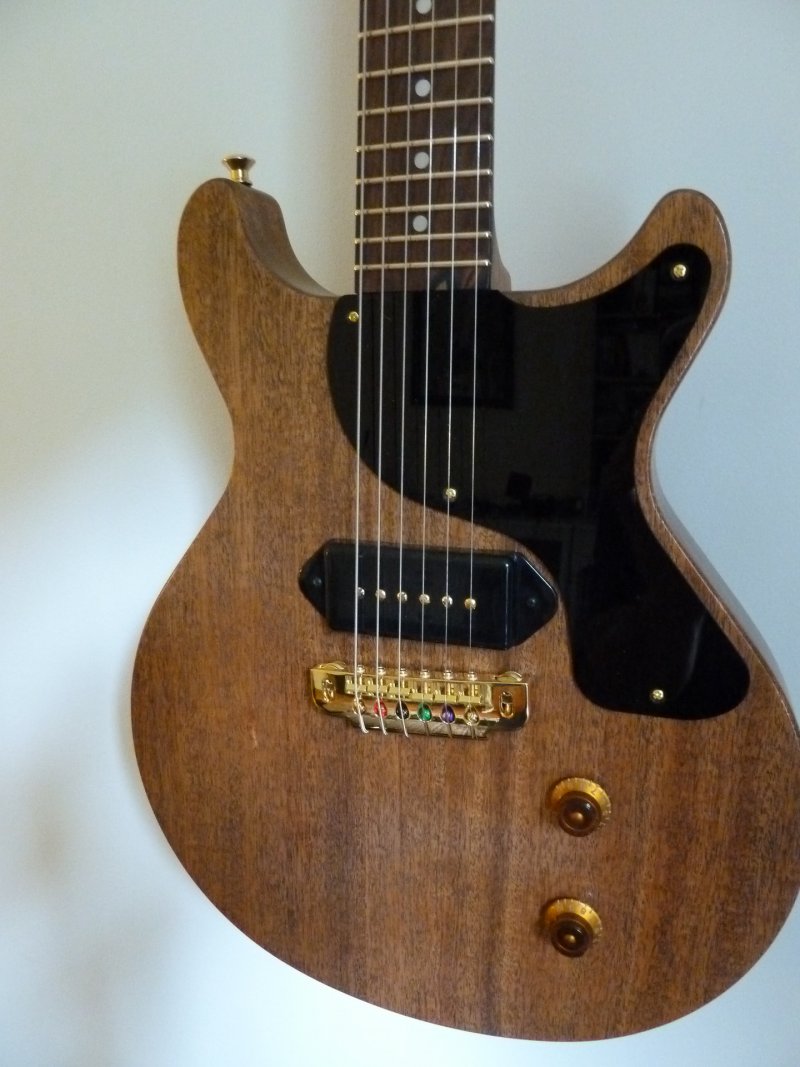
My ‘58 Double Cut build using TruOil. I’m blown away with how well it came out! Neck is straight and perfectly fretted. I have the action set up at 3/64” from the top of the 17th fret to the bottom of the strings and no buzz.
-Curtis
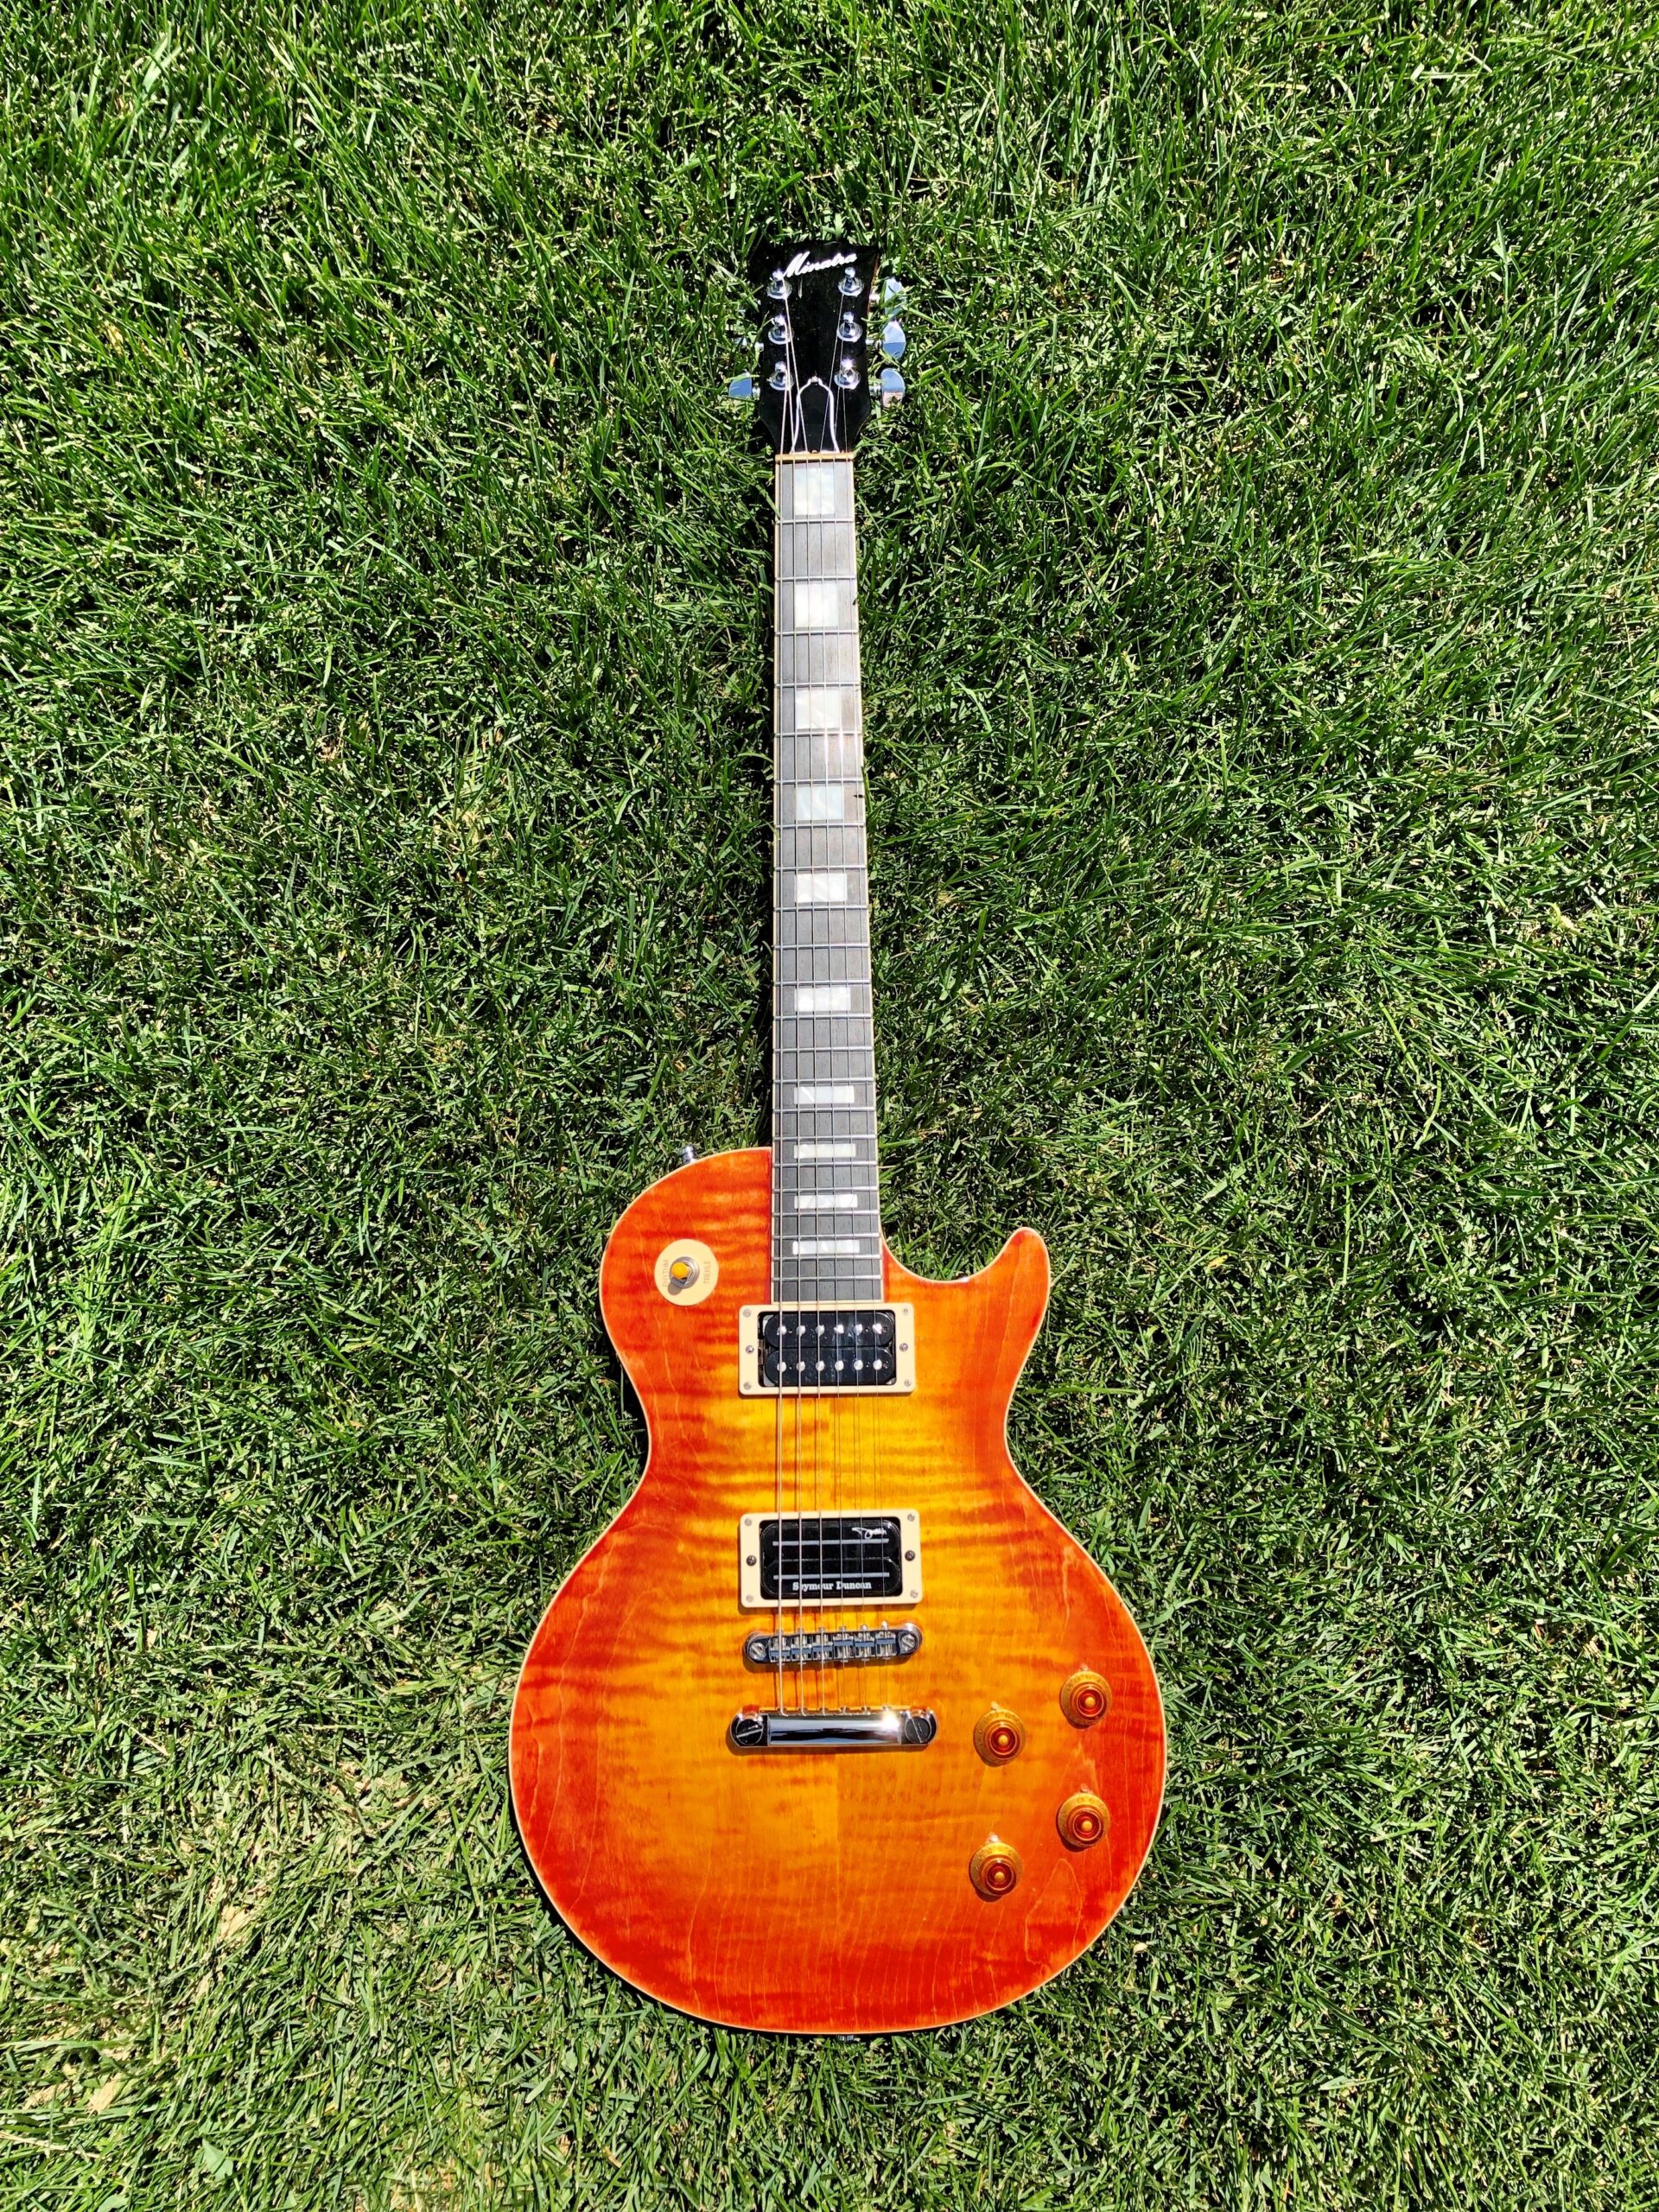
By Philip Minatra
Hello,
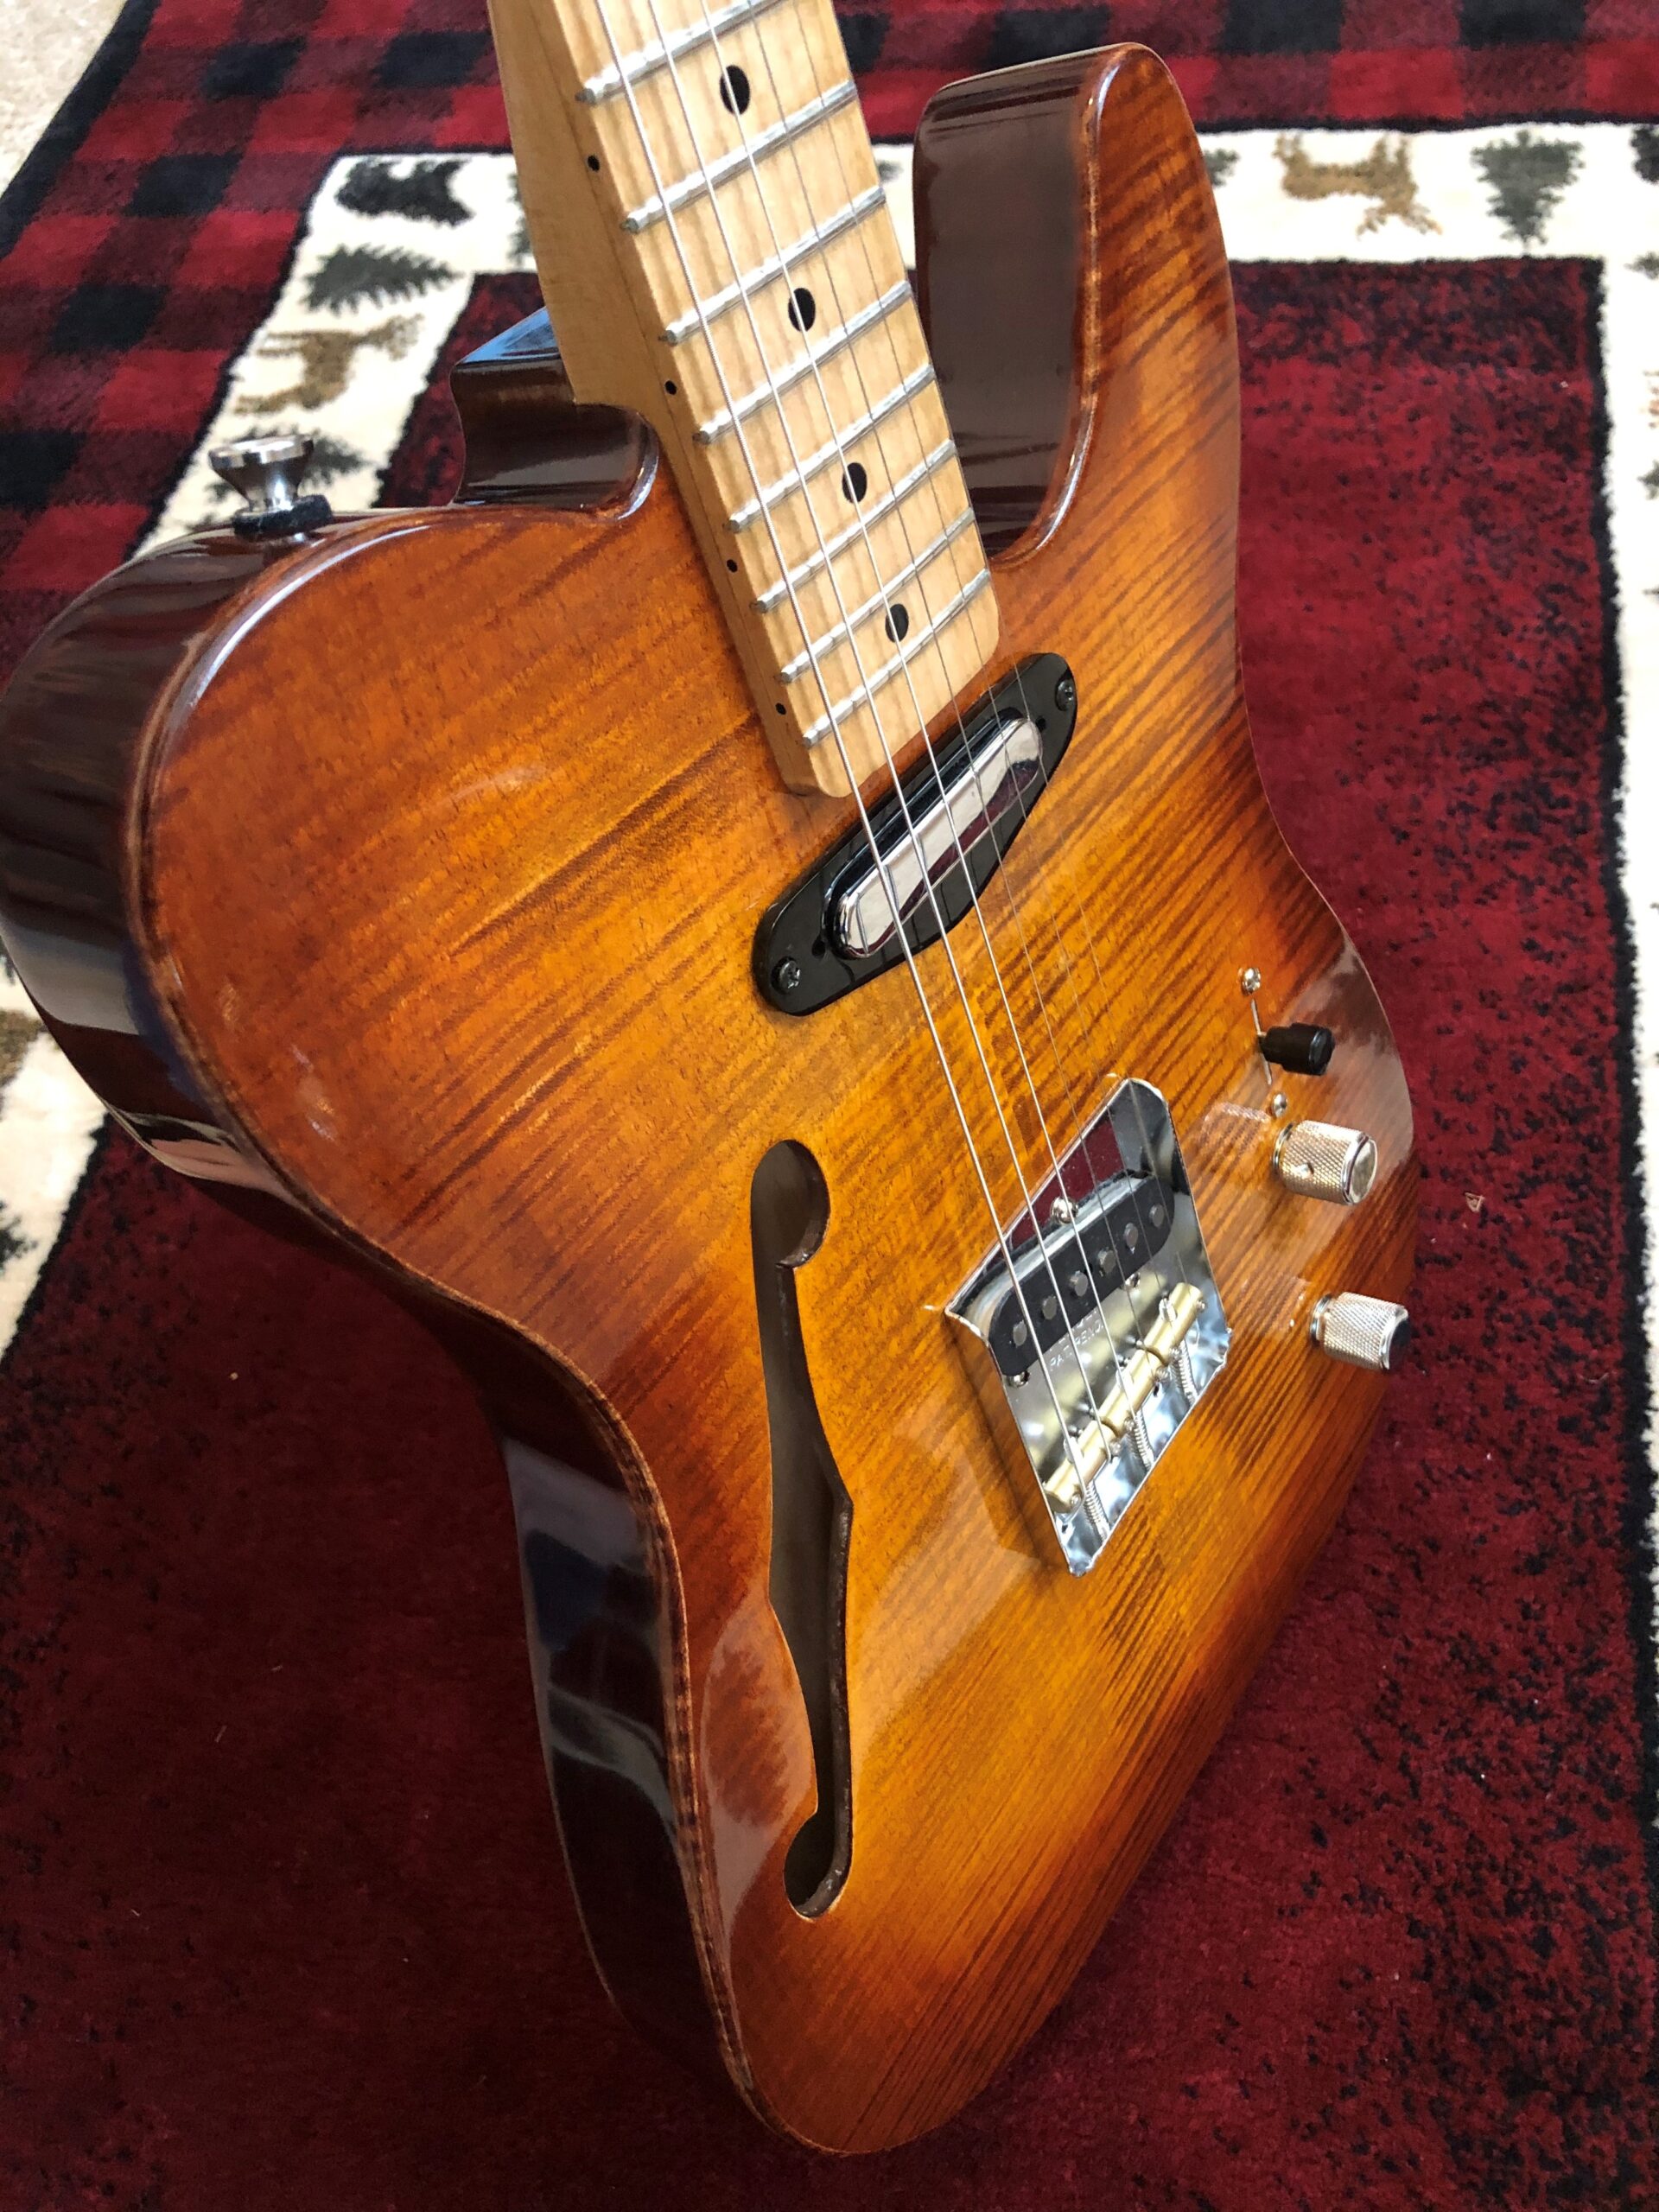
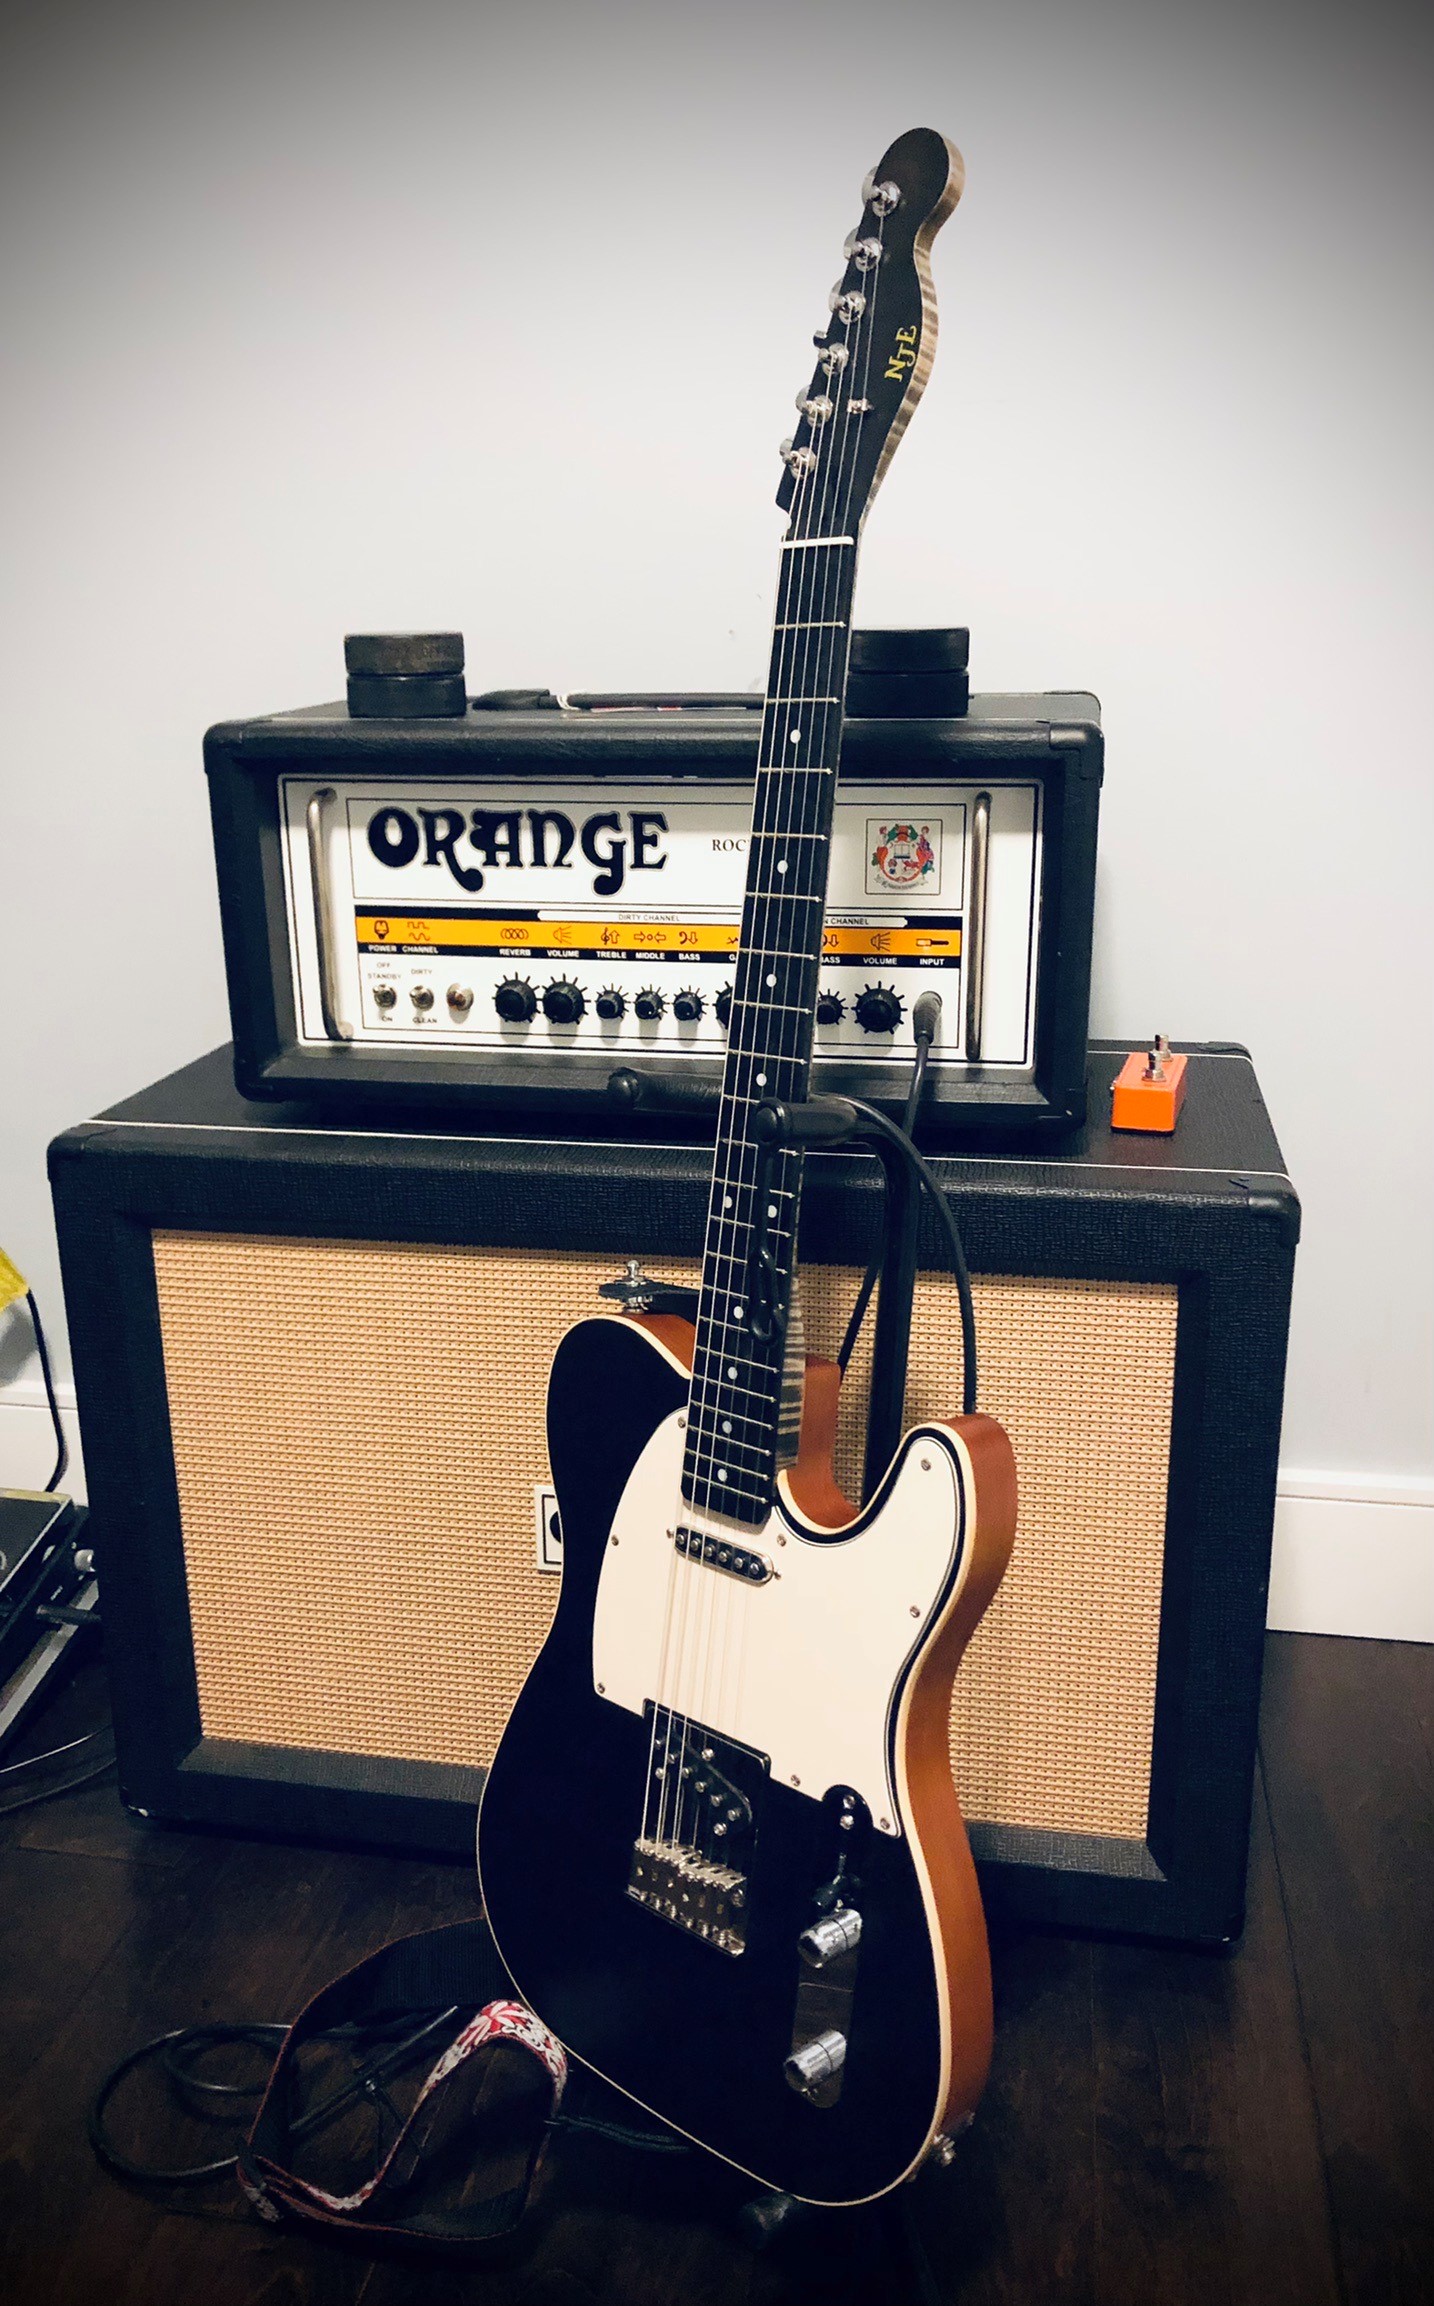
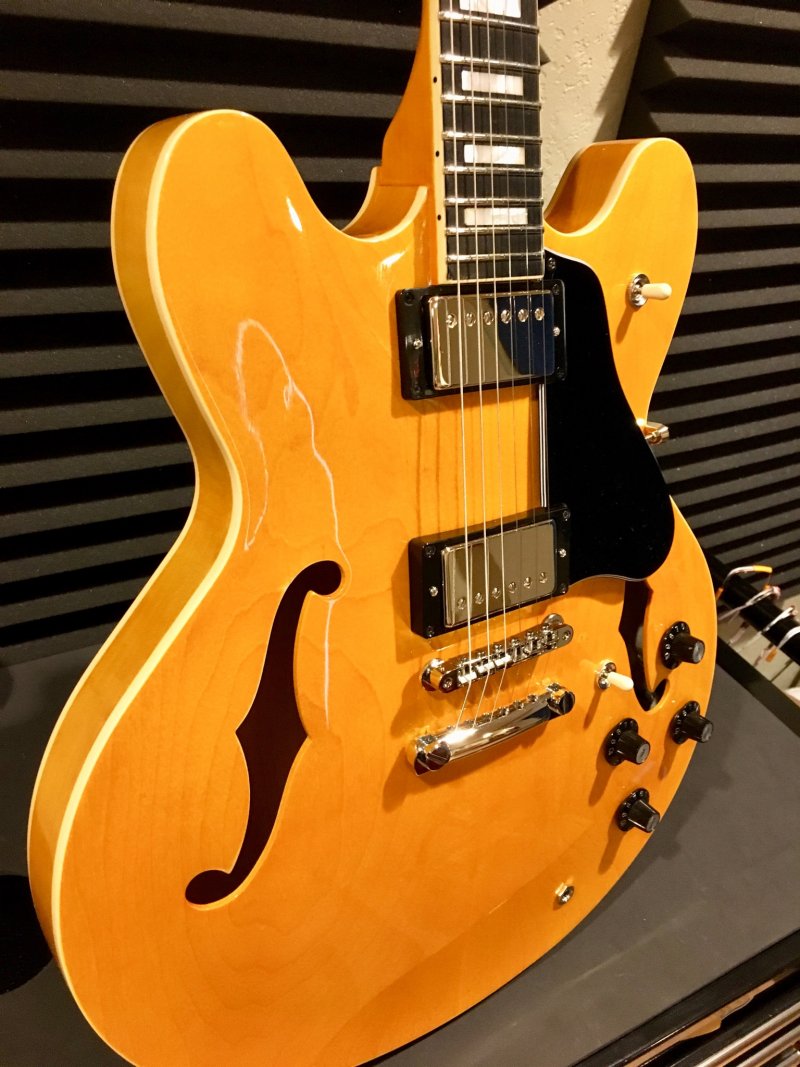
Just completed my PGK Thinline and I couldn’t be happier. Fit, and finish was excellent. I’m especially impressed with the precision of the neck joint. I used water based dyes hand rubbed. Approx 30-35 coats of True Oil (I lost count lol ), Fender tele vintage pickups, bridge, and tuners, and a bone nut. I did a fret level, and dress just to be sure, and the truss rod works as it should. Looks, and sounds fantastic! I haven’t been able to put it down! I have always wanted a Thinline, and now I have one.
Thank you, Carl

Take a look at Ben Seelig’s amazing completed kit! He had this to say about the process:
“Hi folks at PGK! I just finished my 58’ Jr Doublecut and it came out better than I could have ever imagined. The quilted maple cap is gorgeous and the one piece African mahogany body is light with a nice grain pattern. The neck fit was perfect and the fret work was great right out of the box! I will absolutely be purchasing another kit in the near future. I installed a Kinman Nasty 90 and used a Pigtail Wraparound bridge. Finished the guitar with rattlecan nitro and wet sanded from 800 – 2500 grits. Then I used medium, fine and swirl remover polishing compounds. All by hand. The end result? Perfection! ”


Double cut build by Asher — Kinman P90HX pickups, Hipshot Baby Grand bridge!


Custom M7 kit with a single pickup finished by Tyler Moberly


Completed by Emre Salva!
Build completed by Phil Speed.


Check out this build by our customer Simeon Bland!

Check out this build by our customer Ken Alverson!


Ben Gordon finishing up his beautiful Flame Maple top ’59 build.


T Style Custom completed build by John Baldaia
Another amazing completed build sent in by one of our customers! This one is a ’59 Carved Top with Eastern Flame Maple Top upgrade.


Phil:
Finally submitted pics of the blonde ArchTop build. There was no place to add my story in the upload process, so here it is-
Took over a year to get it the finish right but the pics speak for themselves. Can’t be more pleased!
The hardware PGK provided were spot on! A little trouble with the tuning holes (large), but that was the result of the desert temps, not your fault. Weather in Arizona jumps around daily. Humidity is just as unpredictable. When the cooler temps finally arrived, I literally kept two thermometers to provide indoor and outdoor temps/humidity to complete the finish. Never took it outside if temp was more than 5 degrees cooler/warmer. Then the rains came…lol! Oh, to have had an indoor spraying room…
PGK did an excellent job of the neck work, not to overlook the precision pocket-fit. Really five stars, fellas!
To Operate under extra care, I let the glue dry for a whole week before commencing any hardware applications.
I call it my “Blonde Bombshell”. The pickups are vintage matched in windings, metals and magnets. The result is a marvelously vintage 60’s sound. I couldn’t find a repro coil tap switch (or coil split depending on your school of thought), so I built one from a a 12-string, Switchcraft toggle switch, ha. Not difficult. Just a little more time. I know a pullpot would have done the trick, but The switch is my preference for authenticity. Works beautifully! Fantastic for recording!
The Blonde Bombshell has all the right artillery to add everything from snarl and smack to bluesy and jazz tones. The perfect balance to other instruments in the mix. Especially brass accompaniment. A marriage made in guitar heaven, ha.
God Bless you and all the folks that made my kit possible. It will remain a family heirloom- the guitar that dad made.
Dan in AZ
no images were found
Hi Phil,
Just finished my 59 LP with a smooth neck heel and once again, WOW. Just like my last PGK kit, this thing rocks.
I love the look of the traditional LP but never could get pass the neck heel and thats why I sold everyone that I had. The smooth neck heel on this kit and the body cuts make this Guitar a pleasure to play.
Here is a run down of what I did to your work of art.
– again I installed Grover locking tuners
– my Signature “V” inlay
– ivory tusq nut
– GS Guitar Works 50’s wiring harness with luxe bumblebee capacitors
– Custom Hand-wound V59 paf pickups from Vineham pickups
– tone pros TOM bridge and stoptail
– for colouring I used amber dye on the maple and a mixture of reds on the mahogany body and neck
– clear finish is tru oil wet sanded and buffed
Once again thanks to everyone at PGK
Vally


From Ian in Australia, simply beautiful
Hi Phil.
The kit you sent me was first rate. Precision is an apt description. The photos show:
1. Neck and body out of the box.
2. Ready for gluing – edges rounded, control cavity routed and control holes drilled.
This is a very nice piece of mahogany with some figure in the grain, so a clear finish was the only way to go.
I wanted the polished timber look and feel. Preparation was to fine sand to 2000 grit, no filler, then 3 coats of Organoil (a tung oil blend from Byron Bay in Australia), fine sanded between each coat, then finally polished and buffed.
3, 4, 5. Oiled and polished.
6. Fitted and ready to go – love it 🙂


Phil,
I first dyed the body black and sanded back to highlight the grain. Then I mixed up some red aniline dye and added black to it until I got the dark wine red I stained the body with. Then I sprayed zinsser shelac to hold the color and then filled the grain with four coats of aquacoat sealer, sanding in between. The clear coats are applied with a rag, Minwax wipe-on polyurethane, 30 coats. Not as thick as it sounds as it goes on so thin. I would do about four coats and then sand all the way up to a 12,000 jewel grit. Sometimes I would even buff with compound and then apply more coats. It took all winter because my garage is cold, so it took extra long for coats to gas off. The neck was also finished in Minwax wipe-on poly with no stain on it. After I put about six coats on it and then took it out into the spring sun to cure out, it turned that nice vintage yellow, probably from the linseed oil in the wipe-on poly.
Parts: The bridge is a Callaham vintage model. Gotoh locking tuners. Fender custom shop 69 pickups–they sound sweet. Premium switch and pots. You can’t buy a pickguard that color unless you go with an aluminum gold anodized one, which has no beveling and feels weird when playing. I got a three-ply plastic one from Stew Mack and sprayed three coats of rustoleum gold enamel on it. Then buffed out the orange peel. That’s about it. Probably more info that you wanted.
Thanks for sending me the 54 junior so quickly. I have been so happy with the precise job you did cutting that strat body and neck, the fret fit and finish is superb. The grain on the body is outstanding. I was so pleased with the strat, I don’t want to order a neck and body from anyone else but Precision.
Regards,
Tom


Hi Phil,


Phil,
Really enjoying this guitar. Thanks for the making such a high quality kit available. The ‘hog is beautiful and the figuring on the pau ferro is off the hook. I radiused the board to 20″ and put in jumbo Evo frets, and went with the gold theme on the rest of the hardware. Pup is a Fralin noiseless 5% overwound. Only trouble has been getting the bridge far enough back for intonation – had to turn the saddles around and take the adjusting screws to the limit, but is intonated. Possibly because I use fairly heavy strings (11-49)?
Playability is top notch, even though the neck has almost no relief (I sanded out the built-in relief when radiusing the board!). Low action, no buzzes, can bend notes to the moon.
Finish is black grain filler, Cabot fruitwood stain, and wipe on poly. I did have to go back and add a “rib cut”, because the curve of the upper bout dug into my rib cage so bad I could only play it for 5-10 min. Would have been much easier to do this at the start, but now it is comfortable. The other thing I forgot about is adding a thin wire when pushing in the RH bridge insert, for grounding. Just didn’t occur to me until later, so it might be worth mentioning on the web site. I did get it well grounded with conductive paint & copper foil, though.
Regards, Steve O


