Posted on

Darreld’s Alberta Boom…

ome of the components that I used for the dark Jr (“Africa”) include:
-David Allen ‘Straycat’ P/U
-Faber steel compensated bridge/wrap tailpiece, anchors and studs
-CTS premium pots, PIO .033 tone cap
-Stew-Mac tuning machine (plates)
-custom made pickguard/truss rod cover from ‘Greasy Groove’ in N.S.
-holly veneer on headstock

This was a great project; loved making mistakes during the build, but it plays very well in the end.
There is a ton of Resonance in this guitar.

Thanks for offering such a fine product Phil!! I’ll be back…

Posted on

Vitaly’s From Russia With Love…

This guitar I think went through the greatest temperature transition… from here in Vancouver to Rostov-on-Don, Russia, 11  above to -25 C…. ( 52 to -13 F ) yeessh… The first neck we sent, the poor ebony retracted and split.. so we sent a replacement, changed the ebony to rosewood, which is way less prone to cracking…. Turned out pretty damn nice…

It would be great to publish the photos on your site. It would be nice to attach this text to them:

This is my first build, and I got to tell you – it wasn’t easy… As for parts I used Gotoh tuners and bridge/tail, Tonerider alnico IV classics AC4 pickups, bone nut. Nitrocellulose finish which is more dim, rather than gloss, thanks to my friend Dmitry Nemtsoff who covered it several times with a spraygun. Have to make some fret leveling/crowning/polishing to get rid of a fret buzz on a few first frets and 6th, 5th strings.

After that I can set rather low string action: something around 2mm for 6th string and 1.5mm for the 1st string on the 12th fret – which is very playable for me. I was glad to have a double action truss rod in the neck, thanks for that. The wood quality is very high in my opinion, and it has a very beautifull grain. The sound… superb!

Thank you Phil and Kevin!

Vitaly Volkov from Rostov-on-Don, Russia.


Posted on

Jimmy C’s True Rock & Roll Beast

Hey Phil,

Just a note of thanks for the Jr kit. I special ordered it with a the 60’s slim taper neck prior to your offering that option. You had no issues accommodating my request and the body and neck fit together perfectly. I’ve always wanted a ‘59 Jr but couldn’t afford the real thing.

The pic of my old school build after the super decked out LP on the banner page really shows the range of what can be done with the kits.

I did not do the actual build, it was done by a guy named Patrick Sims in Nashville who I would recommend with reservations. He is a nice guy, does great work and is reasonably priced but it took a long time to get it back and communication during the process was spotty. In the end, he did come through and I am very happy with the way it turned out. Here is a link to his site with a pic of the guitar under “solid customs” – http://www.simscustomshop.com.

I’ve always wanted a vintage 50’s LP Jr but could not afford to pay 5k or more for one. With that in mind I was going for a ‘59 vibe. I did a bunch of research and specked out all of the hardware which includes:

1. Lollar dog ear P90
2. RS Guitarworks Pre-Wired Vintage Les Paul Jr. Harness with repro Luxe Bee capacitor (250k vol pot, 500k tone pot)
3. Gibson 59 Les Paul Junior Doublecut Historic Tortoise Pickguard
3. TonePros Kluson 3-on-a-rail Tuners
4. TonePros VTNA-N Standard Vintage Aluminum “50’s” Wraparound Bridge (nickel)
5. Gibson Truss Rod Cover – Blank
6. Black 50’s style LP Jr. jack plate from RS Guitarworks
7. Bell Knobs from Stew Mac
8. Strap Buttons from Stew Mac (installed on the horn)
10. bone nut – custom made by friend of Patrick
11. back plate – custom made by friend of Patrick (noticed you sell them now, very nice as I could not track one down to save my life and Patrick said a Gibson would not have fit in the cut on my guitar)
12. TKL 7824 case (still waiting on it)

The paint was TV Yellow nitro cell. It’s not too glossy and the grain shows through nicely. I did not want to go the reliced route but did want a vintage look which I think we accomplished.

Here are a few pics:

Posted on

Troy’s 59 Carved – Space Invader Come Down.

In hindsight one of the most difficult things was deciding on a color for the top. I had some ideas and did some experiments on maple planks before I even ordered the kit, but once it arrived and I actually got my hands on those bones I knew I had to do my absolute best to live up to the obvious quality. I was nervous because this was my first build and I’d never experimented with dye or stain before, but practicing on test pieces helped immensely, and I would definitely recommend that approach  to anyone trying this for the first time, including final finishing, which for me was Tru-oil. The so-called “plain” top started to reveal some interesting figures once a few layers of Tru-oil got on there, and I’m extremely happy with the final result. It sounds way better than it looks too . . .

Not quite sure where the idea for the headstock came from, but I knew I wanted something non-traditional. It’s a decal, but I’ll eventually go back and do a proper inlay of that same design. In the meantime it gets the point across . . . what can I say;  it’s a symbol for my generation . . . PS since it’s a Canadian guitar I used Robertson screws wherever I could

Posted on

Richard’s Golden Beauty

Here’s how it progressed…

Got back into town and a package from you was a’waitin’  a day after my 65th Birthday…..

Precision Guitars it an excellent name because you guys do VERY precise work…AWESOME.

GOT THE NECK GLUED ON TODAY AND WILL LET IT SET OVER NIGHT.  TELL EVERYONE THERE THAT I AM VERY SATISFIED…..and am so happy to do business with people with not only excellent work ethic but awesome craftsmanship too.  I will document what I do as an old man and stay in touch until it is finished.

Once again AWESOME, AWESOME, AWESOME !!!!!!!!!!!!!

Sprayed Re Ranch clear coat heavy enough over the area so that it got down to the gold coat.  Let it dry over night. Wet sanded with 1000-1200 grit then masked that area and applied gold coat.  Can’t see crack now.  Maybe one more light mist of gold then 4-5 coats of clear.  Will monitor the results  and let you know.

Putting on the top nut took very little sanding mainly on each side.  Really like how the Tone Pro Bridge and Tail Piece transfer the sound.  Plugged it and all tone and volume knobs and top switch worked fine and sounded good even though I broke the top E String  because I bent and kinked it as I had to remember how to string it correctly and of course didn’t buy extra strings.

Also did a slight adjustment on the truss rod (neck) and bridge and no buzzing strings and good action. Got a few dings to fix.  Made the mistake of using a white lacquer primer/grain sealer and would only do that again if the guitar was white.

You can use these pics if you like or I can try for some getter ones and please tell everyone involved that they do really great work. It’s been a long learning curve but it sure feels good at the end.  May do this again some day.

Posted on

John’s Queen Bee Sting…

Body, front – Wood figure highlighted in Black and sanded back – Amber base with Brown to Black fade dye (sprayed)
Body, back – Dark Mahogany dye, shellac basecoat, filled and sanded
– all colors Trans-tint alcohol based dye – 12+ coats clear lacquer

Neck – Mahogany stain, filled sanded, Tung Oil approx 12 coats
Headstock – Black Lacquer, laser engraved Bee Hieroglyph design approx. 3/64 deep filled with yellow water based artists acrylic, 10 coats clear lacquer

Percision’s drop-in pro wiring kit, Schaller locking tuners, Gotoh 510 bridge & tail, Fuelie Pro Mod pickups

Thanks Phil!…..I can’t wait to do another! …


and how did you do the laser cutting in the headstock

I did the design, which is of course egyptian hieroglyph for Queen Bee” engraved at – no shit – the Trophy House in Fargo North Dakota – built a jig so it would sit level in their laser engraver.

The yellow is water soluble artist’s acrylic dries really fast – does not react with lacquer so clearcoat right over it

Posted on

Mickey’s Flaming Awesome Flamed Strat…

custom flame maple strat

Met Mickey at the local guitar show and he had a clear idea of what he wanted in a guitar. Here it is…

Pickups are custom Winded, “single coil Custom 64” by Onamac Windery ( Fantastic sounding pickups for just 99 dollars set ). Very warm sound. Also, there is on volume pot “Treble bleeder”..which has function when volume goes down, you dont get et less treble. One of the tone pots is Lindy Fralin Blender..so instead of 5 combinations of sounds I can blend bridge pickup with neck pickup, or all 3 pickups too.

I have several guitars including Les Paul Custom, PRS custom 22…but this Strat is now my guitar #1. Clear laquer was been done by Larrivee guitars. It’s UV lacker, hard like stone, but not oversprayed. Guitar has amazing sustain what was my primary goal.

Phil, thank you so muck to you and Kevin…we did fantastic job.

Mickey

ps. My wife’s brother has 18 year old son, who wants same guitar…now i have to start looking for wood…you guys can expect another project.

Continue reading Mickey’s Flaming Awesome Flamed Strat…

Posted on

Peake Performance…

Build your own guitar

Phil,

Thanks  for the email.  The experience of building the Les Paul from your neck and body was really great. The build went really well – particularly enjoyed learning to do the binding.  The only thing not yet done is the headstock inlay and logo – and that because I’m still debating.  But, she plays superbly.  The action and feel of the neck is really a pleasure and feedback from the musicians I play with (and who have played the new guitar) has been universally great.  So far the only maintenance work has been some work on the fret ends after the New York City winter set in – the heat dries everything to a crisp.  But I’ve had to do that on pretty much all my guitars.  In a word the guitar looks superb and plays incredibly.

Here’s a couple of images both before and after the pick guard was mounted.

Thanks again.  My go to guitar!

Posted on

Mirek’s simple beauty…..

Dear Phil

the kit you sent me way exceeded my expectations. Beautiful EBONY fretboard …..the quality of the fretwork and the woodworking throughout is outstanding please see attached photo. Sincere thanks for enabling me to have an instrument of a quality that i could not normally afford.

If you want then please use the image in any way that you want…….I encourage you NOT to lose your passion for the work you are doing….it is impossible to work with timber to this standard without truly caring for what you are doing. The guitar neck is the best quality I have ever seen I first picked a guitar up over 40 years ago.

When i can afford it I will definitely order again from you…..

Truly sincere THANKS….ax2

Posted on

Yann Part Deux

Just occurred to me I never sent you pics of the build.

Guitar turned out great sounds great , feels great. Went with the tru oil finish. The truss rod cover was a custom job done by a guy in Alberta . wood and MOP

the tone pot also acts like a kill switch when pushed down, spring actuated.

really happy with the quality of the fret work , well done.

Posted on

Bruce’s Ocean Blue Beauty..

I love this job… check out what Bruce did with our “bones”


Phil,

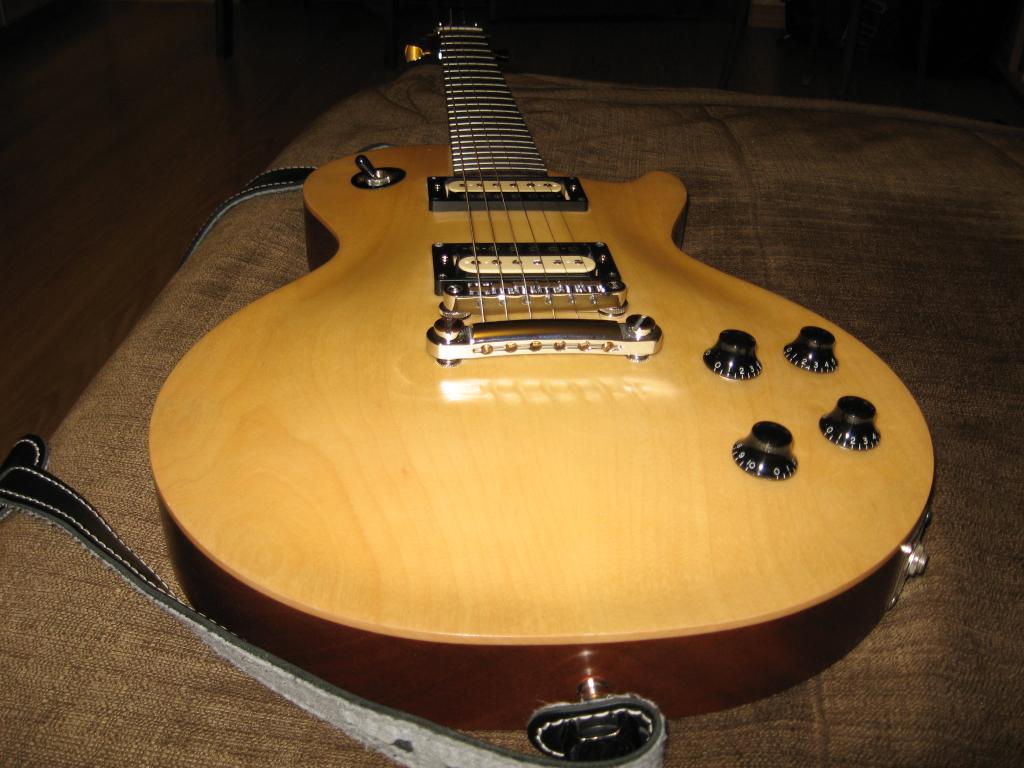
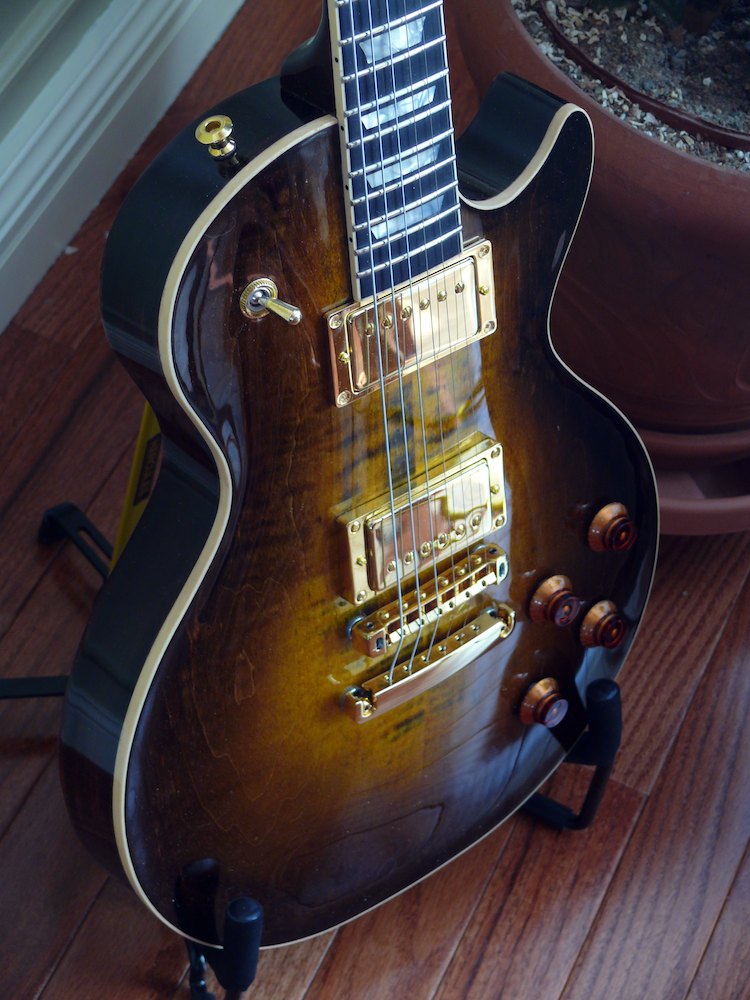
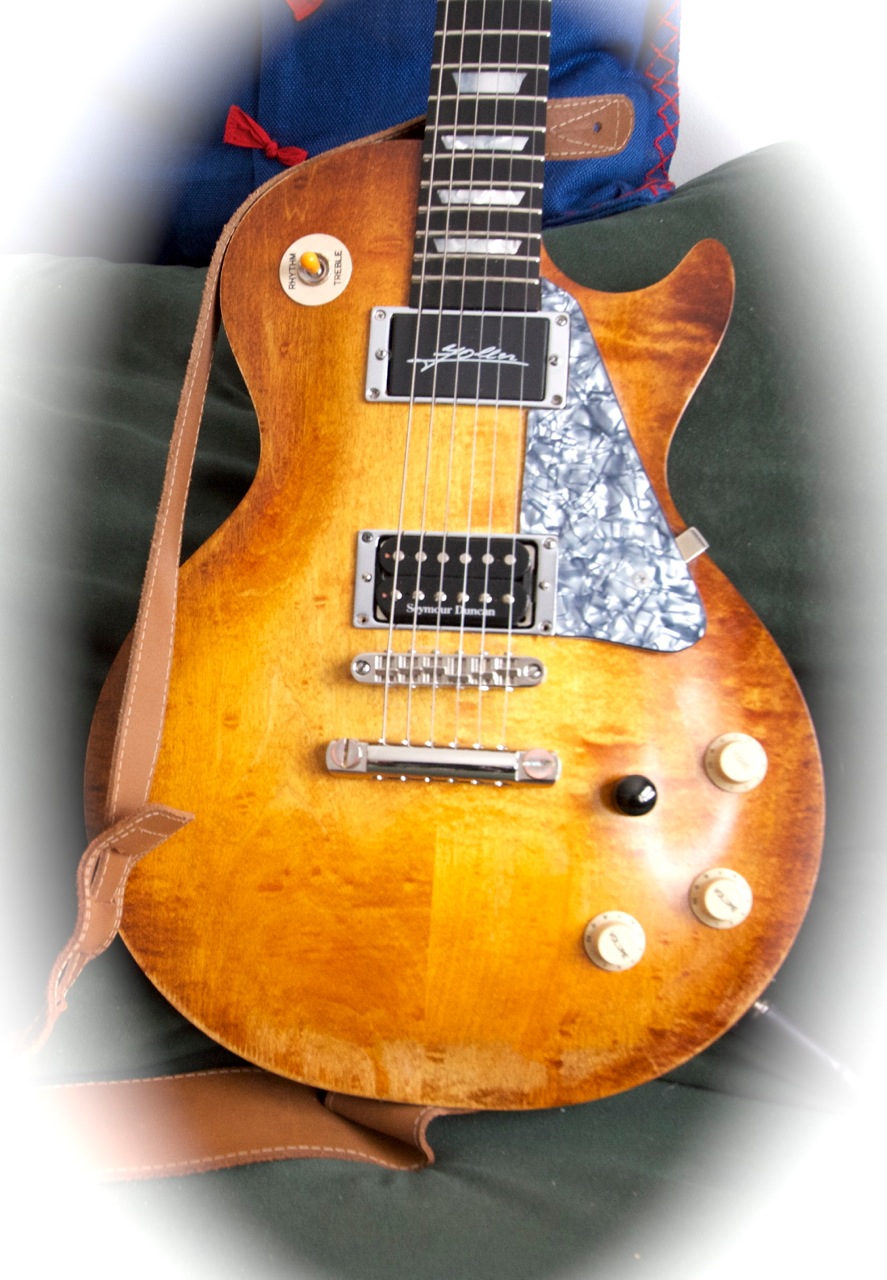
I started with the non chambered ’59 carved top, customized with a flame maple top, ’60s slim tapper neck, ebony fretboard, and trapazoid inlays. I added Grover Rotomatic tuners, and a black TUSQ XL nut by Graph Tech.

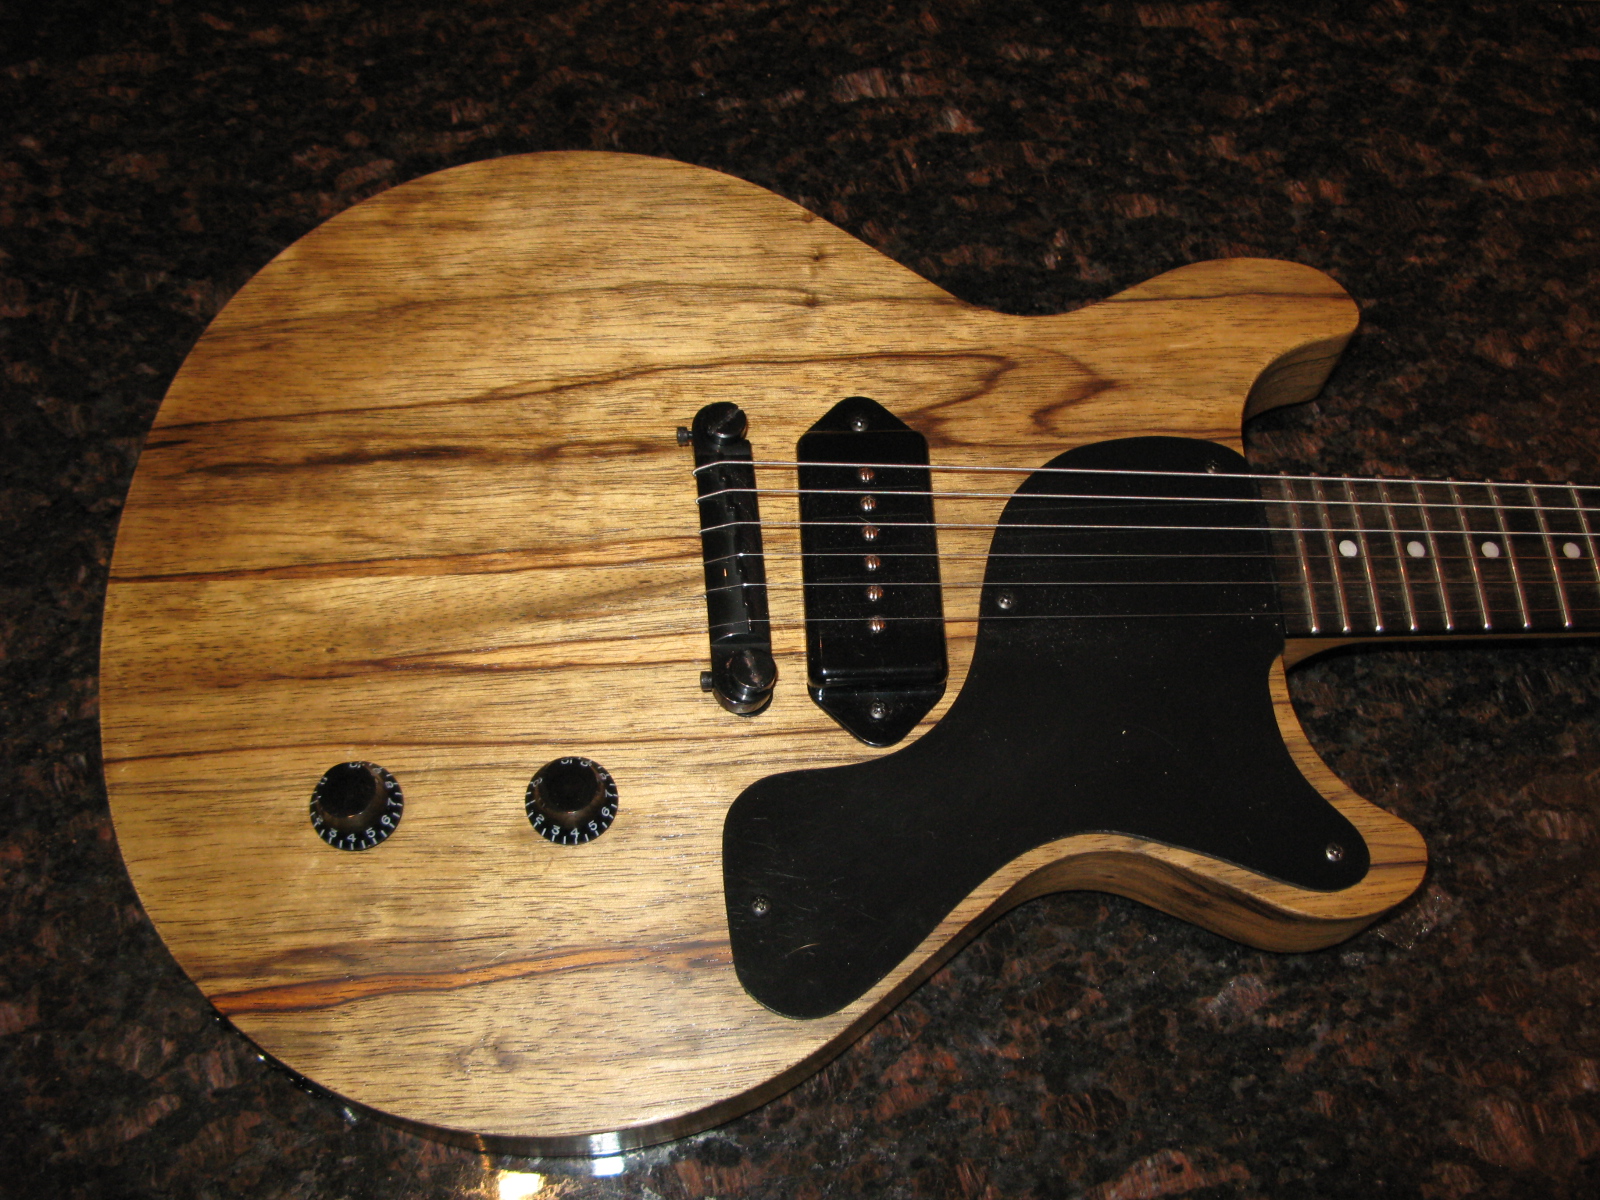
The body only required a little finish sanding and it was ready to receive the dye.

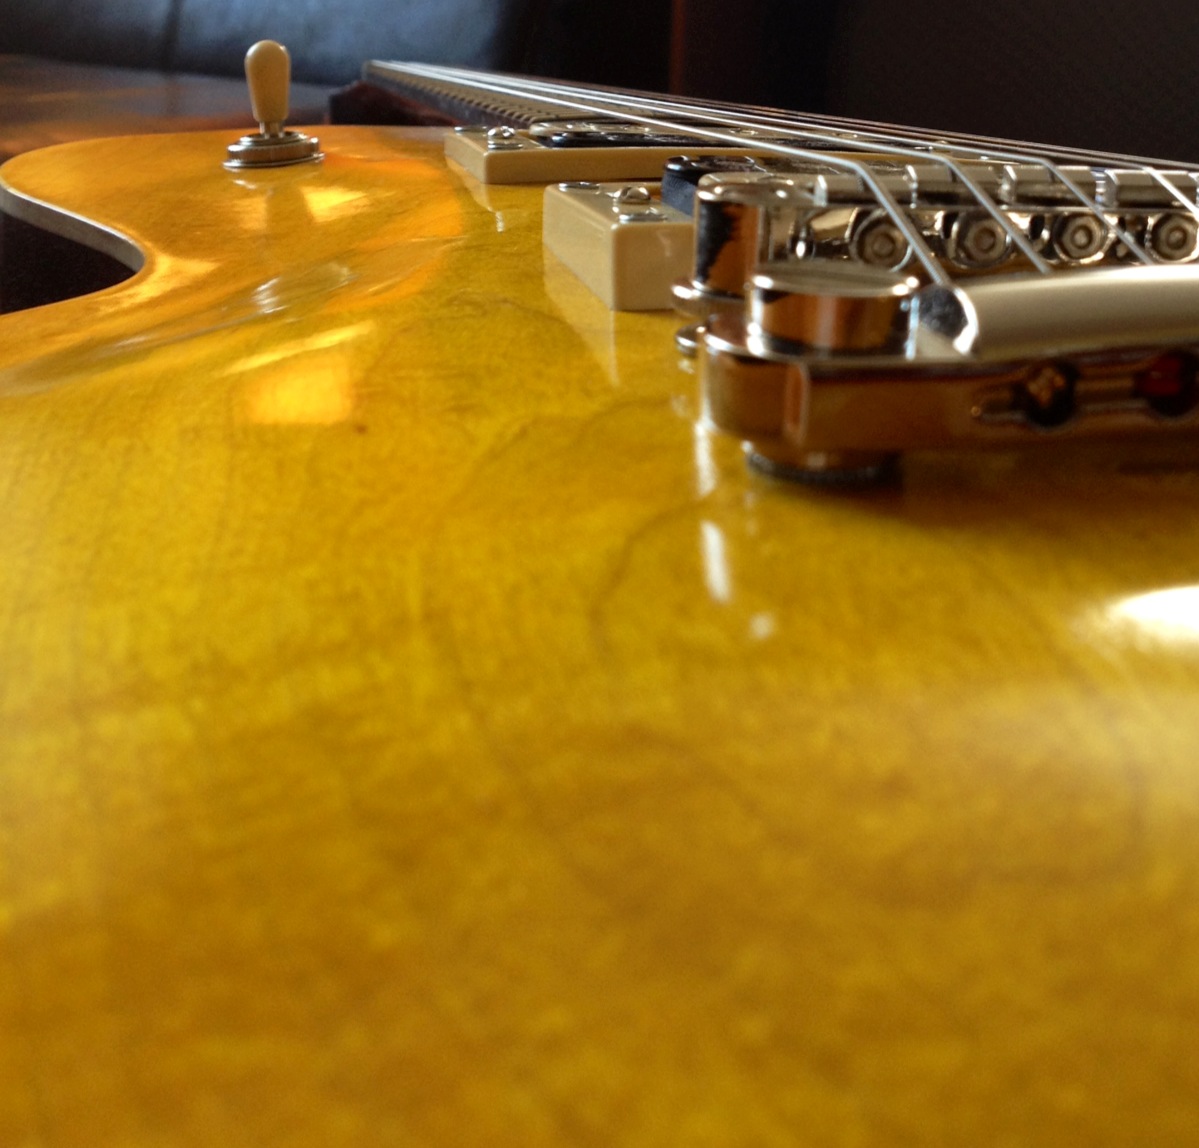
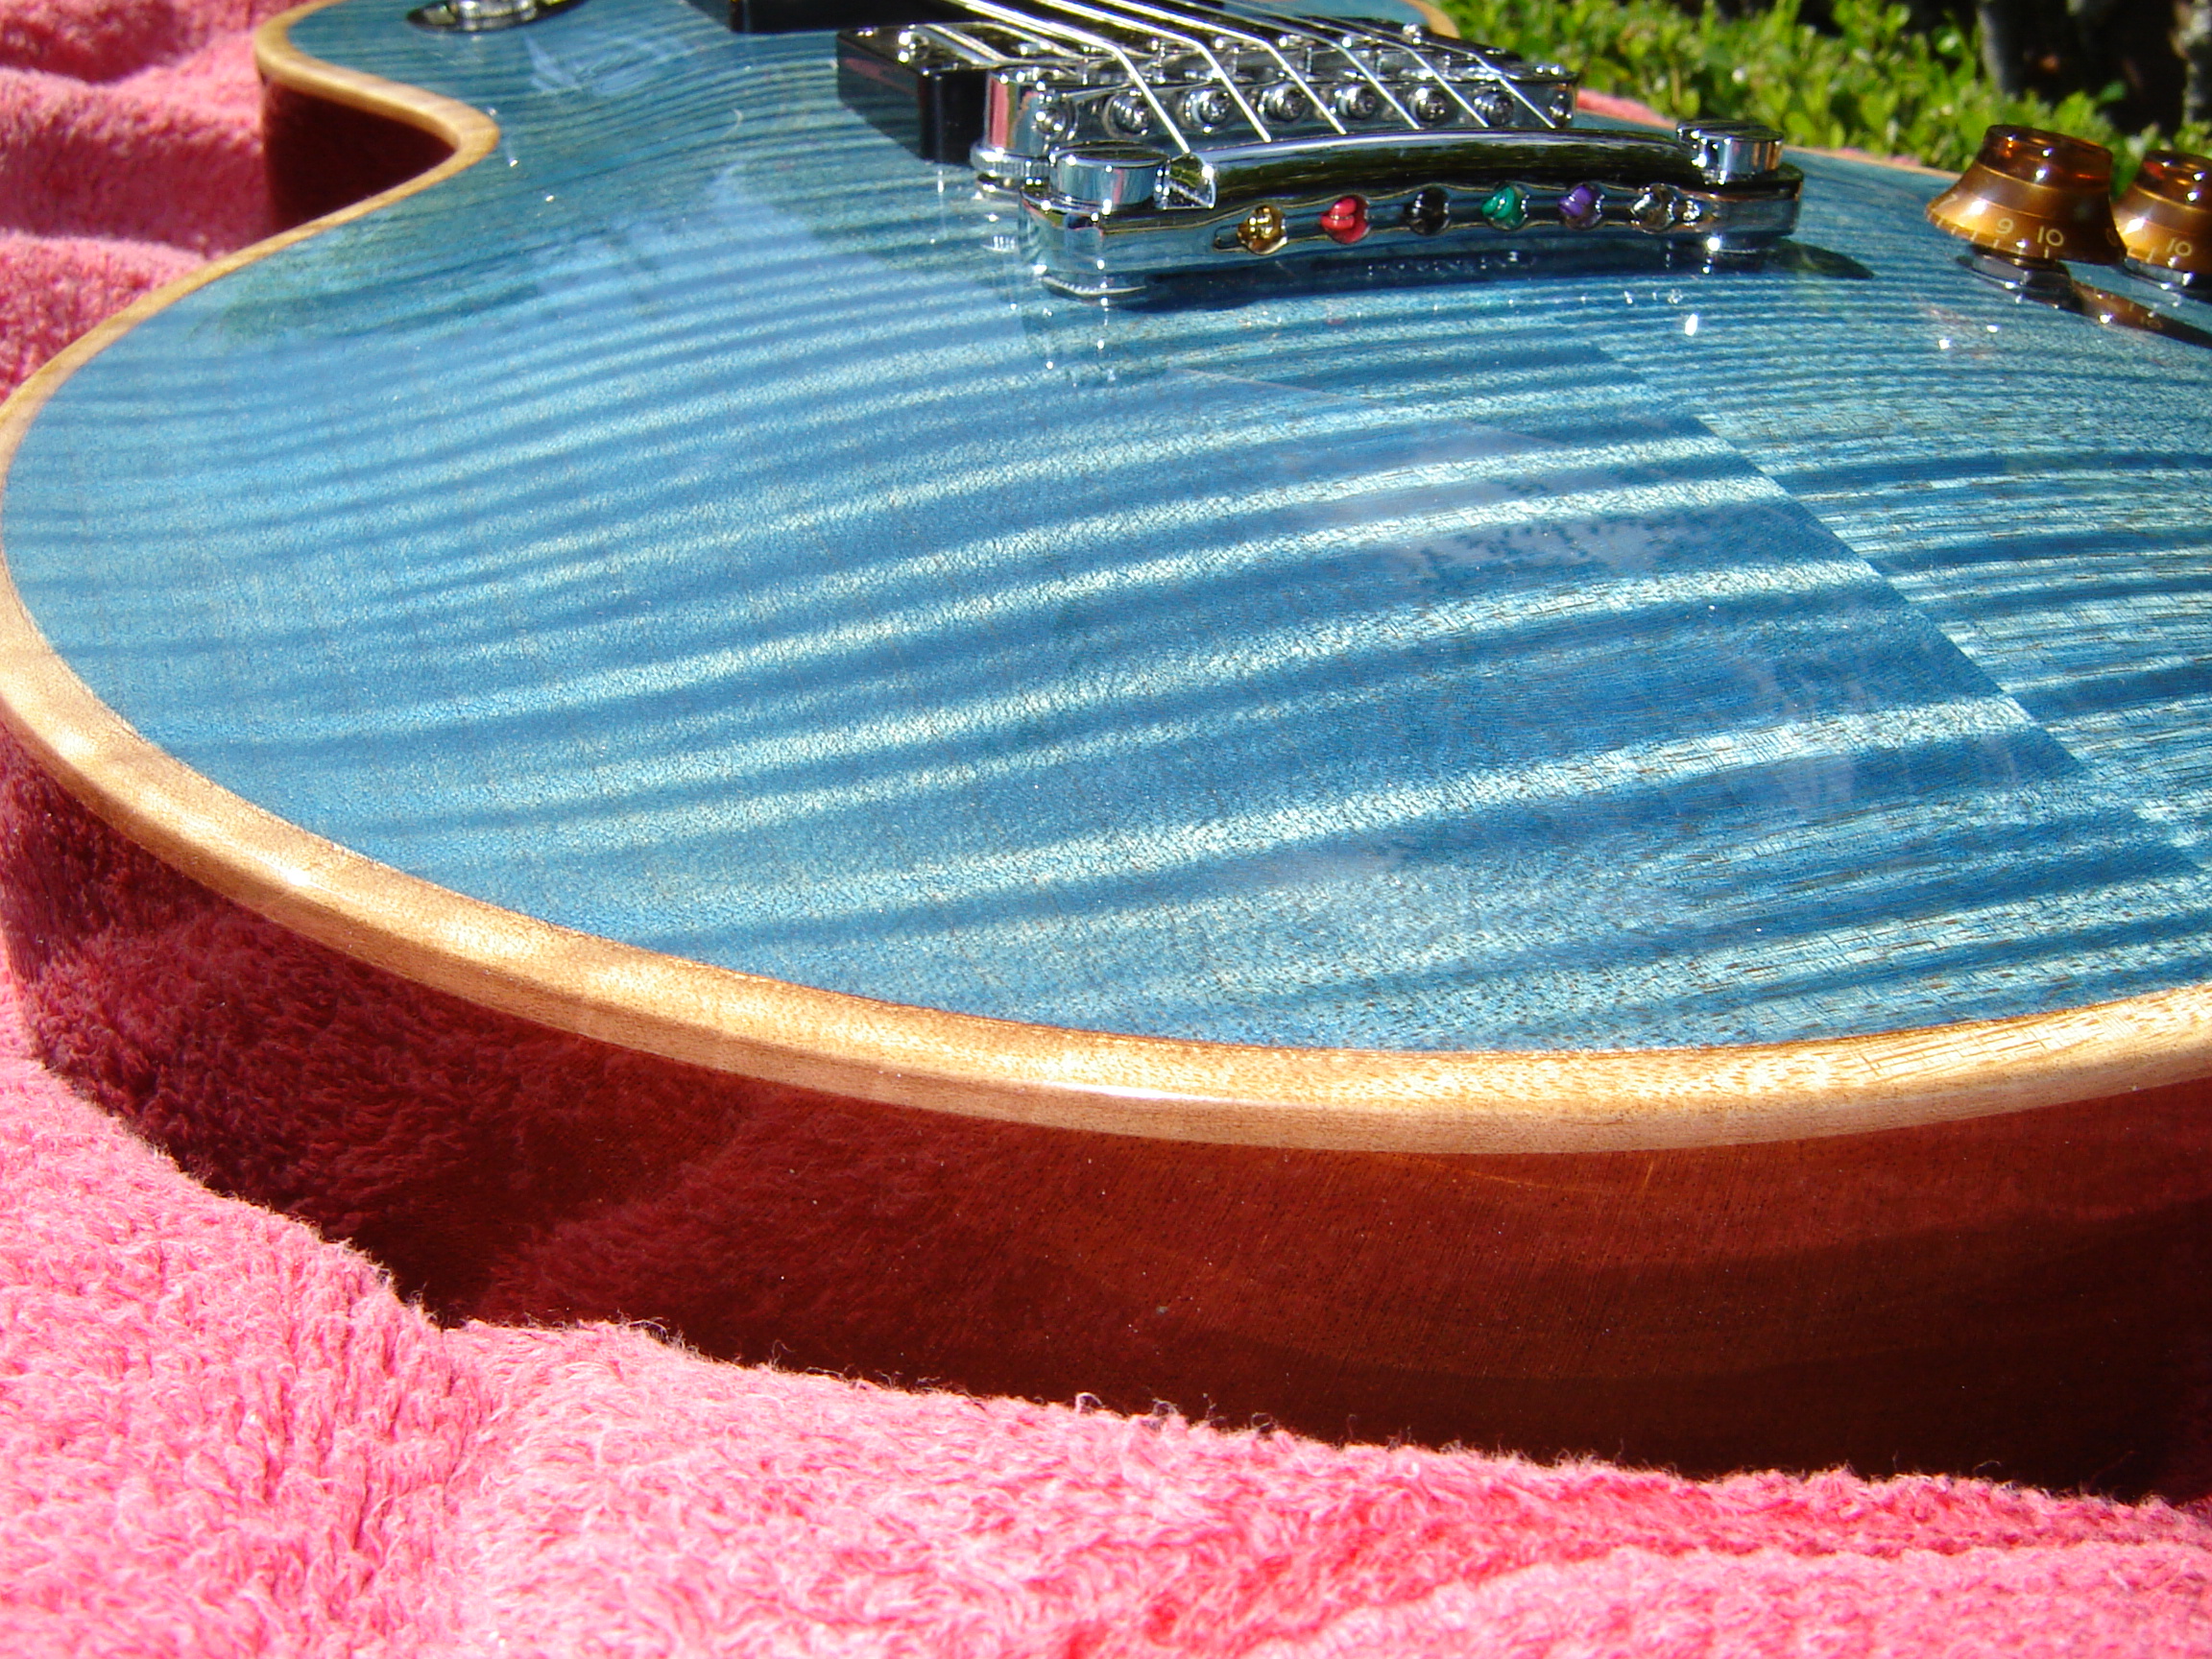
I started by taping off the back and sides, including the natural masked binding area, and applying an initial coat of blue mixed with water to raise the wood grain. After sanding that off leaving the blue in that great flame pattern, I repeated the process 2 more times, the last application was mixed in alcohol to keep from raisng the grain again.

I set the neck and then taped off the top and the masked binding area as well as the fingerboard and stained the back, sides, and neck with a mix of “medium brown” and “mahogany red” dye in alcohol.

Next step was to start adding the layers of nitrocellulose lacquer, sanding between each coat. I finished by rubbing out the lacquer by hand.

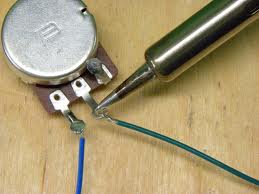
It’s wired up with the Paul Iverson Drop in Pro wiring kit, and a set of Seymour Duncan SH-1 ’59 neck and bridge humbuckers with nickel covers.

The bridge is the Tone Pros Artisan Series T-O-M style bridge and tail piece. Love the locking feature on this set.

The precision of the neck and body made this build a real pleasure.

Thanks for your continued dedication to producing quality neck and body sets.
Bruce