Hey There Phil!
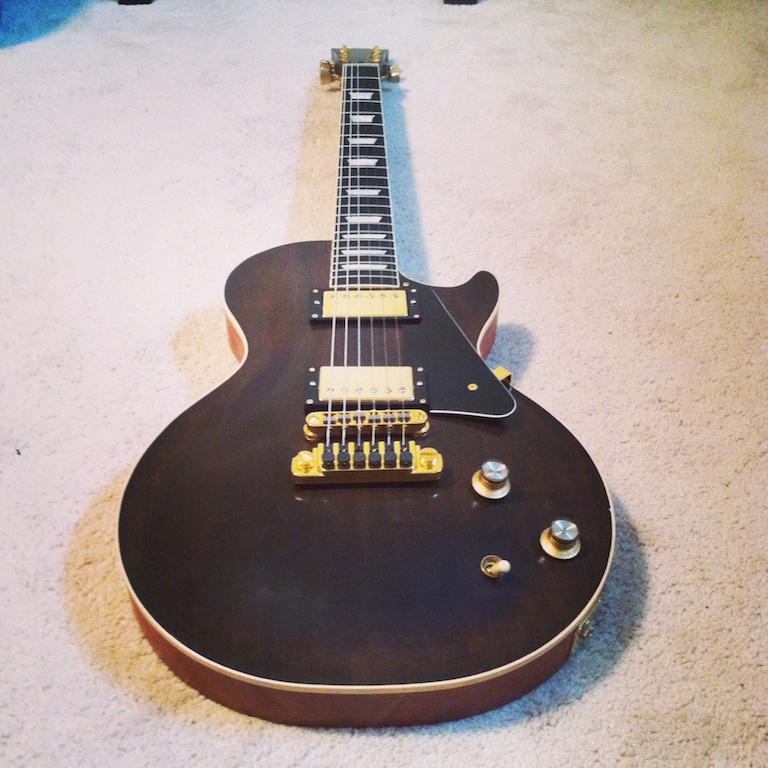
Well, after 4 months, My Junior finally speaks. I should say ROARS.
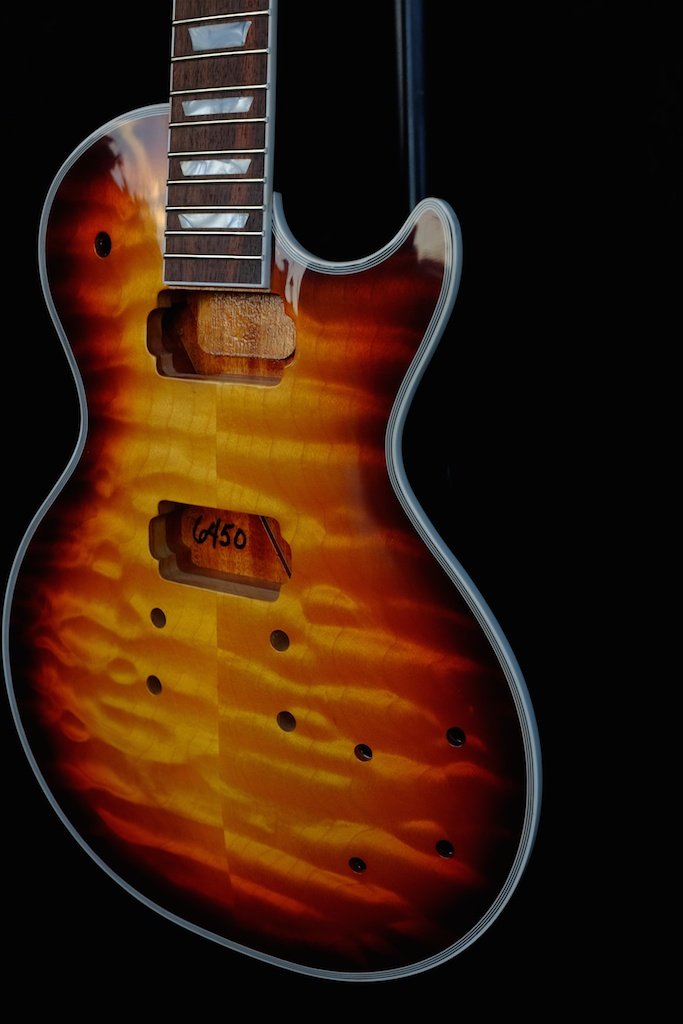
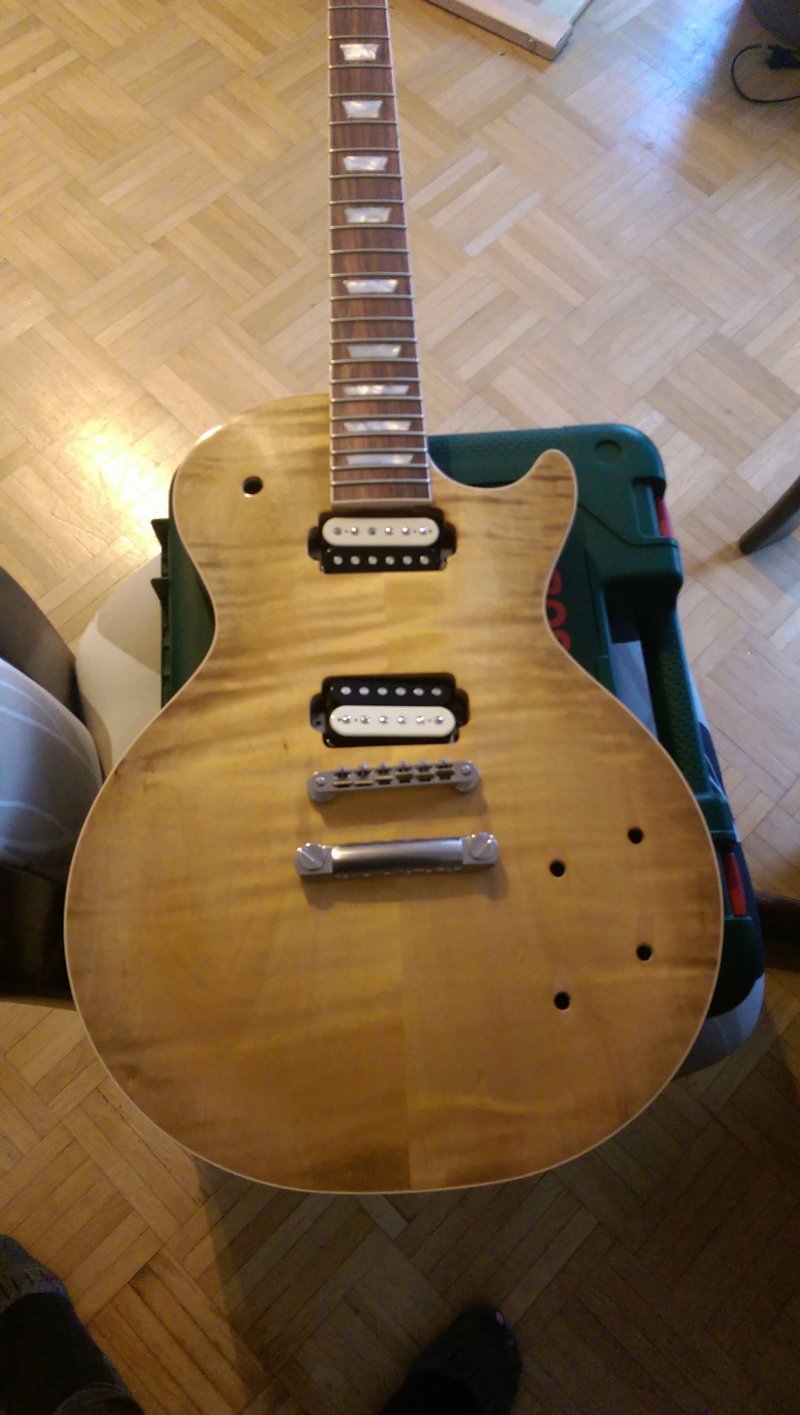
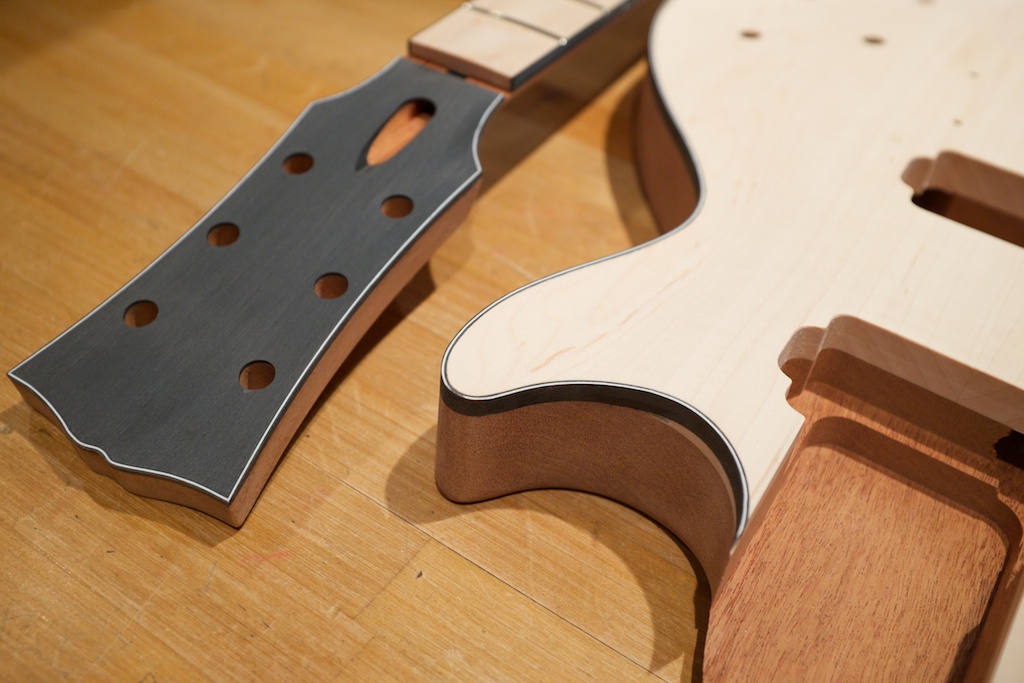
The quality of the CNC machined body and neck, as well as the finish sanding and fretwork from Precision made for a near ready-to-finish project. I did a little work with grain filler and sanding sealer and then I was off to my homemade spray-booth to apply the Nitro, Gibson Black (Body/headstock), and satin clear nitro to the neck.
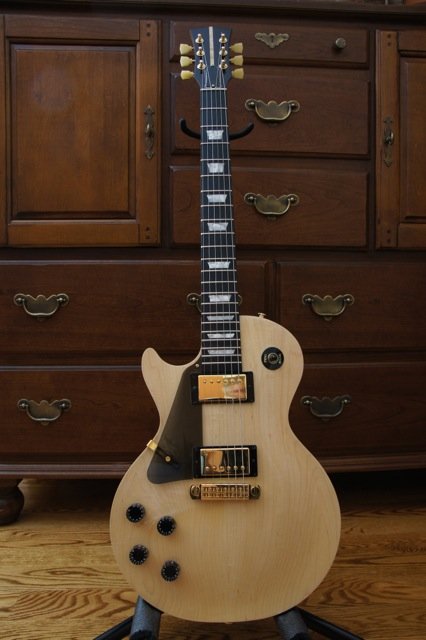
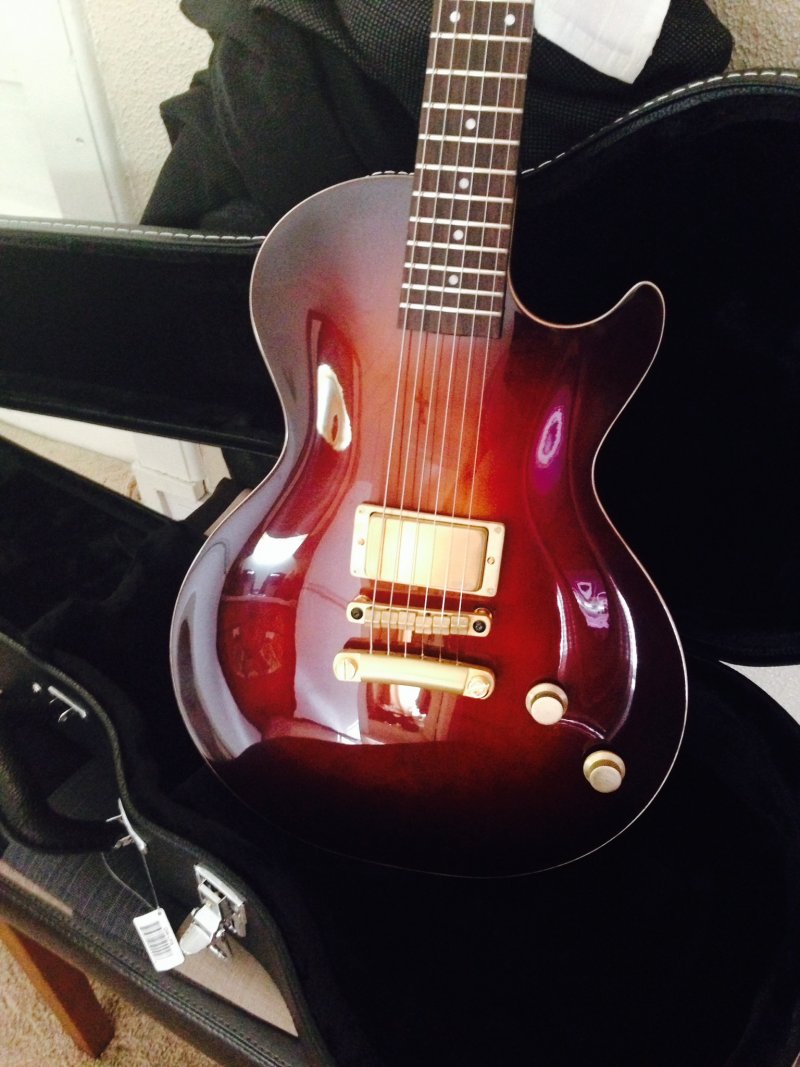
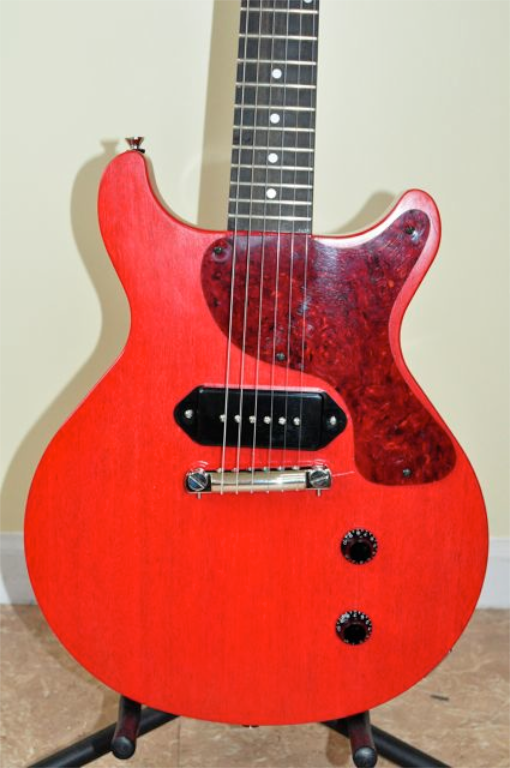
I was going for the contrast-y body/neck look of the early Melody Makers. Considering my lack of professional spray equipment I think I hit my mark with the rattlecans. Prep-work, painting and patience were the hardest most time consuming parts of the build. I ended up doing a greatdeal of research on StewMacs site, while waiting for paint to set up or dry. Their finishing shcedule is really easy to follow and incredibly helpful. Also I watched and re-watched the Will Kelly videos from the Precision site. The more I read and viewed, the more confident I became. I was a little nervous on decal application day, as I didn’t want to screw up the guitar’s identity.
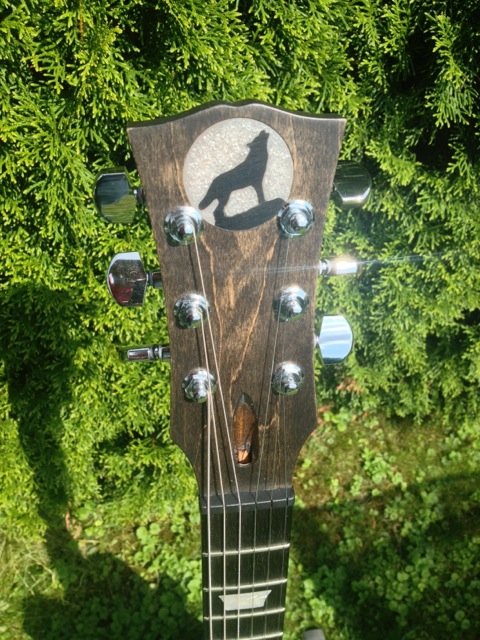
The Guitar is named after my great grandmother, Violet Follwell. I think I will be using Follwell as my “brand” for all future builds.
By the time the Nitro had cured to the point I was ready for polishing and assembly, the parts were rolling in from all over. The UPS, FedEx or postal worker was dropping little cardboard gifts on the front porch almost daily. It was an exciting time. Some of the parts were supplied by Precision, while others were ordered through StewMac, Philadelphia Luthier or All Parts. Here’s the list:
- ’58 doublecut junior
- Reranch Nitrocellulose: satin clear, black
- Tonepros inline tuners
- Backplate
- Cream pickguard
- Cream Jack plate and P-90 cover
- Gold and silver top hat knobs
- Unbleached bone nut
- Gotoh aluminum wraparound tailpiece and studs (asian specs)
- Wolfetone P-90 “Meaner” (incredible pickup)
- Tundratone- Junior wiring harness 500k Vol., 250k Tone (Steve does tremendous work. If you’re going to be gigging, his work is nearly bombproof. The solder work is art. Tundratone.com).
- Strap Buttons
- Custom Gold Decals and Trussrod cover ebay sellers
Tools that I needed too:
- Nut Seating File 3/8”
- Hiroshima Nut Files
- Caliper
- Machinists ruler/straight edge
Assembly and setup went very smoothly. One day for careful installations and a second day for setup. Again I took to YouTube to watch soldering videos and practiced soldered some beat up, old guitar cables that I had been meaning to fix for a while.
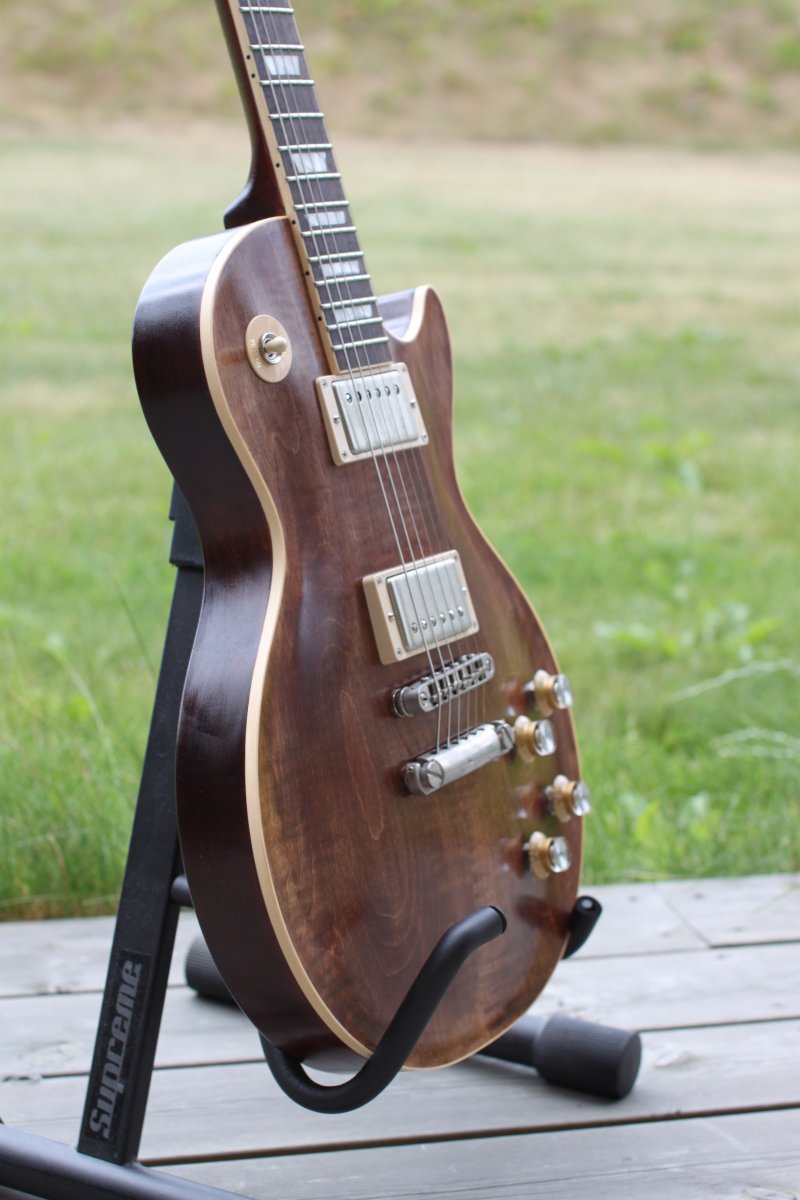
I couldn’t be more pleased with the results. Violet looks just the way I imagined she would. The action is low and fast and the satin finish on the neck and neck diameter give it a great worn-in, vintage feel. The master design and fit of the kit, as well as the fretwork applied by Precision made the build nearly worry-free. The only things I’m still in the hunt for is a hard case and more time to turn up the amp and play her.
I will definitely build another.
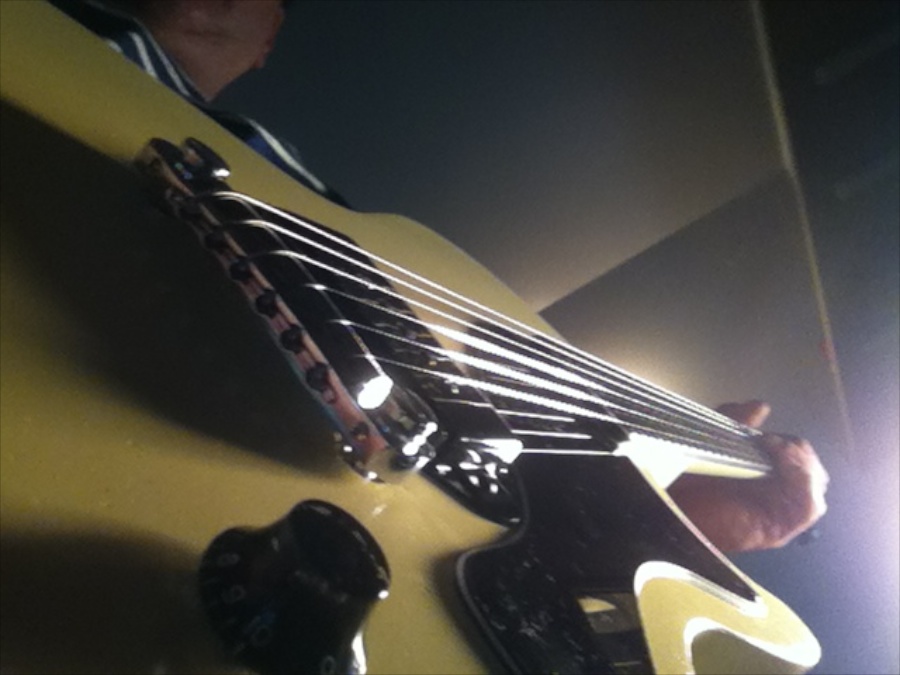
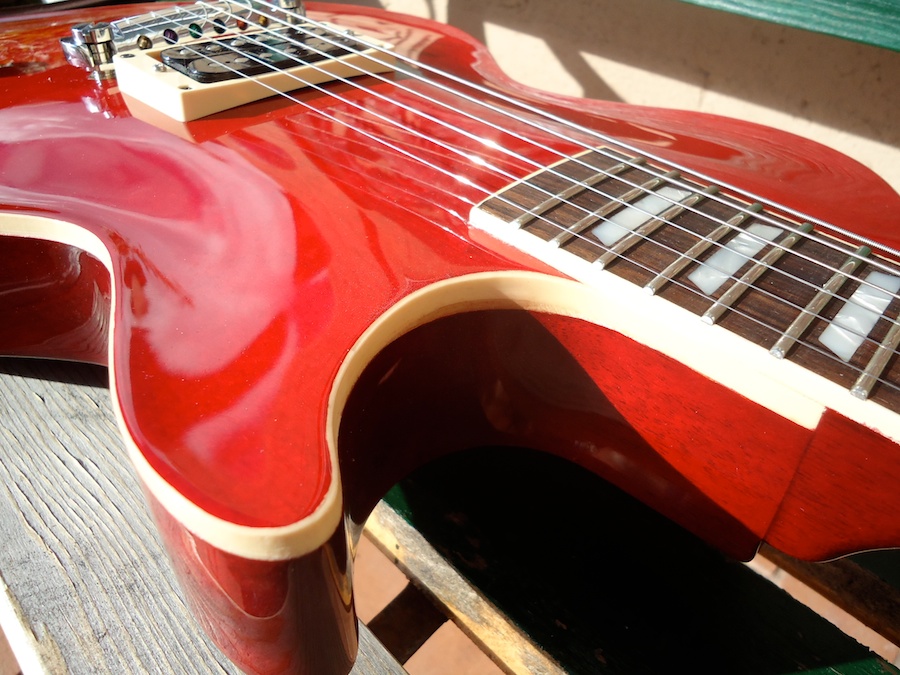
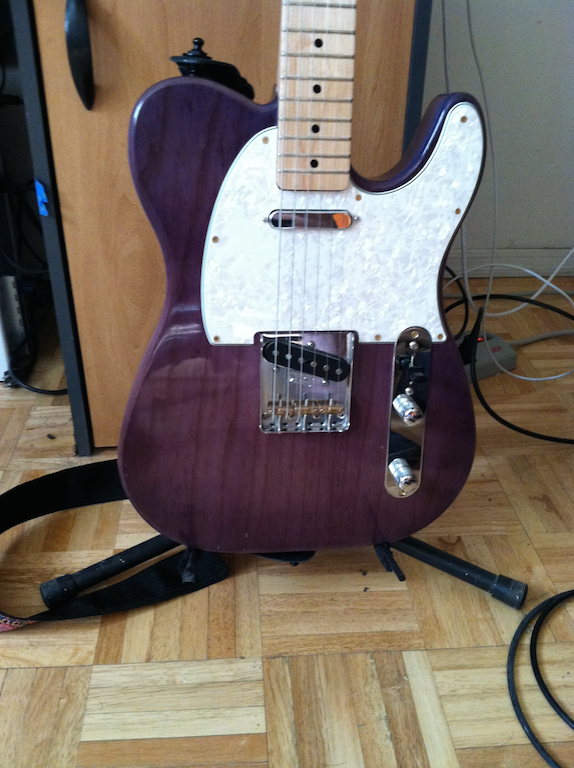
I am attaching a sample of some of the photos of the finished product and a few of the process.
Thanks again, Phil!
-Todd
[ngallery id=131]