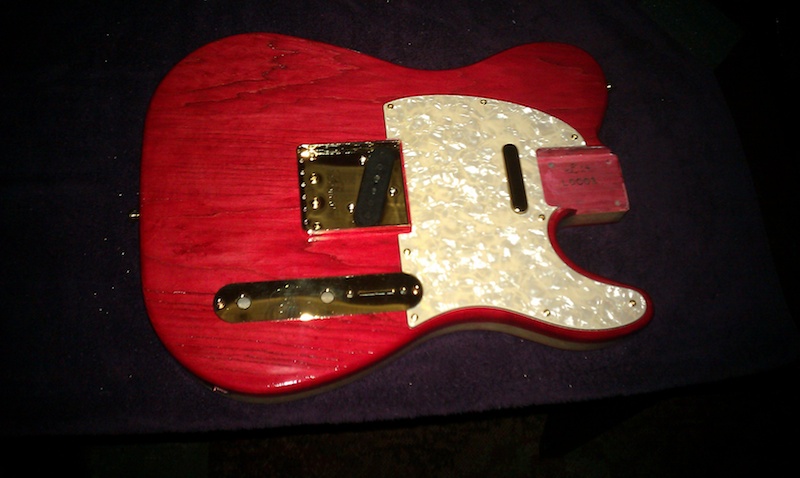
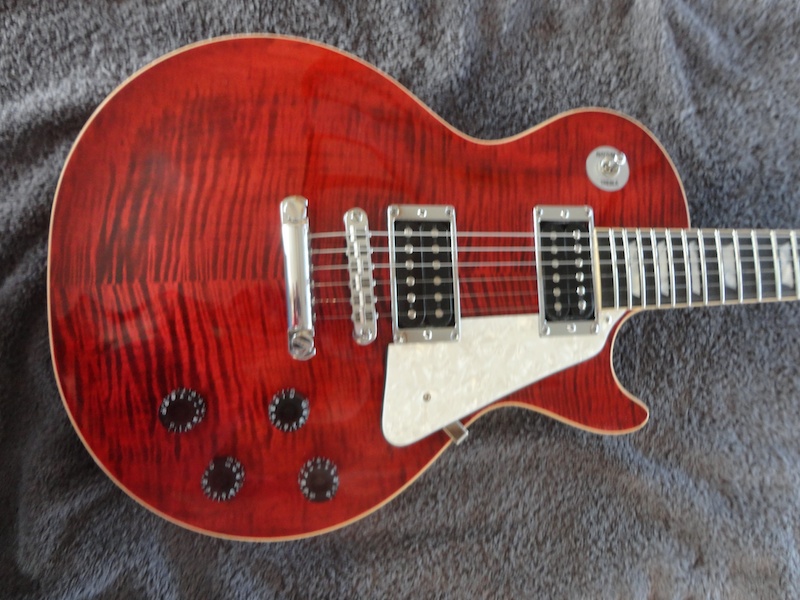
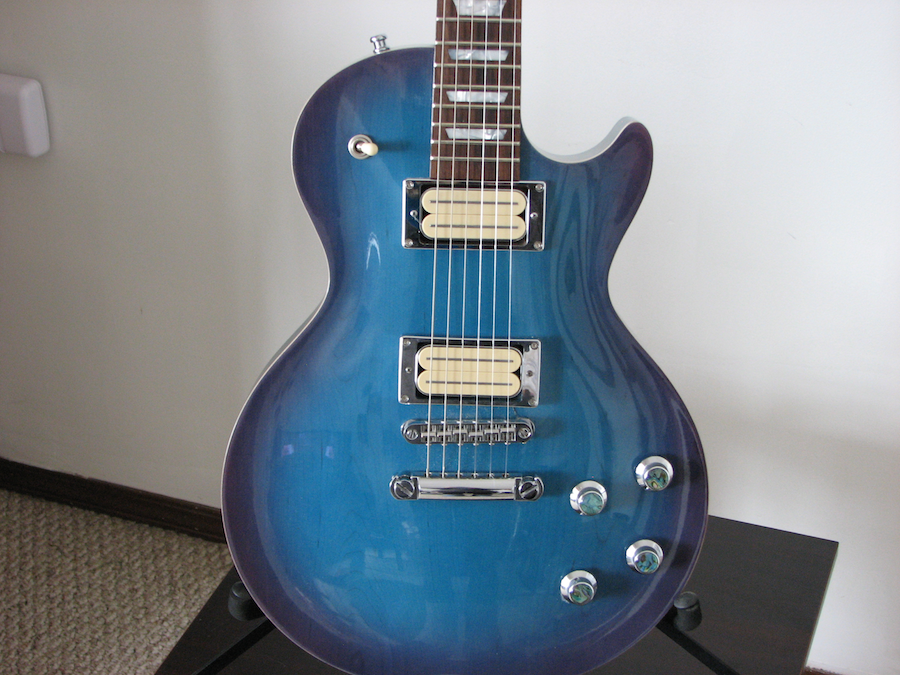
finally finished this project (sans pickguard, which I still have to make).
The guitar came out phenomenal. There are a lot of flaws you can’t see in the photos, mostly due to the learning experience that came with veneering the top, but I’ll wear those flaws as badges of the process.
Even unplugged this guitar sound fantastic. The whole thing is pretty unique.
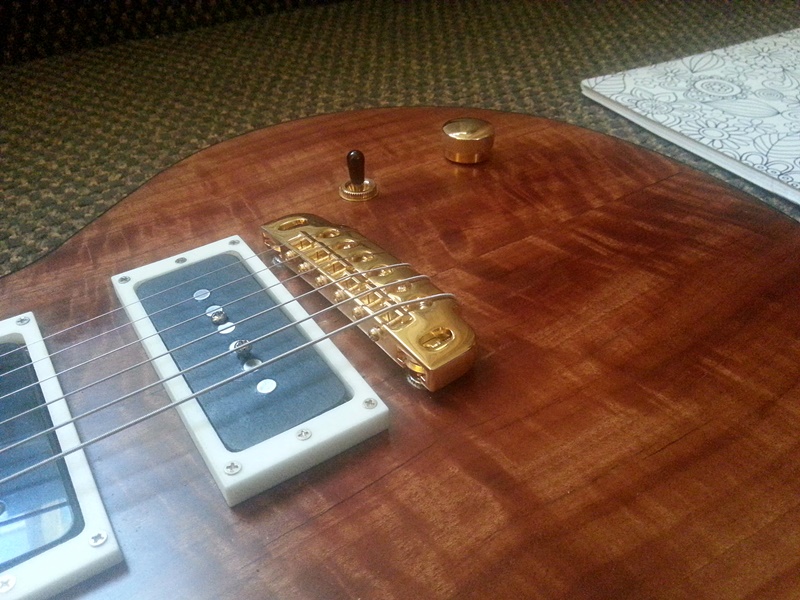
The bridge pickup is a custom “Tele-90” from Zhangbucker. It’s built like a telecaster bridge pickup but housed in a p90 format. It even has the big nickel steel backplate. The sound is not quite the same as telecaster due to the shorter scale and different bridge style, but it gets quite close. The shorter scale helps mellow out the ice-pick sound a tele normally has. It’s super clear but can bite with a little overdrive. Moving it close to the strings sounds fantastic, as well. It’s an entirely different, aggressive sound.
The neck pickup is a cheap import p90 that I ripped the ceramic magnets off of and replaced with Alnico III. I put it in as a placeholder, but It sounds surprisingly good. I may keep it.
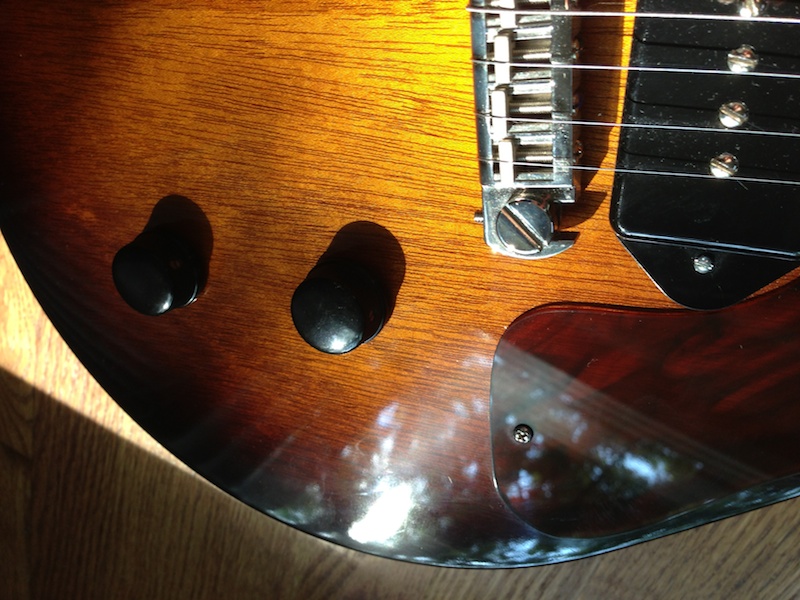
The pickup rings were designed by me in Rhino3d and then printed via Shapeways.
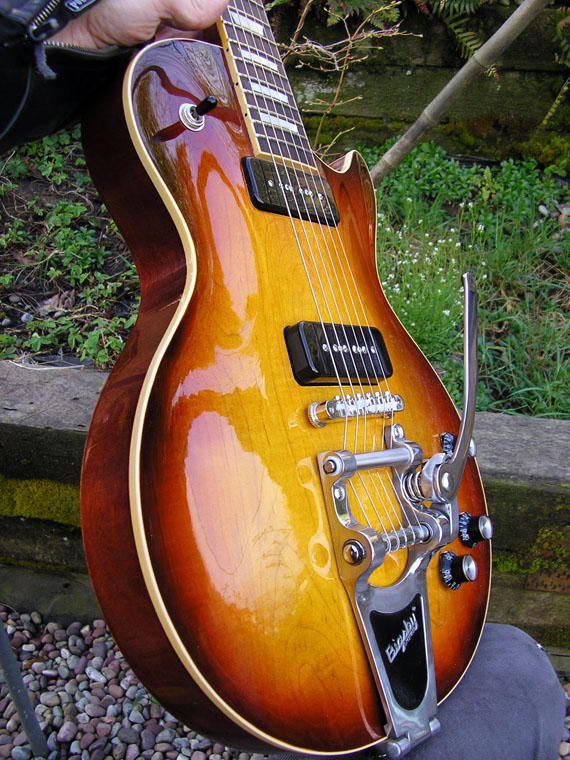
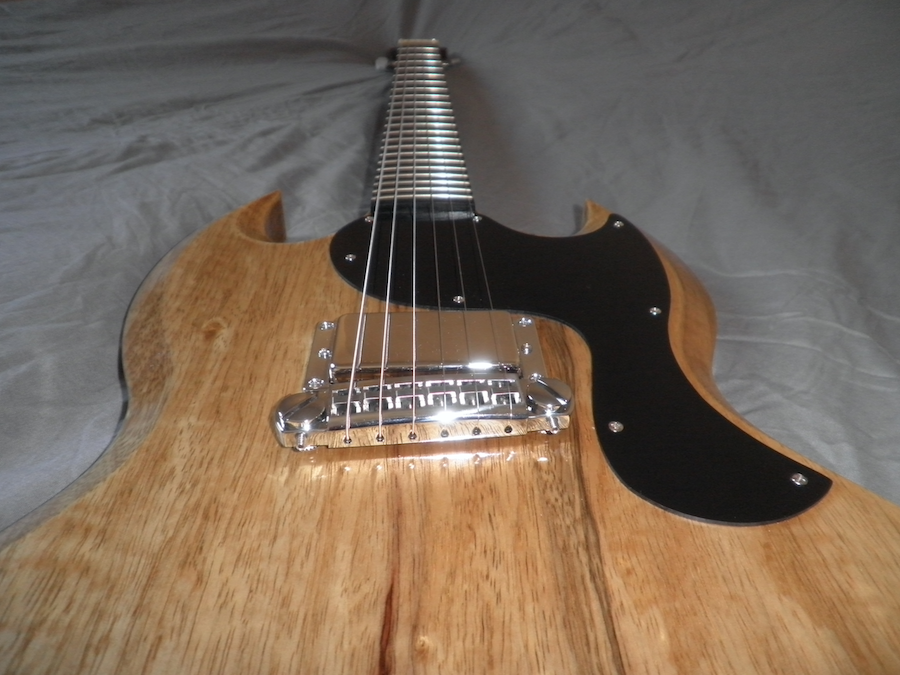
The bridge is a Gotoh 510 wraparound that I’m pretty fond of.
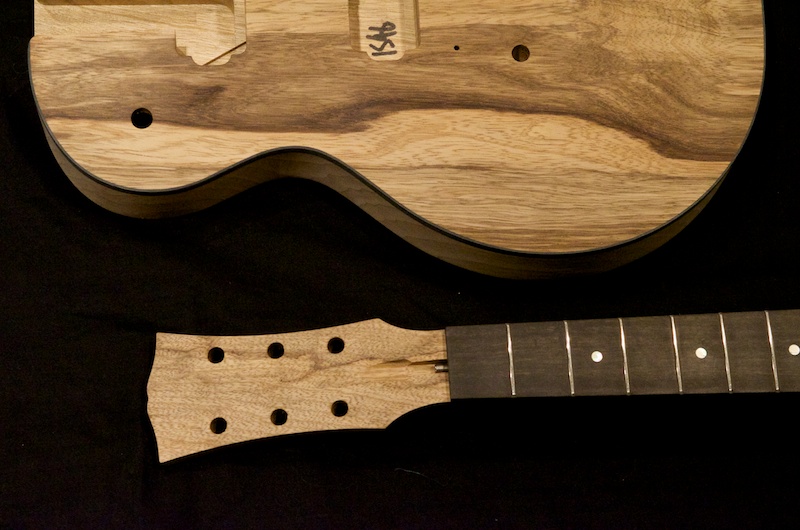
Tuners are cheapo import Sperzel style tuners (waiting for my schallers to come in). They do the job quite well, despite only costing $20.
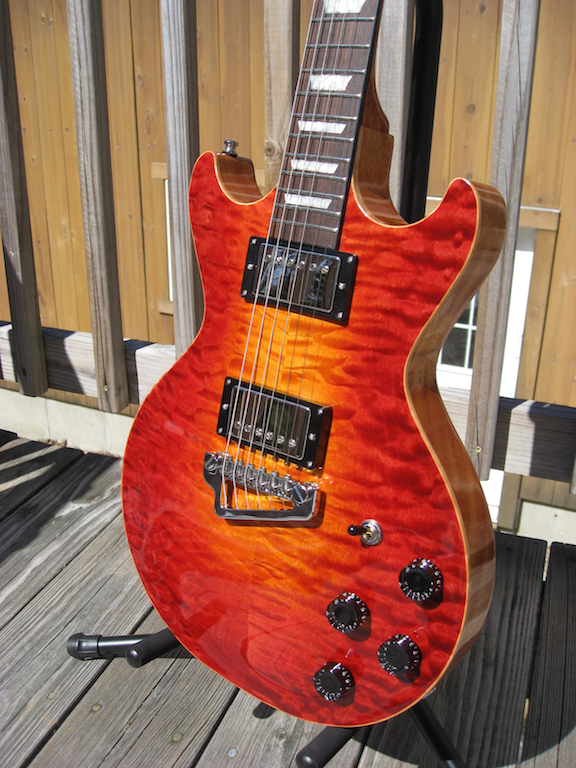
The top is a veneer of curly Makore (african cherry).
To finish, I used z-poxy as grain filler (apply, then sand down–repeat), then I used MinWax wipe-on satin poly for the body and neck, and the MinWax brush-on glossy for the headstock. I particularly like the wipe on satin. It works well and was very easy to use.
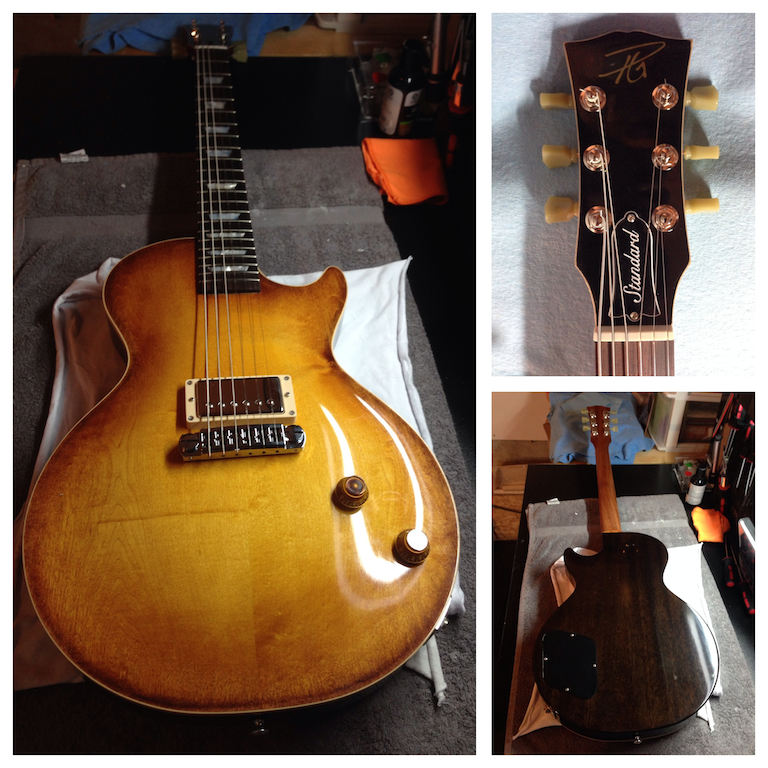
The headstock decal was a Metallic Print of my own design from Mpix. I designed it to fit the headstock exactly, then cut it precisely. I painted the headstock black prior to applying the photo, then I attached it with photo adhesive as a headstock veneer. Once it was set, I sprayed some duplicolor clear adhesion promoter primer on top, and then applied minwax brush on gloss with a foam brush after the primer dried.
The back cavity cover was made with flamed makore veneer. I laminated 5 pieces together to make a heavier stock, then shaped as needed.
The back headstock veneer is also made with flamed makore. I cut a piece close to the dimensions, glued it to the back, cut away what I could with an exacto, then sanded to get a smooth taper.
I wish I had better photos, but my camera is in the shop. I’m just using my cell for these.


")