Posted on

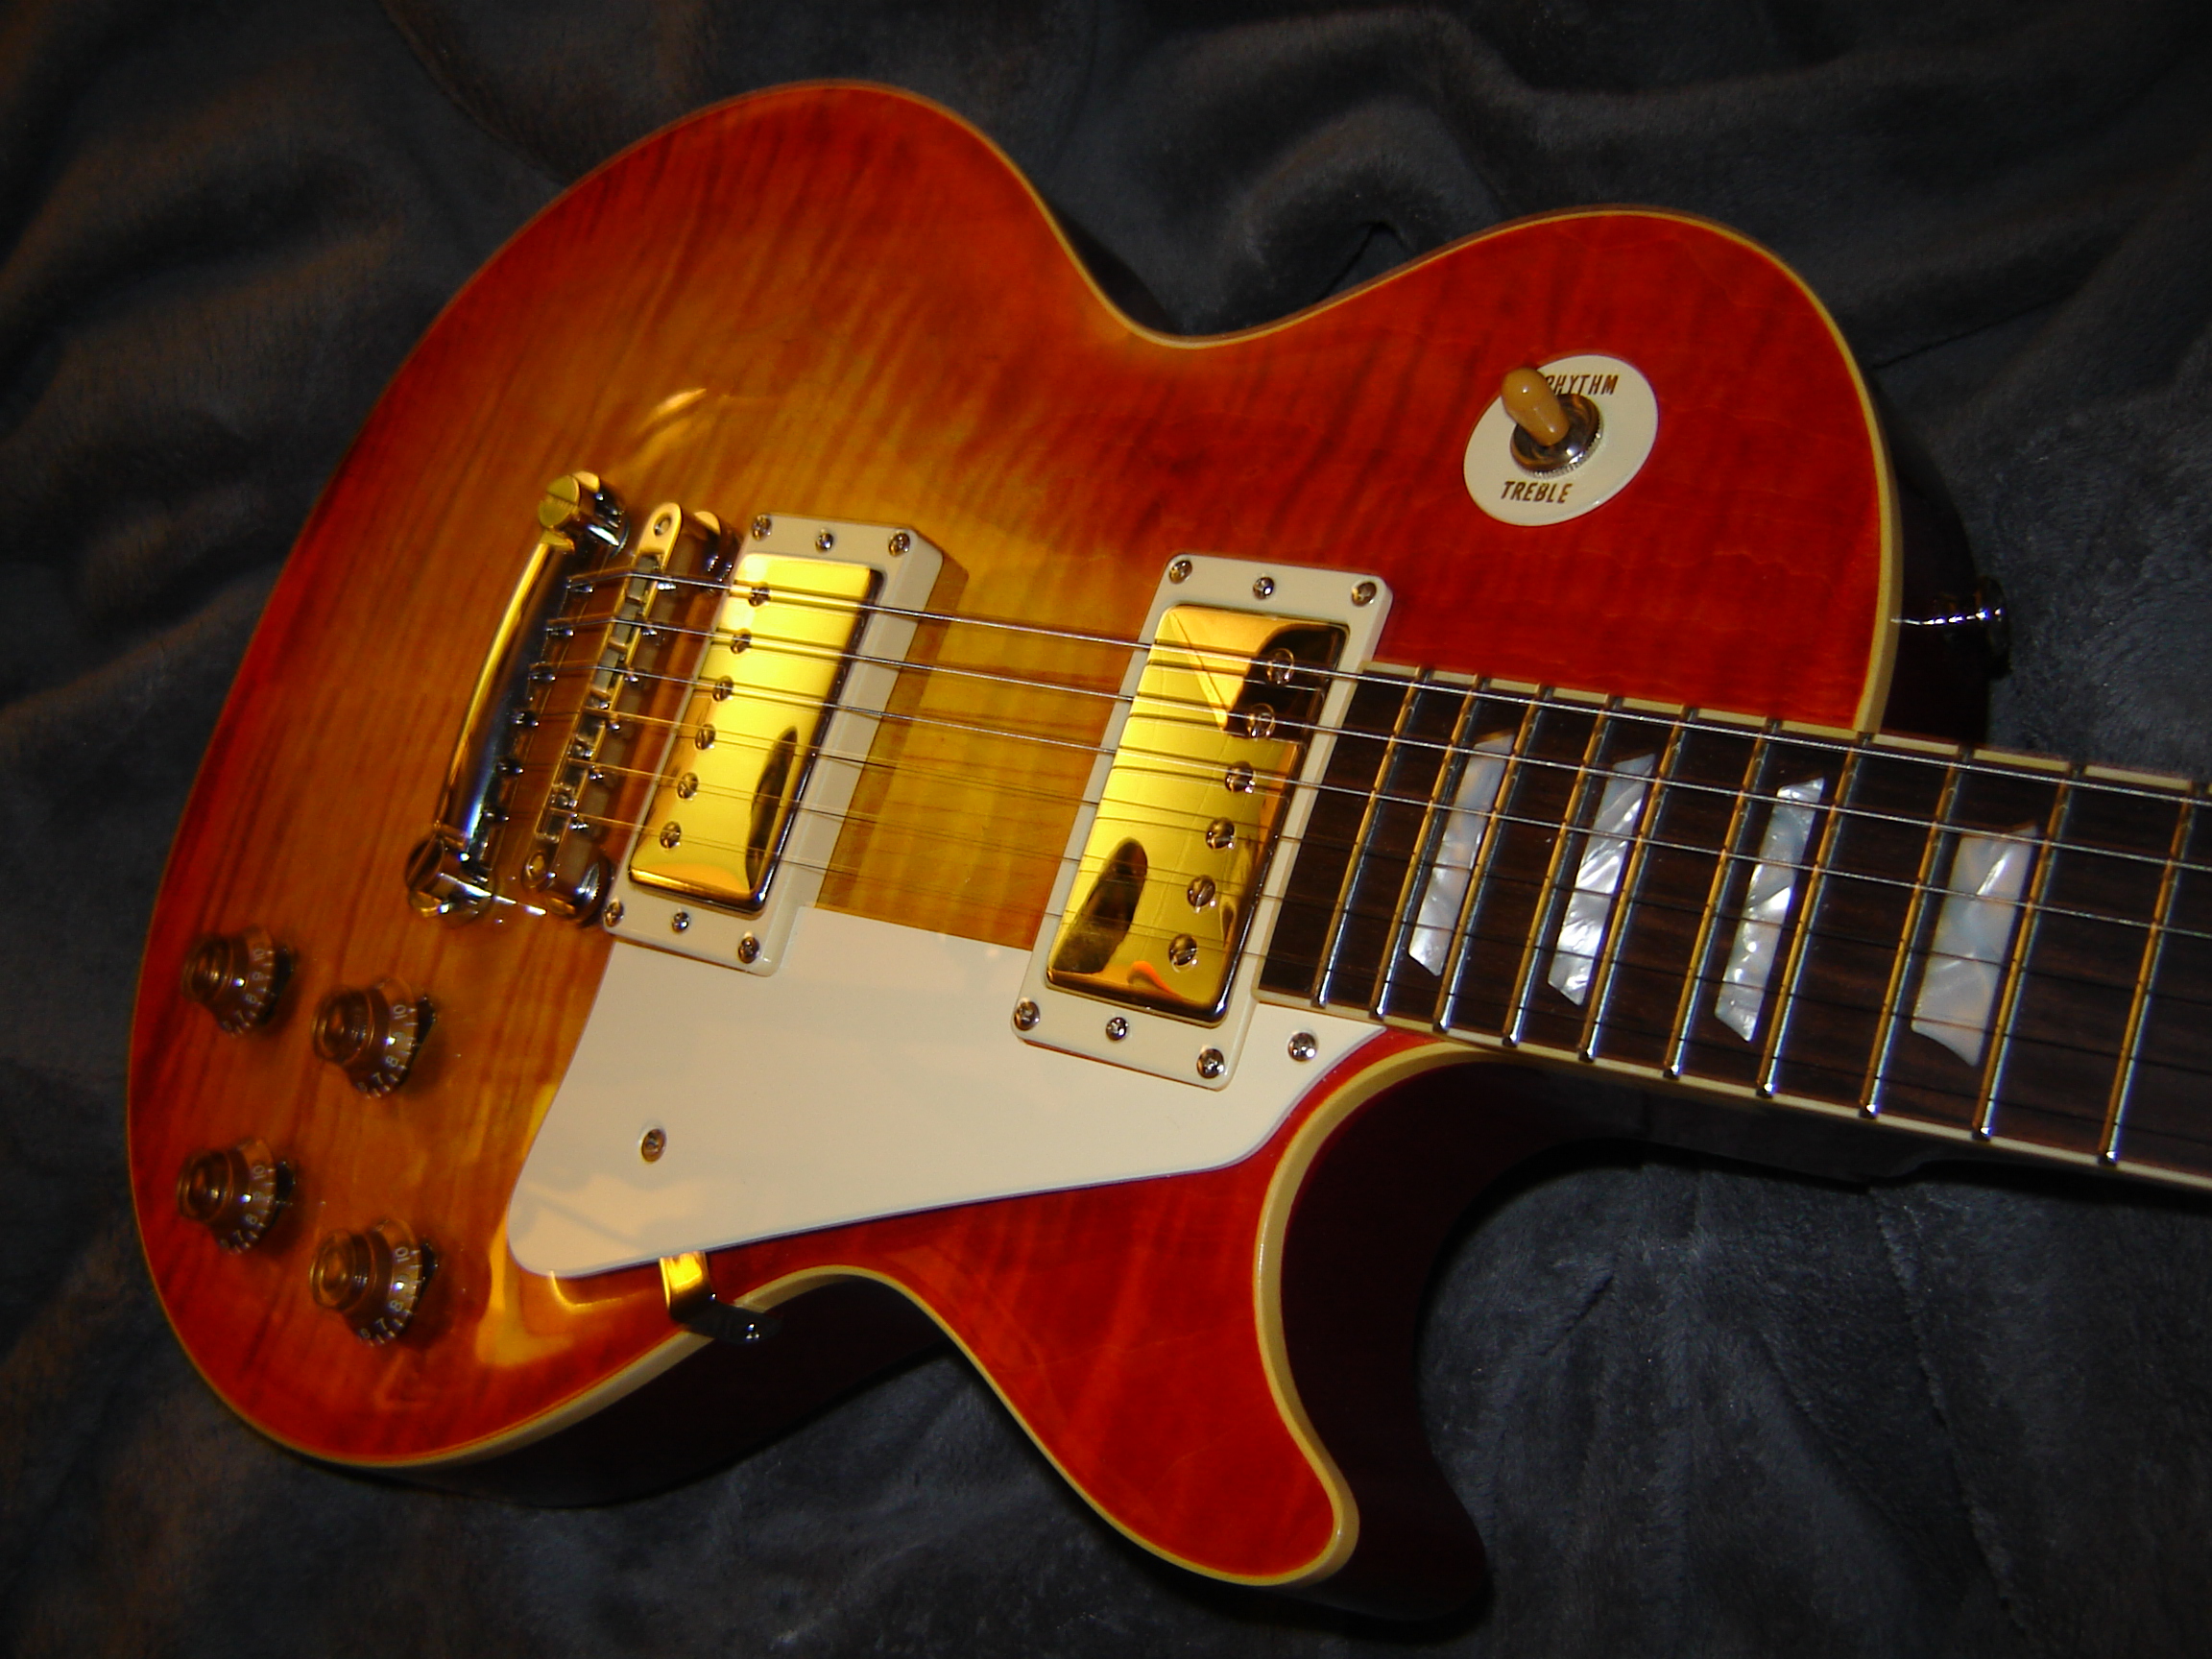
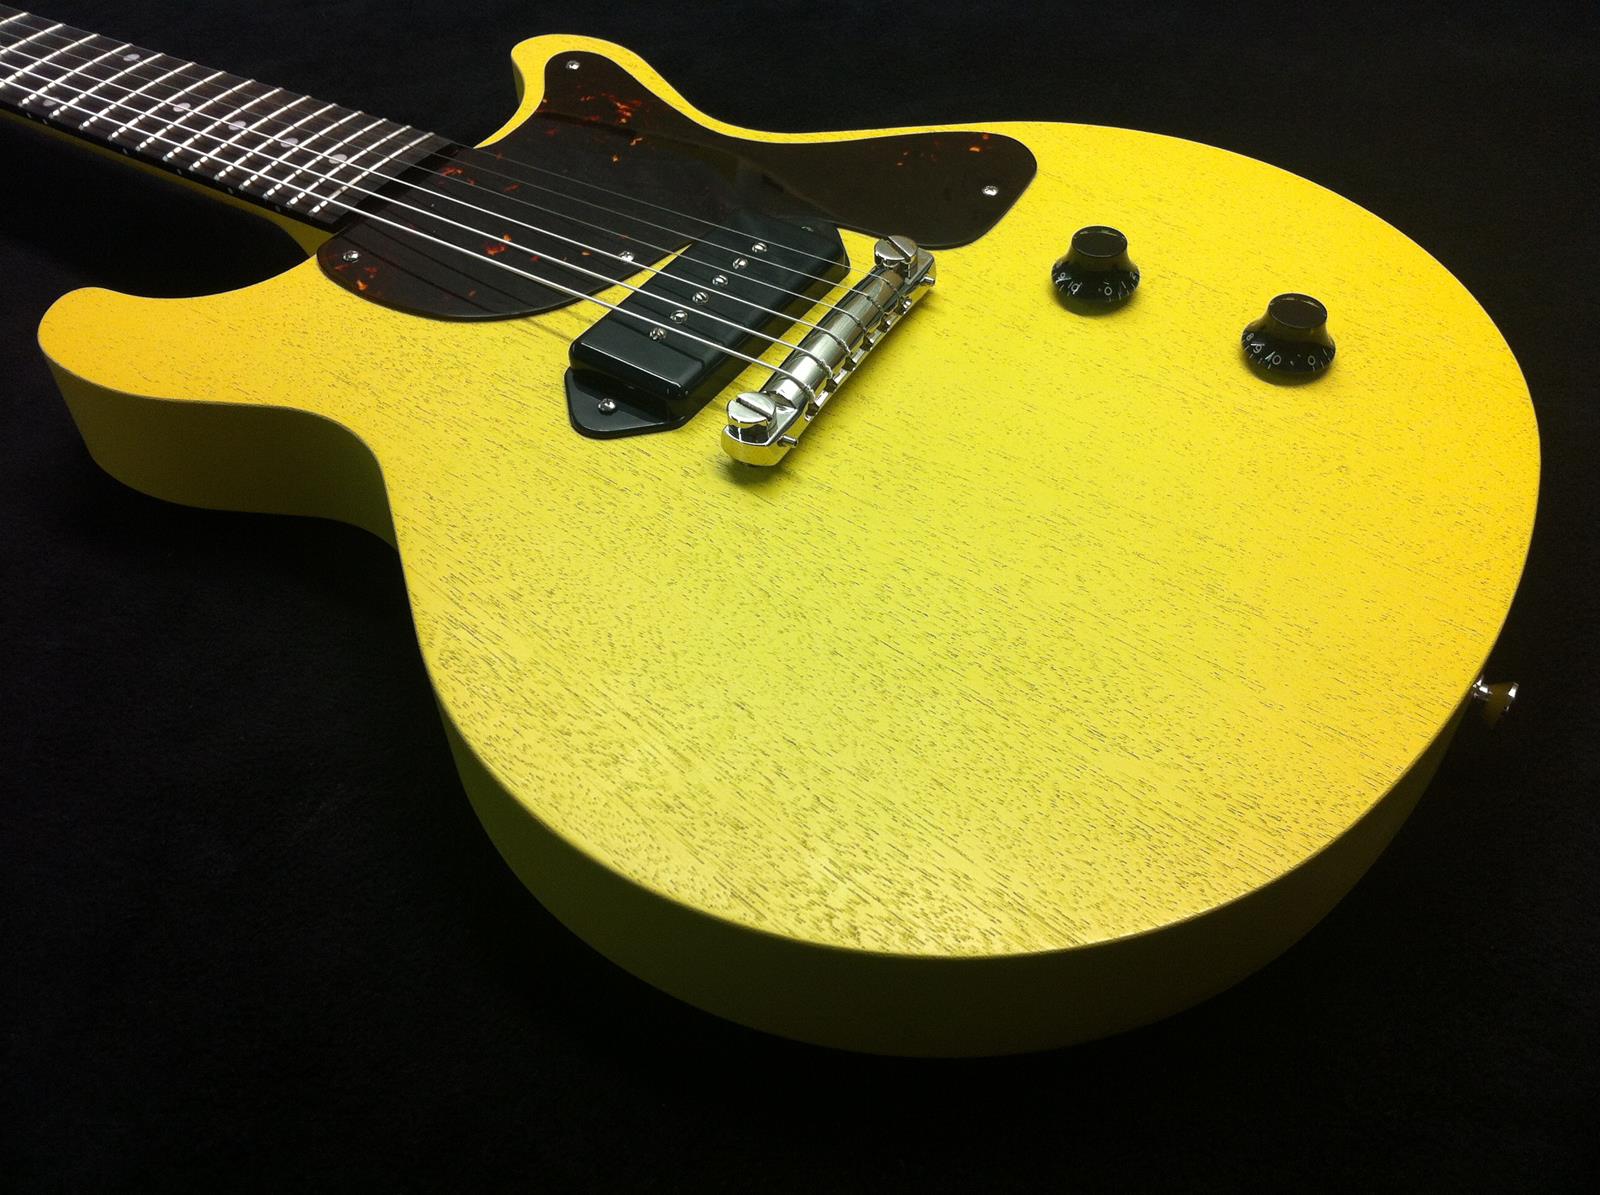
Michael V’s wickedly cool guitar # 2

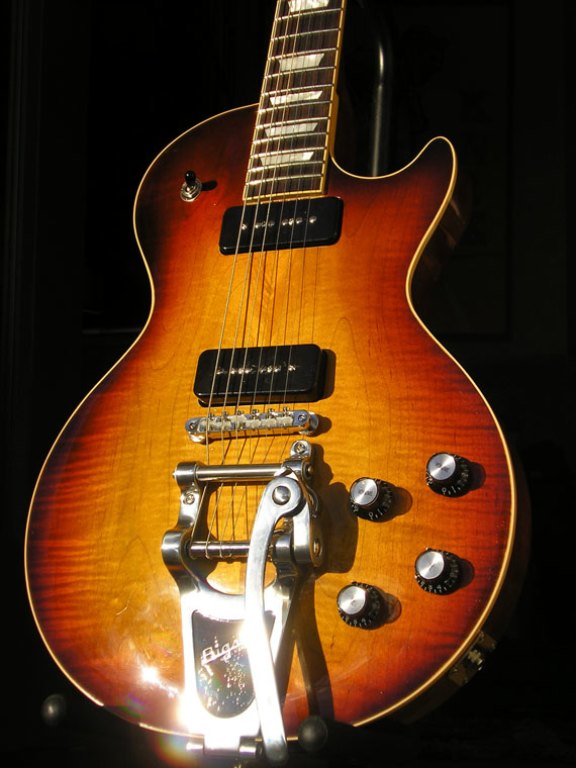
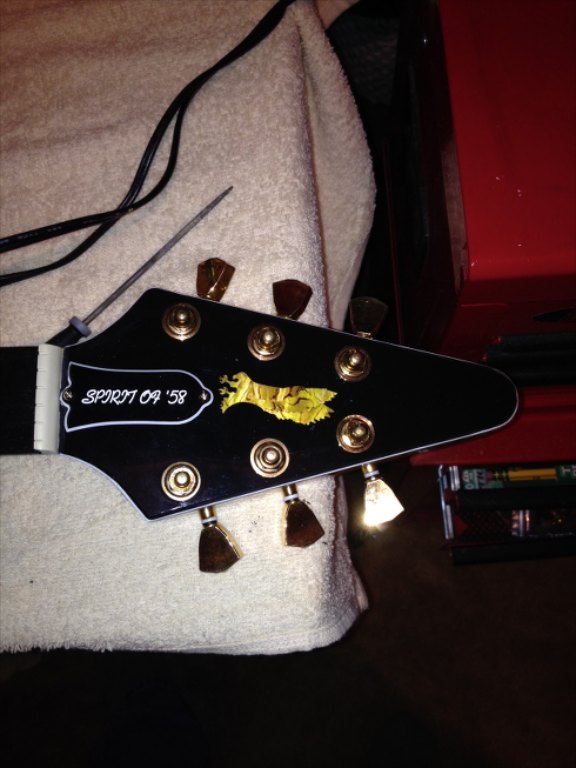
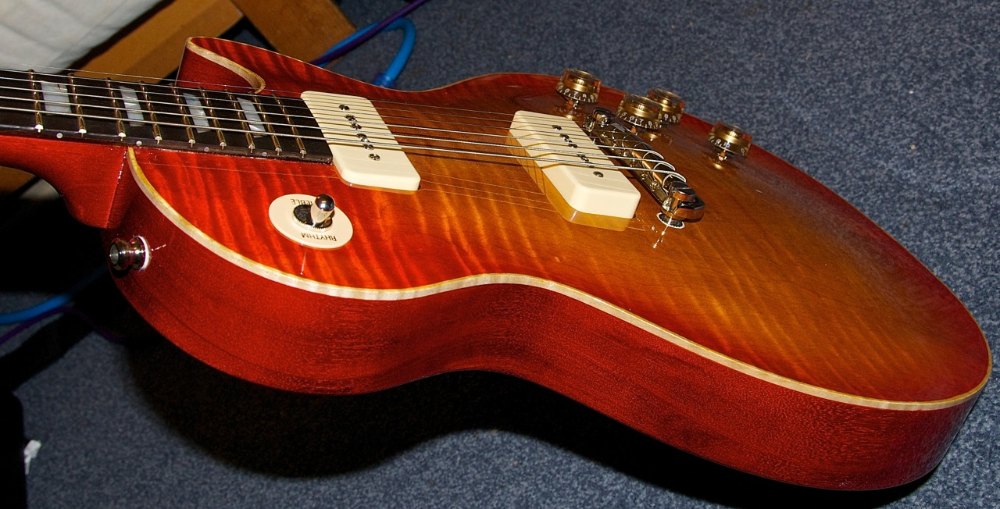
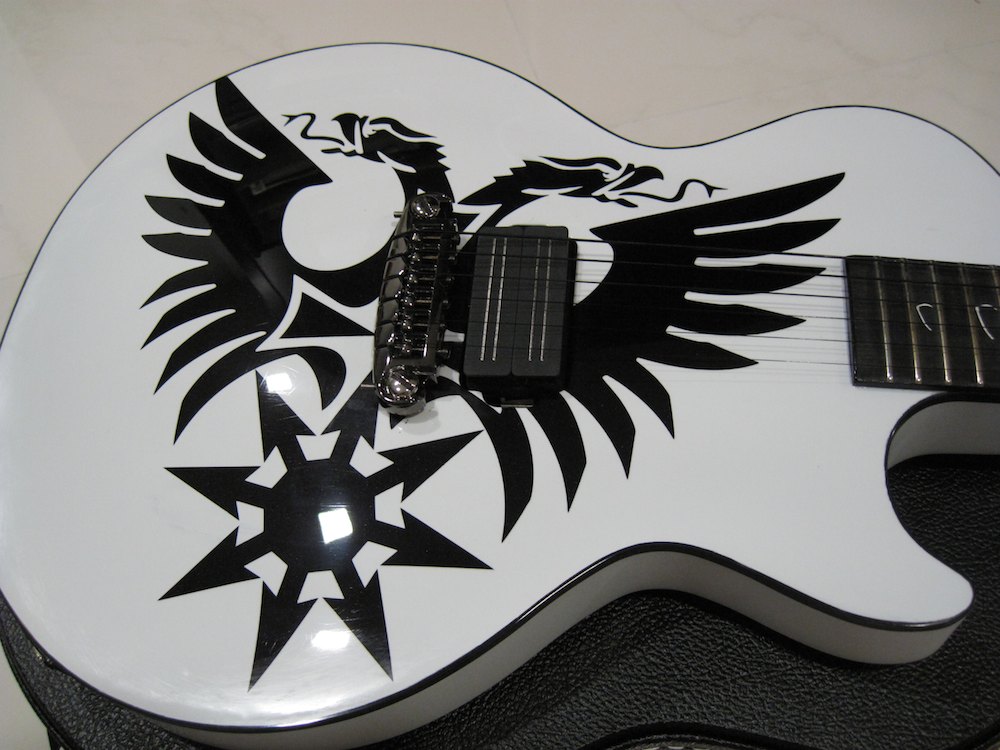
Hi Phil,

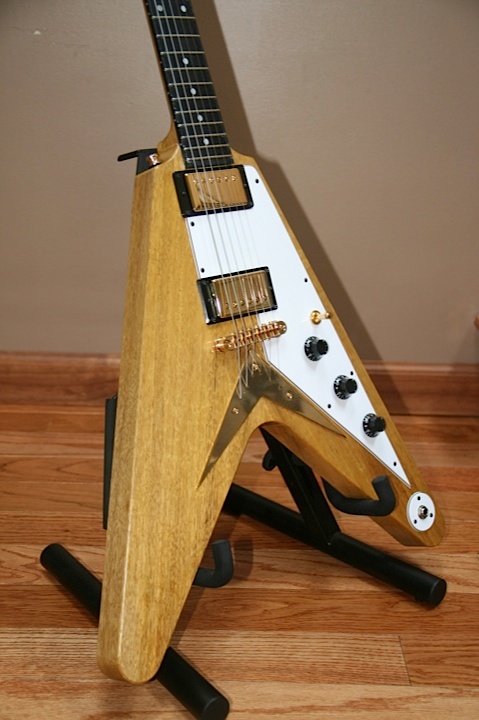
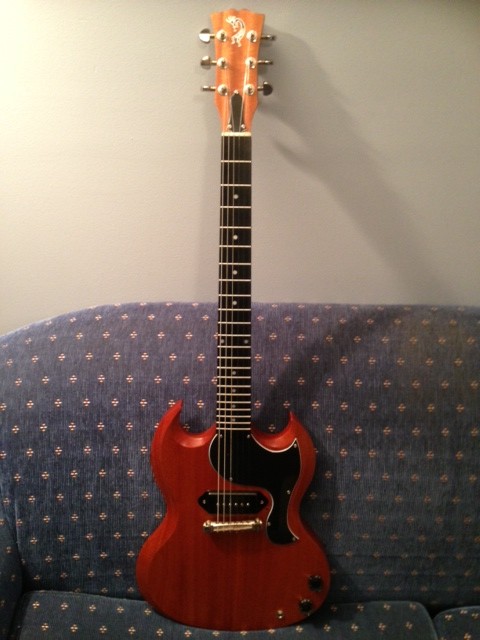
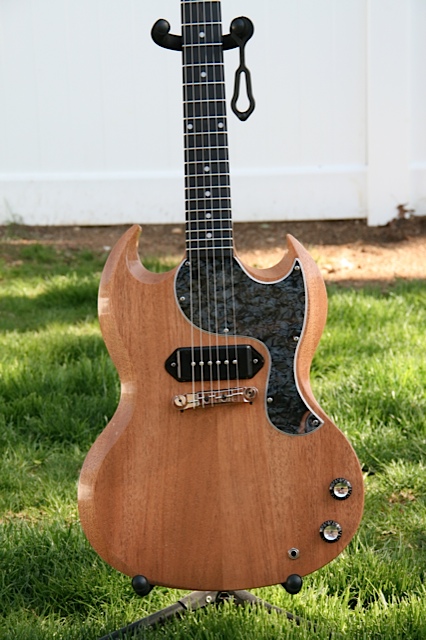
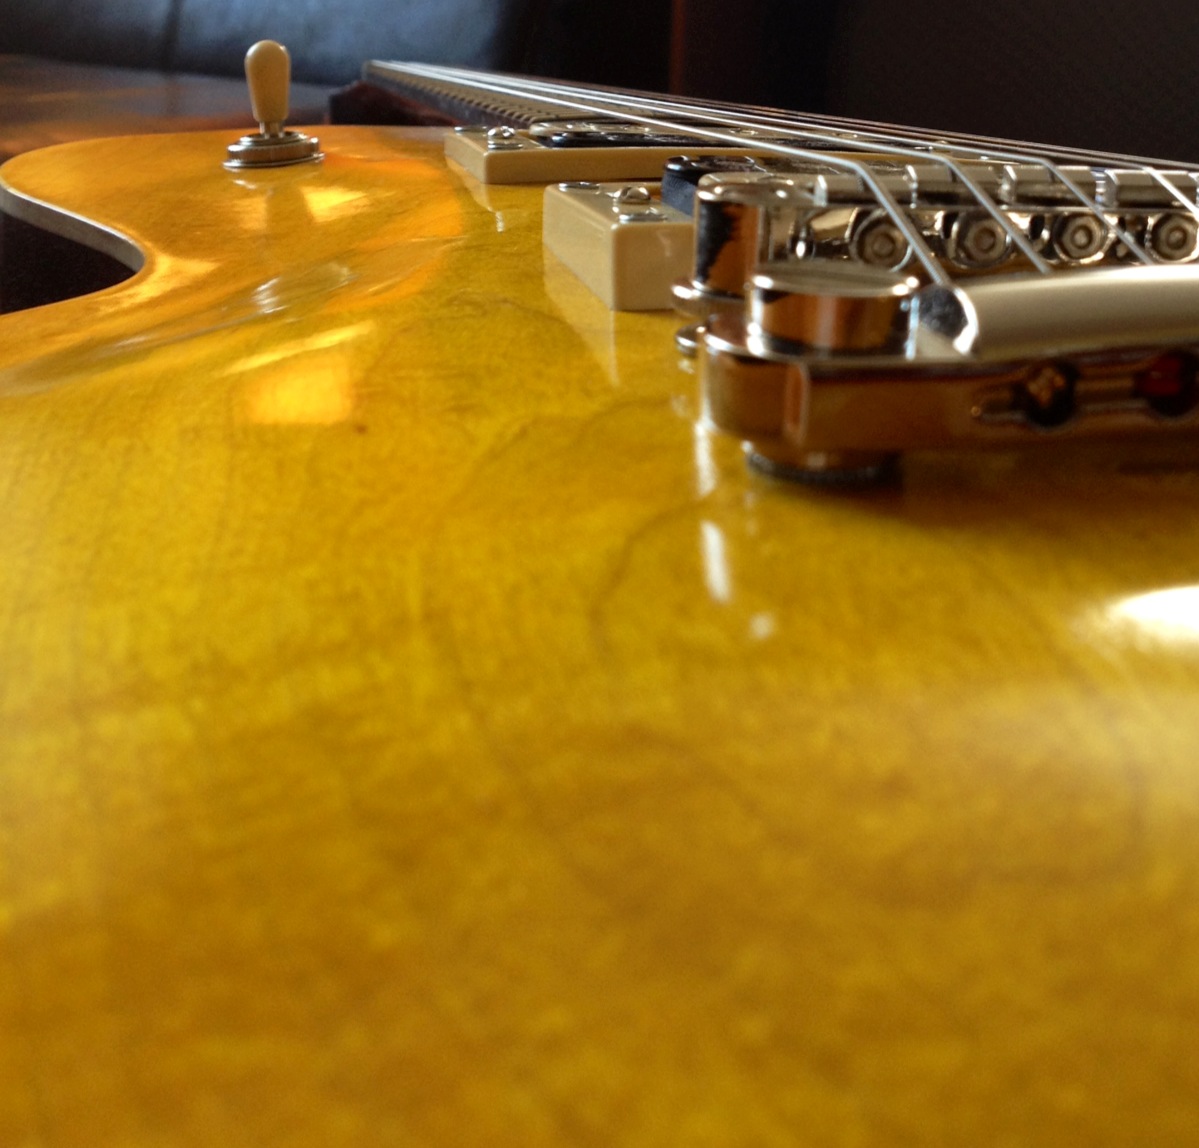
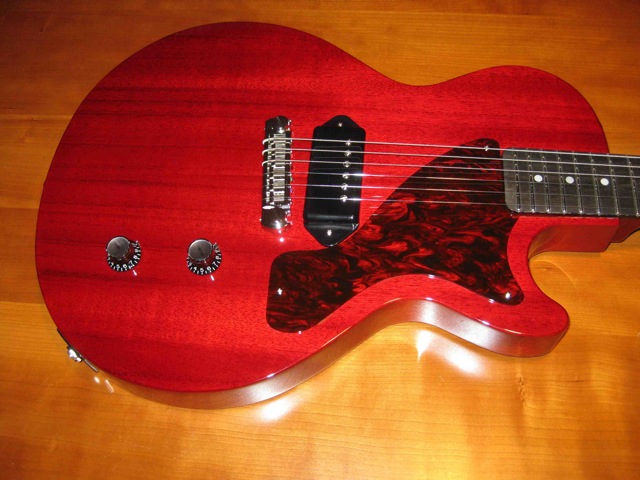
I finally finished this up. I spent the last 4 months working on this whenever i got a free moment. Guitar looks amazing, with the exception of a few dings on the front where i dropped a tool. I’ll fix that soon but i couldn’t wait to get this baby up and running.

It is also an amazing player, and has become one of my favorites! The whole experience is very rewarding to me, this is now my fifth build, and my second Precision and it is amazing how much more i learn each time.

The wood was so nice and the quality was apparent when I first received the kit. The neck fit in perfectly, and the fret work was great. I finished this using Target waterbased laquer. I personally cant stand being around nitro and this is pretty easy on the environment. So far I have had pretty good results with this stuff.

Below are the specs. thanks and looking forward to my next build.

Body & Neck: Mahogany
Fretboard: Rosewood
Electronics:
• Gibson P90 Single Coil Dogear Pickup
• CTS Pots
• Emerson Oil-in-Paper capacitor

Hardware:
• Kluson Plate Tuners
• Wilkinson/Gotoh Adjustable Bridge/Tailpiece
• Tusq XL Nut
• Switchcraft Jack


This is made with this kit…..SG Jr.

Posted on

Ben & Sons Fine Crafted Geeeeetars

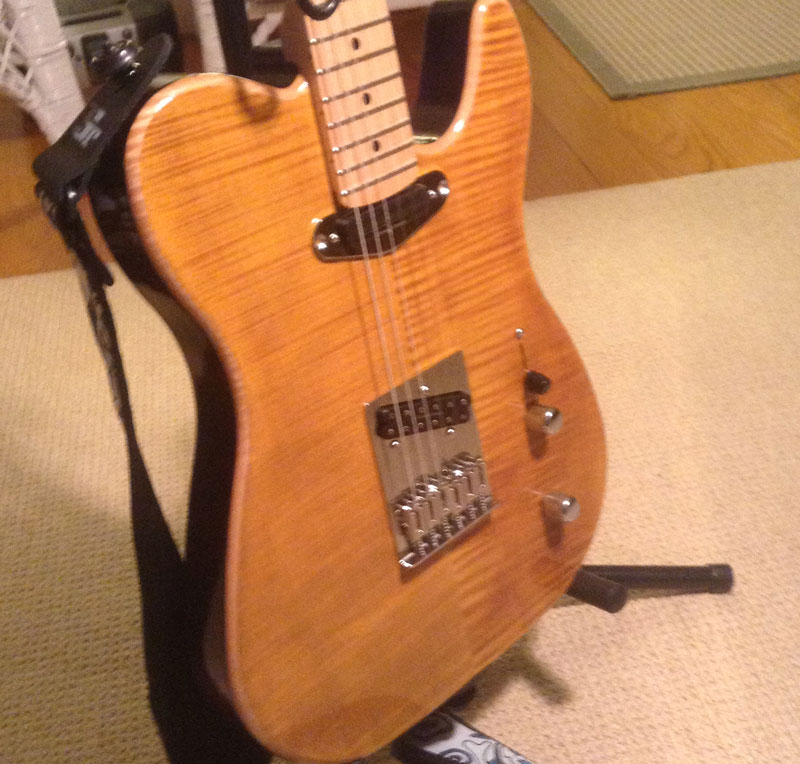
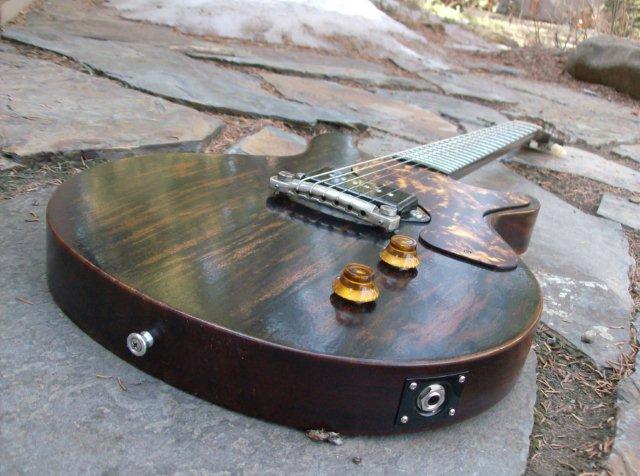
Built by my 14 year old son with some of my help. Thank you so much for this wonderful kit!

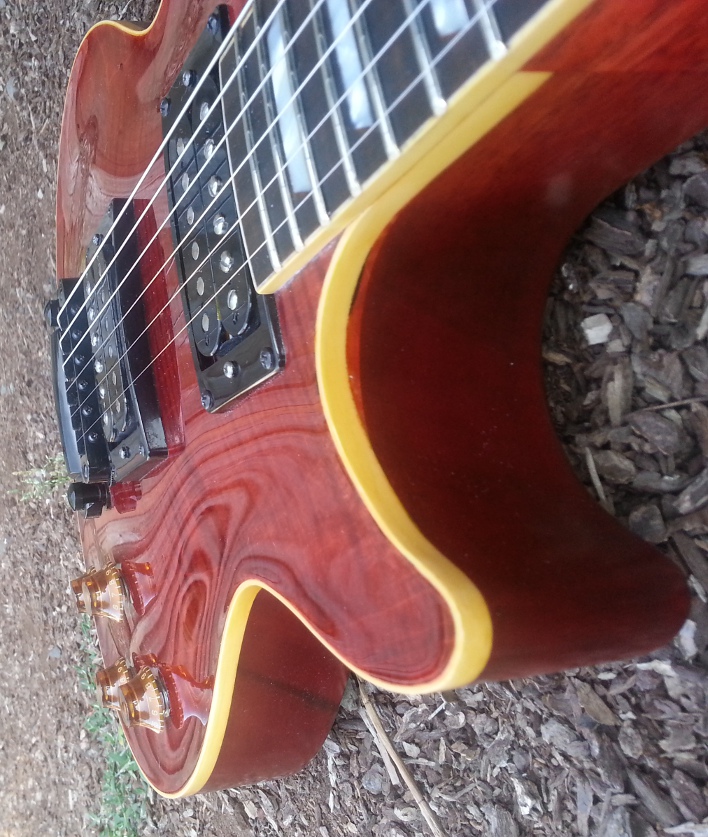
Stained amber with brown on the sides and back. He left some wood unstained for an inlay (but without the inlay) look. The guitar features A Seymour Duncan hot rail (neck position) and a little 59′ in the bridge, as well as the solderless toneshaper by Acme Guitar. Thank you very much for the fantastic kit, we will definitely be making another!

Posted on

Schluggo riding proud…”This guitar sounds like no other I own”


This is a fellow who lives in my neck of the woods. Great guy. So this is his first build… take a look at what an awesome instrument you can make.

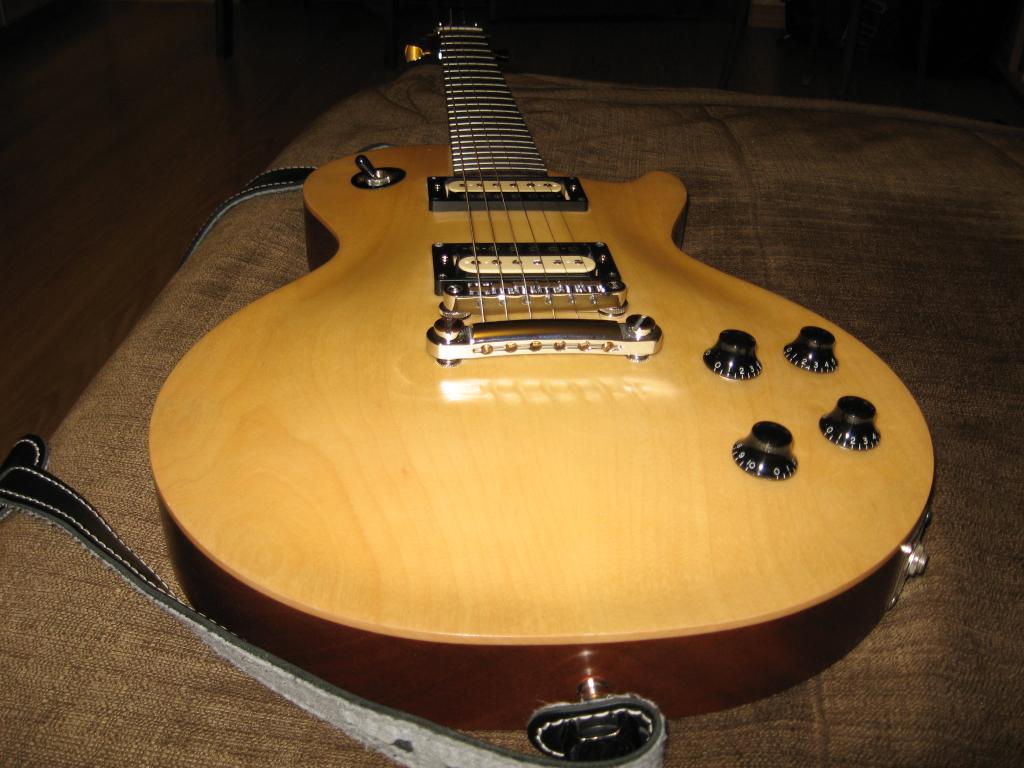
Tims Lucky Mojo

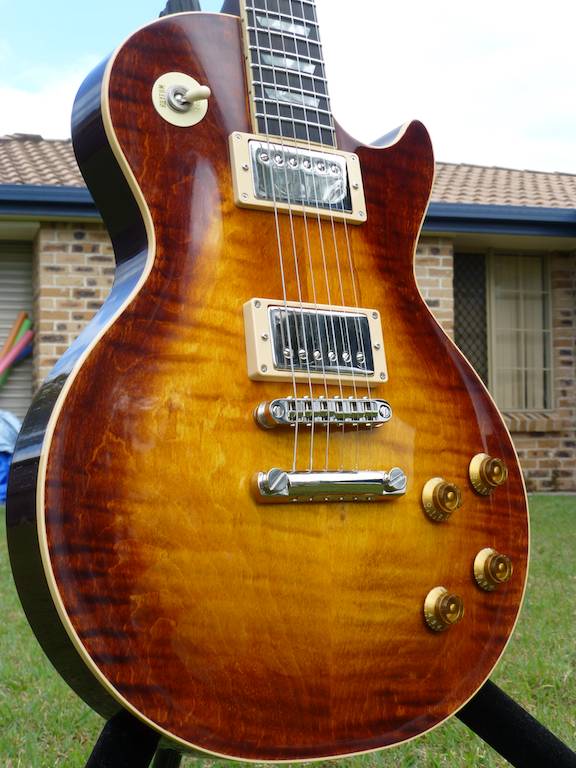
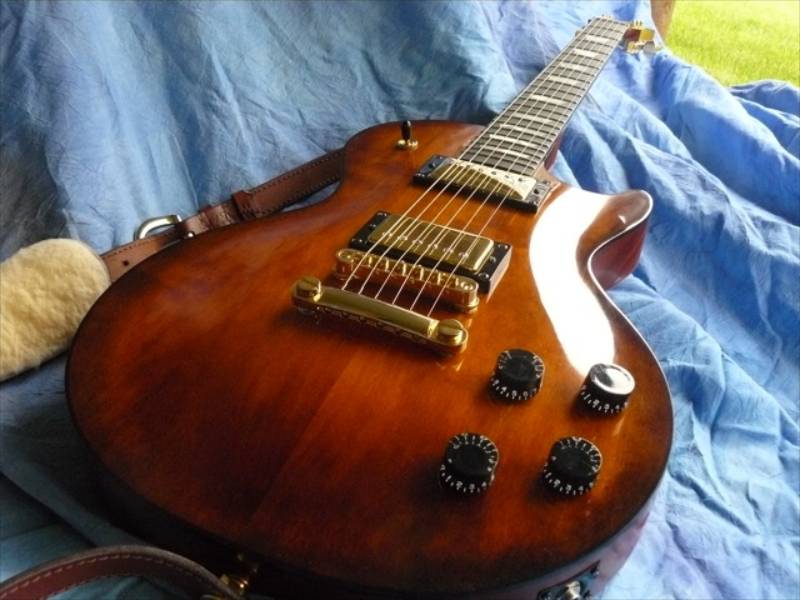
This was my first build and I have learned a lot. I knew nothing about finishing and had lots of questions and apprehension. But now that I have the finished product in my hands I am very pleased. This guitar sounds like no other I own and I am discovering how much more I like it every day I play it, especially at rehearsals. My expectations were high and this guitar turned out just as I had hoped. After educating myself on guitar finishing I got busy and started experimenting with stain colour on scrap maple and mahogany that Phil gave me. I made lots of minor errors but eventually got what I was after.

Most importantly the neck and body fit together perfectly. The pre cut angle on the neck leaves no room for errors,so you cant screw this up. This was the easiest part of the build.

I then gave it a shot of vinyl sealer,sanded, then clear coats of nitro lacquer. I  waited the recommended 4 weeks before I sanded and polished. This was the hardest part of the build.

In the meantime I chose the gear I wanted and ordered the parts online.I ordered from a few different companies as I could not get everything I wanted at one company.

  • Sperzal locking tuners
  • Graph Tech nut
  • Seymour Duncan Alnico II neck
  • Seymour Duncan Alnico II  Slash model {a few extra windings } bridge
  • Tone pro bridge and tailpiece {supplied by Phil }
  • 500 k pots ,orange drop caps
  • Covers knobs and colour to my taste

It was very exciting to polish this baby up and see the work that I did pay off.

Assembly was for the most part easy. It just got better and better, I would stand back and marvel as I put the parts on one by one.

Time to do the nut and I blew it. I sanded too far in pursuit of the perfect action. The next one was easier and I got it just right. I set the bridge low and got no buzz as I checked up the neck. No adjustments needed on the truss rod.Could it be this easy I thought?  Oh ya intonation!   I checked the intonation and to my surprise it was right there.Wow I was done

Right away you could hear this guitar had tones like no other and as I used it exclusively for the next week at rehearsal ,it was hard to keep the shit eating grin off my face. My band mates are impressed with the quality and sound ,and that it is unique.

I will defiantly be looking forward to building another kit. I think it will be far easier as I have all the supplies and knowledge from the first.


This is what he bought:

59 Carved Top | Our Best Seller

Posted on

Honduran Beauty, Mena…

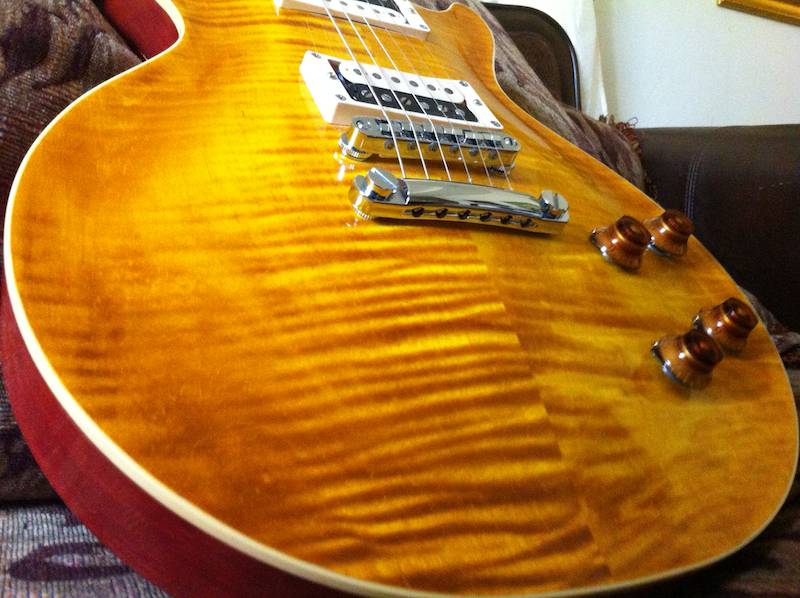
Well, this is a guitar kit that we sold to DR. Sergio in Honduras.. Take a look at what he did with our Bound & Flamed kit

Here’s what he did and used:

Hi Phil!just wanted to thank you guys, I’d just finished my guitar, named MENA after my daughter, and I think it came out pretty good, it’s a beautiful sounding instrument.

It took me a little over a month to finish this project, and I’m very happy with the results.

for those who may be interested, here are the specifications:

1. 59 carved top bound and flamed (precision guitar kit).

2. Amber and lemon yellow dye for the top (Stew Mac).

3. Deep mahogany stain and finish for the back (ace).

4. Black and clear gloss polyurethane (ace).

5. Grover deluxe tuners.

6. Bone nut (Stew Mac).

7. Gotoh bridge an tail piece.

8, Gibson 57’s Classic and Classic plus neck and bridge.

9. Cts pots 500k, switchcraft switches, mojotone vitamin t caps 0.22 mf.

10. Chrome jackplate.

11. Gibson nickel strap buttons.

11. Amber switch tip and knobs.

Again thank you very much!, you will be hearing from me soon!

Oh!, and sorry for the pictures, they are from my Iphone.

and this is the kit he used:

Bound & Flamed…

Posted on

Greg’s Burst of Sun…

make your own sunburst guitar
Phil,   I was extremely pleased with the ’59 Bound & Flamed kit I received.  The neck/body joint was perfect, and gluing it in place was the easiest part of the process.  As you can see I opted for a classic cherry sunburst look.  I am also extremely pleased with the playability, every now and then a guitar can seem to almost play itself very easily, that’s the feeling I get with this guitar.  Thanks for a great product, thinking about my next project.

and a bit more..

Hardware is all nickel plated, Faber bridge, Gotoh aluminum tailpiece, tuners are Kluson copies, pu’s are Stewmac’s Parsons Street (which seem fine, but I had in mind to try some other boutiquish humbucker types eventually).

I really like the plastic I got from Philadelphia Luthier Supply – more of a bonewhite than pinkish cream, I think it looks perfect on the red and contrasts a bit with the more yellowish binding.

The burst top I did with Reranch powder stains hand-applied, 3 colors; started with amber over all, sanded that back to leave an amber overtone in the grain recesses, then applied cherry on the edge, then yellow in the middle – with a lot of spot sanding, touching up and blending the stain here and there with Q-tips.

I grain-filled the mahogany with marine epoxy, the color for neck and back was Reranch cherry spray.  12 coats of nitro clear over all of it (fingerboard taped of course), wetsanded and polished.  I’ve done numerous solid color and translucent Fender style bodies before so I already had the basic process in mind, this was my first sunburst.

BTW, my “paint station” consisted of a bungee cord on a tree limb from which I hung the body for spraying, I’ll send you a pic of that later.

Also, gotta say I admire your business model; if somebody can’t glue that neck and body together – they shouldn’t be trying this.  Shipping body and neck unassembled must lower the shipping damage risk (versus a full length guitar), make shipping cheaper, and lessen the likelihood of theft, plus it lets the owner say “I built it”, awesome!

Posted on

Ottawa Johnny’s Capital Guitar…

Hi Phil , thank you to  have  these quality  guitars in the market , and  Canadian  product  on top  of it . Here is  my   Double Cutaway Custom 58  ( might call it `Jmont` looking for a decal ) Look good , sound  well just little  issues with  headstock that  i received was a bit  too much sanded on the side  but  not a  big issue as it`s  my first project.

  • Tuner are  tone  pro  that i tinted with  same  colour as body and neck + cover by clear  nail varnish
  • pick up is  a  Lollars  dog ear
  • Bridge is a  Tone pro wraparound AVT2 ( might change for a standard vintage  will see…)
  • Pickguard  is  totaly custom hand made by me , wood  is  African  wange
  • Trus rod cover hand made with  ebony , back plate  is  handmade with  Mahogany ( need to  revised as i want to made a ebony one)
  • Stain that  used is colour “ Black Bean “ Fom  Livos , Ecological  oil /stain  ( no smell , no sanding just 3 coats and  buffing at the end) just need  cheese  cloth  and  glove to get great result,  will used again !
  • Electronic is  500k CTS pots with a  .22 orange  cap


Posted on

Peter’s Cherry Red Swedish Sunset

Good morning Phil.

As promised, here are some pictures on my Kit I bought end of  ast year.

The progress:

  •  I started to dye the body black, sanded it down to make the flames more visual.
  • I tinted the nitro cellulous lacquer with cherry red dye and shot 4-5 layers.
  • Clear coat nitro cellulous around 40 layers, sanded with 800 grit every 5th layer until the last layer which I wet sanded 800 grit, 1200 grit and finally 2000 grit.
  • Then I polished with Meguiars ULTIMATE COMPOUND and waxed it with Meguiars ULTIMATE LIQUID WAX

Hardware:

  •   Bridge and Tailpiece:  TonePros system 2Tuners:
  • Grover Roto-Grip Locking Rotomatics (502 Series)
  • Pickups: Dimarzio Transition (Steve Lukather new signature pickups
  • Nut: Gibson original bone
  • Plastics: Gibson original parts (Bellplate, Volume/tone knobs etc)
  • Electronics: RSG kit with CTS pots, RS Paper and Oil GuitarCap by Jensen, 3-way toggle switch Switchcraft.
  •  Dunlop Straplock system
  • Strings: SIT Power Wound 009-046

It took me some time to get the color as I wanted, in the beginning I dyed the body red but for some reason it turned into brown after a couple of days, think I sanded it down 2 times. This happened twice and therefor I decided to tint the Nitro and that turned out really good.

I like when the color is “sharp” and both the grain and color pops.

Give also Kevin my best regards and once again Thank you very much for top notch body and neck. It wouldn’t be possible to get so good end result without your craftsmanship!


Posted on

Darreld’s Alberta Boom…

ome of the components that I used for the dark Jr (“Africa”) include:
-David Allen ‘Straycat’ P/U
-Faber steel compensated bridge/wrap tailpiece, anchors and studs
-CTS premium pots, PIO .033 tone cap
-Stew-Mac tuning machine (plates)
-custom made pickguard/truss rod cover from ‘Greasy Groove’ in N.S.
-holly veneer on headstock

This was a great project; loved making mistakes during the build, but it plays very well in the end.
There is a ton of Resonance in this guitar.

Thanks for offering such a fine product Phil!! I’ll be back…

Posted on

Vitaly’s From Russia With Love…

This guitar I think went through the greatest temperature transition… from here in Vancouver to Rostov-on-Don, Russia, 11  above to -25 C…. ( 52 to -13 F ) yeessh… The first neck we sent, the poor ebony retracted and split.. so we sent a replacement, changed the ebony to rosewood, which is way less prone to cracking…. Turned out pretty damn nice…

It would be great to publish the photos on your site. It would be nice to attach this text to them:

This is my first build, and I got to tell you – it wasn’t easy… As for parts I used Gotoh tuners and bridge/tail, Tonerider alnico IV classics AC4 pickups, bone nut. Nitrocellulose finish which is more dim, rather than gloss, thanks to my friend Dmitry Nemtsoff who covered it several times with a spraygun. Have to make some fret leveling/crowning/polishing to get rid of a fret buzz on a few first frets and 6th, 5th strings.

After that I can set rather low string action: something around 2mm for 6th string and 1.5mm for the 1st string on the 12th fret – which is very playable for me. I was glad to have a double action truss rod in the neck, thanks for that. The wood quality is very high in my opinion, and it has a very beautifull grain. The sound… superb!

Thank you Phil and Kevin!

Vitaly Volkov from Rostov-on-Don, Russia.


Posted on

Jimmy C’s True Rock & Roll Beast

Hey Phil,

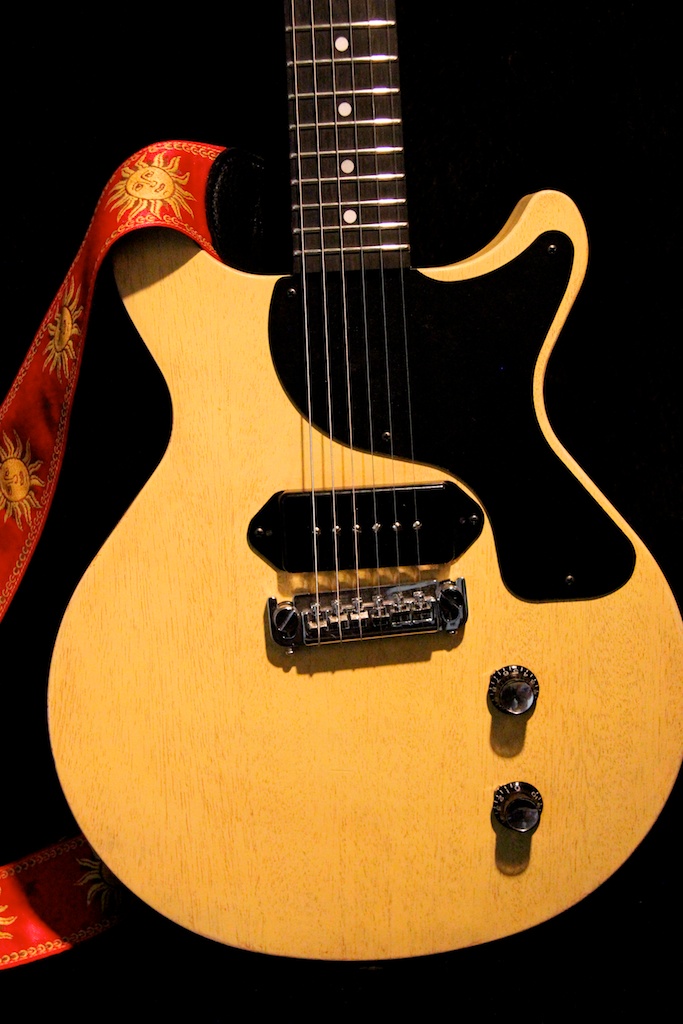
Just a note of thanks for the Jr kit. I special ordered it with a the 60’s slim taper neck prior to your offering that option. You had no issues accommodating my request and the body and neck fit together perfectly. I’ve always wanted a ‘59 Jr but couldn’t afford the real thing.

The pic of my old school build after the super decked out LP on the banner page really shows the range of what can be done with the kits.

I did not do the actual build, it was done by a guy named Patrick Sims in Nashville who I would recommend with reservations. He is a nice guy, does great work and is reasonably priced but it took a long time to get it back and communication during the process was spotty. In the end, he did come through and I am very happy with the way it turned out. Here is a link to his site with a pic of the guitar under “solid customs” – http://www.simscustomshop.com.

I’ve always wanted a vintage 50’s LP Jr but could not afford to pay 5k or more for one. With that in mind I was going for a ‘59 vibe. I did a bunch of research and specked out all of the hardware which includes:

1. Lollar dog ear P90
2. RS Guitarworks Pre-Wired Vintage Les Paul Jr. Harness with repro Luxe Bee capacitor (250k vol pot, 500k tone pot)
3. Gibson 59 Les Paul Junior Doublecut Historic Tortoise Pickguard
3. TonePros Kluson 3-on-a-rail Tuners
4. TonePros VTNA-N Standard Vintage Aluminum “50’s” Wraparound Bridge (nickel)
5. Gibson Truss Rod Cover – Blank
6. Black 50’s style LP Jr. jack plate from RS Guitarworks
7. Bell Knobs from Stew Mac
8. Strap Buttons from Stew Mac (installed on the horn)
10. bone nut – custom made by friend of Patrick
11. back plate – custom made by friend of Patrick (noticed you sell them now, very nice as I could not track one down to save my life and Patrick said a Gibson would not have fit in the cut on my guitar)
12. TKL 7824 case (still waiting on it)

The paint was TV Yellow nitro cell. It’s not too glossy and the grain shows through nicely. I did not want to go the reliced route but did want a vintage look which I think we accomplished.

Here are a few pics:

Posted on

Troy’s 59 Carved – Space Invader Come Down.

In hindsight one of the most difficult things was deciding on a color for the top. I had some ideas and did some experiments on maple planks before I even ordered the kit, but once it arrived and I actually got my hands on those bones I knew I had to do my absolute best to live up to the obvious quality. I was nervous because this was my first build and I’d never experimented with dye or stain before, but practicing on test pieces helped immensely, and I would definitely recommend that approach  to anyone trying this for the first time, including final finishing, which for me was Tru-oil. The so-called “plain” top started to reveal some interesting figures once a few layers of Tru-oil got on there, and I’m extremely happy with the final result. It sounds way better than it looks too . . .

Not quite sure where the idea for the headstock came from, but I knew I wanted something non-traditional. It’s a decal, but I’ll eventually go back and do a proper inlay of that same design. In the meantime it gets the point across . . . what can I say;  it’s a symbol for my generation . . . PS since it’s a Canadian guitar I used Robertson screws wherever I could

Posted on

Richard’s Golden Beauty

Here’s how it progressed…

Got back into town and a package from you was a’waitin’  a day after my 65th Birthday…..

Precision Guitars it an excellent name because you guys do VERY precise work…AWESOME.

GOT THE NECK GLUED ON TODAY AND WILL LET IT SET OVER NIGHT.  TELL EVERYONE THERE THAT I AM VERY SATISFIED…..and am so happy to do business with people with not only excellent work ethic but awesome craftsmanship too.  I will document what I do as an old man and stay in touch until it is finished.

Once again AWESOME, AWESOME, AWESOME !!!!!!!!!!!!!

Sprayed Re Ranch clear coat heavy enough over the area so that it got down to the gold coat.  Let it dry over night. Wet sanded with 1000-1200 grit then masked that area and applied gold coat.  Can’t see crack now.  Maybe one more light mist of gold then 4-5 coats of clear.  Will monitor the results  and let you know.

Putting on the top nut took very little sanding mainly on each side.  Really like how the Tone Pro Bridge and Tail Piece transfer the sound.  Plugged it and all tone and volume knobs and top switch worked fine and sounded good even though I broke the top E String  because I bent and kinked it as I had to remember how to string it correctly and of course didn’t buy extra strings.

Also did a slight adjustment on the truss rod (neck) and bridge and no buzzing strings and good action. Got a few dings to fix.  Made the mistake of using a white lacquer primer/grain sealer and would only do that again if the guitar was white.

You can use these pics if you like or I can try for some getter ones and please tell everyone involved that they do really great work. It’s been a long learning curve but it sure feels good at the end.  May do this again some day.

Posted on

John’s Queen Bee Sting…

Body, front – Wood figure highlighted in Black and sanded back – Amber base with Brown to Black fade dye (sprayed)
Body, back – Dark Mahogany dye, shellac basecoat, filled and sanded
– all colors Trans-tint alcohol based dye – 12+ coats clear lacquer

Neck – Mahogany stain, filled sanded, Tung Oil approx 12 coats
Headstock – Black Lacquer, laser engraved Bee Hieroglyph design approx. 3/64 deep filled with yellow water based artists acrylic, 10 coats clear lacquer

Percision’s drop-in pro wiring kit, Schaller locking tuners, Gotoh 510 bridge & tail, Fuelie Pro Mod pickups

Thanks Phil!…..I can’t wait to do another! …


and how did you do the laser cutting in the headstock

I did the design, which is of course egyptian hieroglyph for Queen Bee” engraved at – no shit – the Trophy House in Fargo North Dakota – built a jig so it would sit level in their laser engraver.

The yellow is water soluble artist’s acrylic dries really fast – does not react with lacquer so clearcoat right over it

Posted on

Mickey’s Flaming Awesome Flamed Strat…

custom flame maple strat

Met Mickey at the local guitar show and he had a clear idea of what he wanted in a guitar. Here it is…

Pickups are custom Winded, “single coil Custom 64” by Onamac Windery ( Fantastic sounding pickups for just 99 dollars set ). Very warm sound. Also, there is on volume pot “Treble bleeder”..which has function when volume goes down, you dont get et less treble. One of the tone pots is Lindy Fralin Blender..so instead of 5 combinations of sounds I can blend bridge pickup with neck pickup, or all 3 pickups too.

I have several guitars including Les Paul Custom, PRS custom 22…but this Strat is now my guitar #1. Clear laquer was been done by Larrivee guitars. It’s UV lacker, hard like stone, but not oversprayed. Guitar has amazing sustain what was my primary goal.

Phil, thank you so muck to you and Kevin…we did fantastic job.

Mickey

ps. My wife’s brother has 18 year old son, who wants same guitar…now i have to start looking for wood…you guys can expect another project.

Continue reading Mickey’s Flaming Awesome Flamed Strat…

Posted on

Peake Performance…

Build your own guitar

Phil,

Thanks  for the email.  The experience of building the Les Paul from your neck and body was really great. The build went really well – particularly enjoyed learning to do the binding.  The only thing not yet done is the headstock inlay and logo – and that because I’m still debating.  But, she plays superbly.  The action and feel of the neck is really a pleasure and feedback from the musicians I play with (and who have played the new guitar) has been universally great.  So far the only maintenance work has been some work on the fret ends after the New York City winter set in – the heat dries everything to a crisp.  But I’ve had to do that on pretty much all my guitars.  In a word the guitar looks superb and plays incredibly.

Here’s a couple of images both before and after the pick guard was mounted.

Thanks again.  My go to guitar!

Posted on

Mirek’s simple beauty…..

Dear Phil

the kit you sent me way exceeded my expectations. Beautiful EBONY fretboard …..the quality of the fretwork and the woodworking throughout is outstanding please see attached photo. Sincere thanks for enabling me to have an instrument of a quality that i could not normally afford.

If you want then please use the image in any way that you want…….I encourage you NOT to lose your passion for the work you are doing….it is impossible to work with timber to this standard without truly caring for what you are doing. The guitar neck is the best quality I have ever seen I first picked a guitar up over 40 years ago.

When i can afford it I will definitely order again from you…..

Truly sincere THANKS….ax2

Posted on

Yann Part Deux

Just occurred to me I never sent you pics of the build.

Guitar turned out great sounds great , feels great. Went with the tru oil finish. The truss rod cover was a custom job done by a guy in Alberta . wood and MOP

the tone pot also acts like a kill switch when pushed down, spring actuated.

really happy with the quality of the fret work , well done.

Posted on

Bruce’s Ocean Blue Beauty..

I love this job… check out what Bruce did with our “bones”


Phil,

I started with the non chambered ’59 carved top, customized with a flame maple top, ’60s slim tapper neck, ebony fretboard, and trapazoid inlays. I added Grover Rotomatic tuners, and a black TUSQ XL nut by Graph Tech.

The body only required a little finish sanding and it was ready to receive the dye.

I started by taping off the back and sides, including the natural masked binding area, and applying an initial coat of blue mixed with water to raise the wood grain. After sanding that off leaving the blue in that great flame pattern, I repeated the process 2 more times, the last application was mixed in alcohol to keep from raisng the grain again.

I set the neck and then taped off the top and the masked binding area as well as the fingerboard and stained the back, sides, and neck with a mix of “medium brown” and “mahogany red” dye in alcohol.

Next step was to start adding the layers of nitrocellulose lacquer, sanding between each coat. I finished by rubbing out the lacquer by hand.

It’s wired up with the Paul Iverson Drop in Pro wiring kit, and a set of Seymour Duncan SH-1 ’59 neck and bridge humbuckers with nickel covers.

The bridge is the Tone Pros Artisan Series T-O-M style bridge and tail piece. Love the locking feature on this set.

The precision of the neck and body made this build a real pleasure.

Thanks for your continued dedication to producing quality neck and body sets.
Bruce

Posted on

Scott’s Bare Ass Rock and Roll 57 Carved Top

I love this. One pick up 57 carved top, with just enough clear on it to keep the beer off and she’s ready to go.  Check out is Scott’s inlay and stinger.

From Scott:

Really excellent , as good as it gets ! It’s freaking awesome .

Phil ! Yeah I went organic with this one , I did a egg wash sealer coat which was super easy and very  effective , simply brushed on a egg white , nothing fancy no chemicals and very cheap .Just one egg So then on to a brushed on shellac wash coat . I dyed the Red stinger on and vignette on the headstock . I then sprayed 3 coast of Shellac with a Preval and it just went on flawlessly . I did my first ever inlay work . I used a Dremel and a nice small bit from Stew Mac and it cut like a hot knife through butter .This was a tribute to my 2 kitties I had for 18 years Yin & Yang sister tabbies . They had a wonderful life and finally said farewell a few months ago, they will be missed but not forgotten . So a few months back before Yang was slowing down she painted some paw prints with “milk paint” and I used those prints of hers to do the headstock inlay. I used a very beautiful and easy to work with “Box Elder “wood for her inlay and with the vast resources that is” my les paul”  forum I found all I needed to know about inlay . Cutting and using superglue and sealing the inlay went exactly as planned .Then it was on to attach the neck , I used Titebond original . The Neck joint was flawless and indeed high Precision ! Let that set up for a couple days .Shot a few more coats of shellac and after a few days to dry I put a few light coats of Minwax wipe on poly to lock it all in . I really love the satin look you see a lot of on guitars today , it’s organic and natural but will hold up to a few spilled drinks if it must . Then it was all about putting in some sweet parts to complement the fine woods .

I used the very hip compensated wraptail bridge from http://www.mojoaxe.com/ and a most excellent PAF from http://sheptone.com/  of course Tonepros tuners and locking studs finished it all off .

In the end the build is way above and beyond what I hoped it would be , it’s magic from the first note . I have never experienced anything like it . I’ve been so thrilled with this and words cannot not fully describe how amazing this whole thing has been and the joy and lasting thoughts & memories that have went into .Thank you again Phil and everyone at PGK for giving us these wonderful kits in which to build on and play our music. All the best


here it is plugged in..take a listen

Posted on

Soong Lee’s most exquisite of guitars…

His “Lee Paul”

This is awesome…standard kit with binding and a paddle headstock. Look how the regular maple cap’s flat sawn grain pops with the honey stain and the high gloss clear coat on top.  Check out the headstock. the tuners and the babicz bridge system.


Thanks for your kind words — it means a lot to me.  I have always wanted have a 59 custom built to my specs, so I feel fortunate to have found you.

As far as staining and finishing is concerned — for better or worse — I began with a set of rather inflexible ideas: I did not want to grain fill using the conventional products (either water-, oil-based or epoxy).  And, since, I had resolved to french polish the entire guitar using de-waxed, clear shellac, the choice was simple.  I used 4F grade pumice stone along with the initial coat of shellac to grain fill the mahogany parts of the guitar — this was very labor intensive (on my next build I will try weakened hide glue which I used to glue the kit together).

I used W.D. Lockwood brand of water soluble dyes for the guitar (except the headstock which I initially used India Ink but decided to finish with Japan Ink (which I think yields a richer ebonizing result)).  It was difficult getting the top to look interesting.  I had no idea that maple was such blotchy wood.  On top of that, I really wanted to show the grain (or the annual rings of the top).  Basically, I treated the top as an artist’s canvas.  Putting more stain where it needed and using bleach to lighten parts.  I also sanded with various grade of 3M micro abrasive pads to accentuate the grain and to blend in various shades.  I was fighting the wood basically.  I thought about using gel stain after a week, but I am stubborn — so I stuck with it.

When I achieved certain “blotchy” look deemed interesting to me, I started with French polishing.  Initially, I had put on quite a layer of shellac (about 8 bodying sessions).  The guitar looked better than it did now (it really looked like a jewel) — but then I noticed the tap tone of the guitar had deteriorated somewhat.  I took about half of the layer off.

After about a week, I used pumice stone (along with little walnut oil) to even out the finish and continued with medium to fine rubbing compound.  I then used swirl removing compound and proceded to Maguire’s Show Room Glaze #7.  On the back of the guitar I added a very thin layer of bowling alley wax with high carnauba wax content (no silicone!).

Did you notice that there is a real violin purfling on that guitar (no plastic binding)?  Also the pickup rings are ebony and the scratch plate was carved out of ziricote (is that some sort of rosewood — very brittle).

I think I am asking too much of you to read this (i am rather long-winded), but you will be pleased to know that this guitar sounds amazing!!! And, I have played a real ’59 paul (owned by Jimmy Vivino).  Over the weekend, I went over to my friend who owns 20 Les Pauls of various vintage — I have to tell you I would not have traded mine for any of my friends, ha, ha…

Thanks again, Phil.  I hope to scrounge up some more change to buy another kit from you.

Posted on

Bob’s progress…

This is a great business… here is the start of a damn fine instrument…

Hi Phil,

I just finished spraying the guitar and thought you might like to see what I came up with for color. I haven’t buffed it out yet and I see that I missed a spot on the heel, I’ll fix that before I polish! These are really poor shots, the guitar looks a lot better in person. I’ll try to get some better shots when I’m further along.

Many Thanks,


Posted on

Guydoun….Titanium Pickguard with Peter Green Tone

Gotta check this out. This guitar was built by one of our illustrious builders in Quebec. I was just chatting with him on the phone about it and he says “Guydoun” is french for a woman of easy virtue… Love it… That’s a damn good thing to hold in your hands for a hours at a time…

He’s done an amazing job with this. A set up to get the Peter Green Tone, the pick ups are intentionally set that way and then the burnishing of the pickup covers and the pickguard. Awesome.

The back is tung oil, he says he took it up to a 3000 grit. See I told you he was industrious.

Posted on

New York Bob’s Old School Masterpiece

Here is Bob’s guitar. Man oh man, he did this beautifully.

I used RIT dye for all the staining then many coats of spray on nitrocellulose lacquer.

Back & neck scarlet/brown stain rag rubbed. Top mixed some brown, rag rubbed the top & sanded all off  (to highlight the deep maple grain).  Mixed yellow/ small amount orange then rag rubbed.  I used same red stain from the back to rag rubbed the burst, used more yellow/orange,  to mix down the red to have a faded burst.  Lacquer.

Headstock mother of pearl inlayed.


Check it out…

Posted on

Dad Makes Kid Guitar and Kid Makes the Show…

Now this is so very cool. Bryan built one of our kits for his 9 year old. Check the kid out on stage…


“About 18 months ago I purchased one of your LP Jr. double cut/double rout kits and went through my first build and finish job on a guitar.  It turned out much better than I expected from the work I did but, as you say, the bones lay the foundation for a good guitar and you guys did 90% of the hard work for me!

The guitar is my son’s as I’m not the musician but enjoy the heck out of the process.  He goes to the “School of Rock” here in Minnesota.  Twice a year they hold a fundraiser concert to raise scholarship money for students (kids) who want to rock but can’t afford the tuition to attend.  At these fundraisers they hold an auction or a raffle for items of interest to the parents/students.  I’ve joined forces with a father who acquires lower end guitars, strips them down, and hands off the body to an artist or an auto body shop to get a cool paint job.”

Posted on

Chris’ Insanely Cool and Beautiful Double Cut

Here’s the start, when he received the kit:

“All I can say is ‘FN A’!!! It’s awesome—I picked it up today, and just put the neck up to the body… Wow! Well done, and thanks!

The body is even tuned—it rings like a damn xylophone, tuned to C! No shit – I can get C, G, E and C octaves out of it, just by doing the tap test! Unbelievable! Are the Tele kits tuned to G, for Keef Richards fans? Hahaha!

This is gonna be a seriously good guitar when I’ve finished it—it already is good, and that’s before I’ve even started. I’m not gonna stop singing its praises, and that retail thing I was telling you about—he’s eager to see how it turns out…

Believe me when I say that it’s not gonna be long before I order the Tele and 59 Customised kits from you as well!”

Then when he finished it:

“WHAT A SOUND! Cranking it through the ‘clean’ channel of a Fender Supersonic 60w on it’s 59 Bassman setting is absolutely unbelievable. Tonally, it’s probably about the sweetest-sounding guitar I have, which is quite possibly down to the woods that you use as well as the size of the neck. It might be big, but it’s not in the least bit uncomfortable!

I’m looking forward to getting many years of service out of this one, believe me!
(Feel free to print whatever you want from the above on the website, if you want to—and include the photos as well, if you want too. In fact, I’d feel privileged to have them up there for all to see!)

In the meantime, the guys in the shop absolutely loved it, and I’ve been busy singing Precision’s praises to all that I can, with every opportunity I get, so fingers crossed it produces a few results for you!

Many thanks, and I’m looking forward to ordering more from you shortly!

All the very best!  Chris”

Posted on 1 Comment

You Gotta Check This One Out…

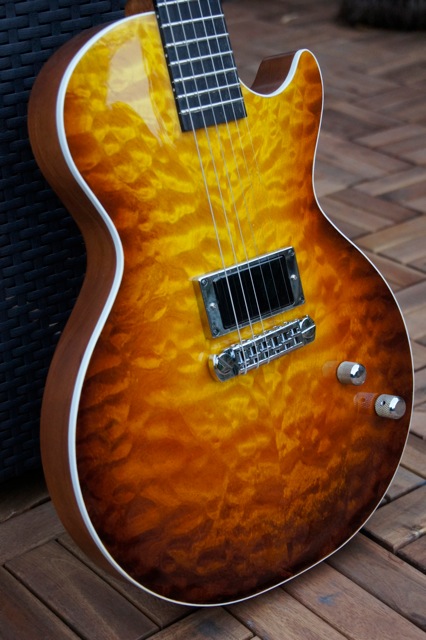
Anthony’s quilted maple beautiful. I just absolutely love the look of this! The quilted maple cap looks liquid, like it’s moving. Wow. Love it, great craftsmanship.

 “Hi Phil, I thought you would like to see the finished article. It sounds and plays like a dream, many thanks.

Pickups are Lollar Imperials with the bridge pickup being the high wind option.

Electrics are CTS 500k true vintage taper pots, Luxe bumblebee caps, switchcraft selector with braided wiring.

I’m hoping to capture a vintage bluesy tone in the neck and a sweet singing tone with a bit of scream at the bridge. The guitar is becoming an international affair with parts being sourced from all corners of the globe; the filthy swine at British Customs are having a field day.”